
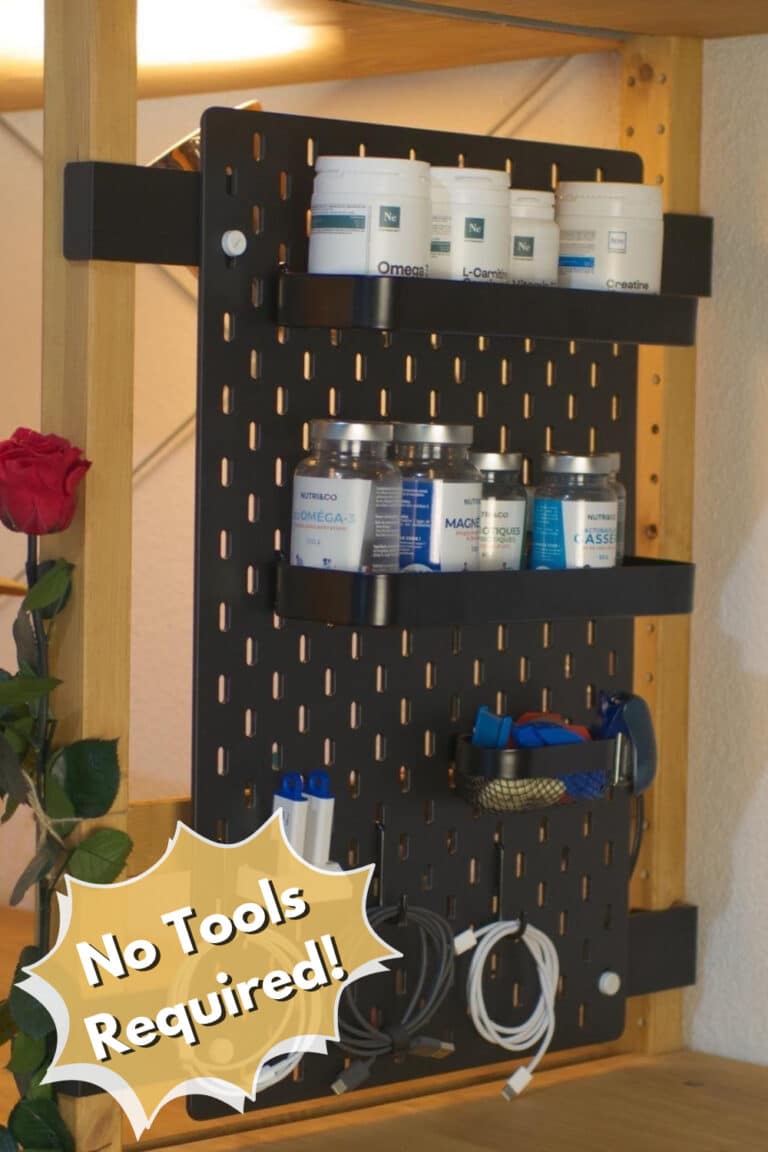
I’m all about making things as functional as possible, so I’m a big fan of a good pegboard system and efficient storage. So when you double up something like IKEA’s SKÅDIS with the IVAR shelves, you can bet I’m going to pay close attention. (Especially since this hack requires no tools, drilling, or gluing!)
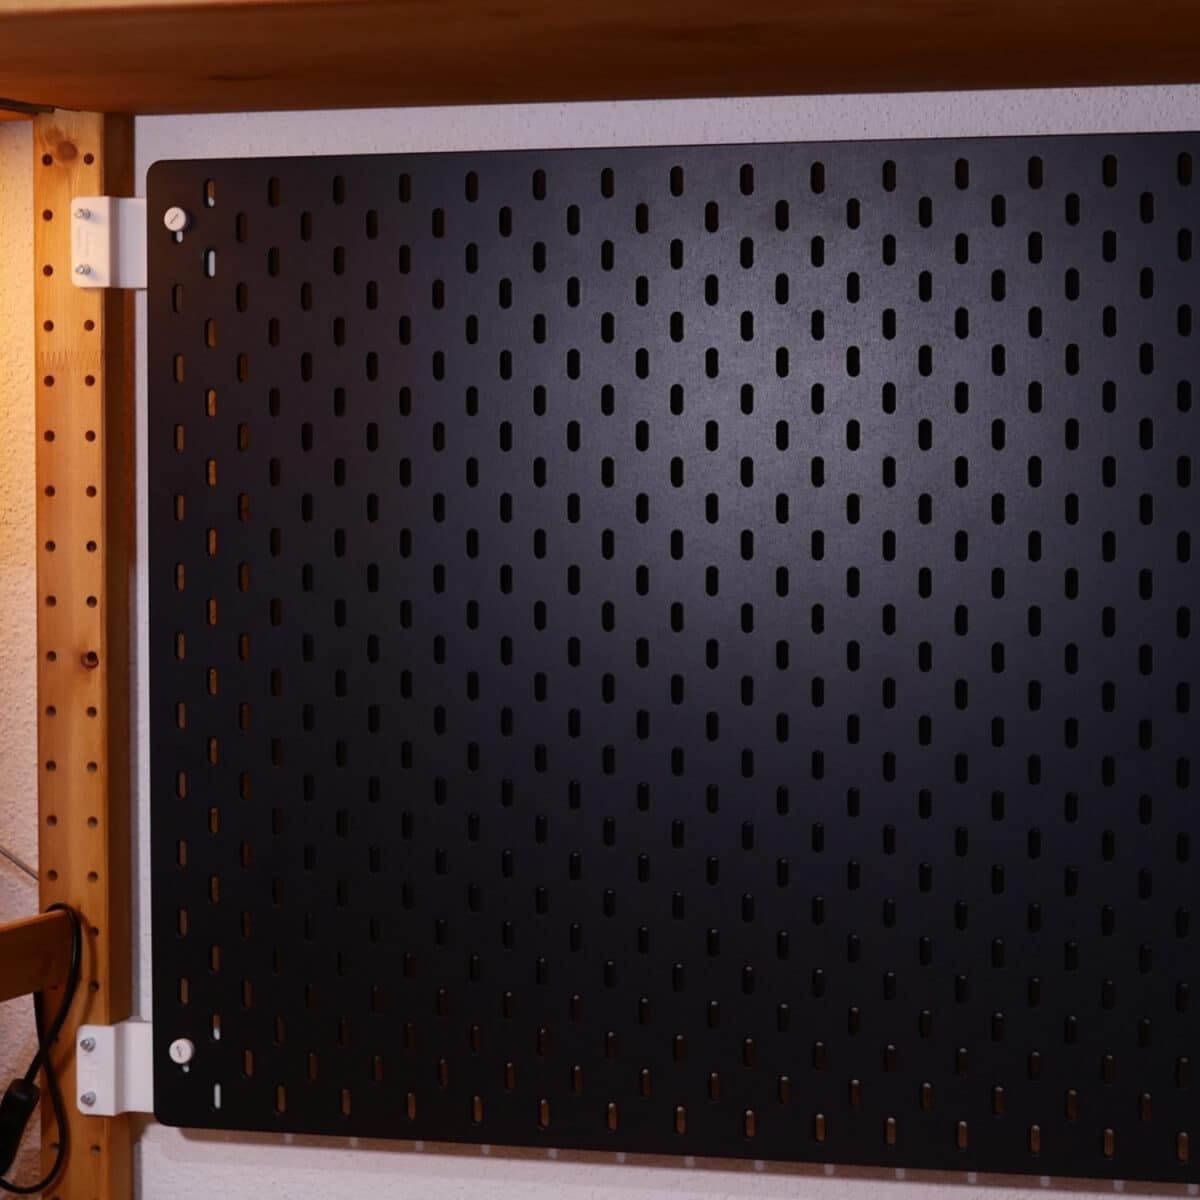
Stéphanie loves IKEA’s IVAR series, but wanted to make the open-sided shelving a bit more robust. However, she also wanted to keep the shelves portable and avoid drilling into any walls since she rents. Her solution was to use custom brackets that she makes herself to attach the SKÅDIS pegboards to the back and sides of her IVAR.
The resulting unit offers streamlined storage that doubles as a sleek workspace. Plus, since IKEA offers a wide range of accessories to go with the SKÅDIS boards, you can easily customize the piece however you like. Switch up shelves, bins, and hooks to tweak your setup within seconds.
What You’ll Need
- IKEA IVAR section (83 cm wide x 50 cm deep)
- 1 or more SKÅDIS pegboards (56 x 56 cm for the back; 36 x 56 cm for the side)
- 3D-printed brackets to hold the SKÅDIS by its own slots
- M6 x 40mm steel pins that fit into IVAR’s existing holes (how many you need depends on how many brackets you use)
- SKÅDIS accessories of your choice
Note: If you opt for a slimmer or narrower IVAR section or a different setup, make sure to adjust to the appropriate size of SKÅDIS pegboards. Stéphanie includes measurements and a guide for which panel fits which IVAR on her site, SWEDISHMODS.
Adding the SKÅDIS to the IVAR Without Tools
1. Design Your Layout
The beauty of this hack is that you can design it to suit your specific needs. For example, if you want to keep the sides of your IVAR open, then just put a pegboard on the back. Need more shelves than hooks? Go for it.
Therefore, the first step of this DIY is to design your perfect setup. The main thing you need to decide at the start is whether you want to use a panel in the back, on the sides, or both.
2. Attach Brackets to the IVAR
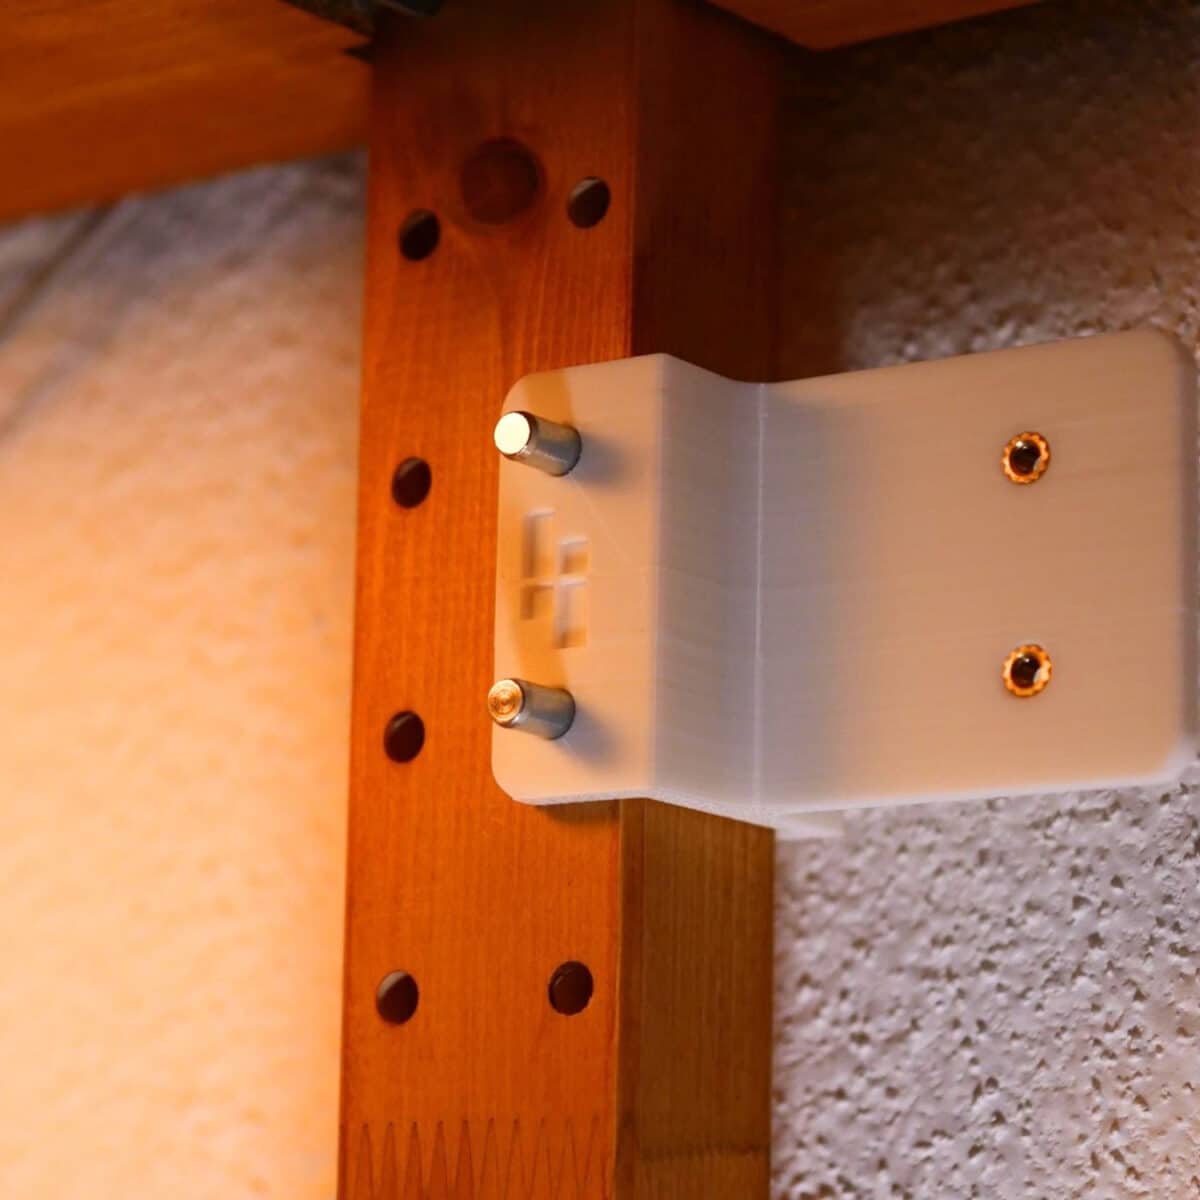
Push the brackets into place on the IVAR uprights. You’ll need to use two of the steel pins in the IVAR’s existing holes for each bracket, and each panel requires four brackets (one at each corner).
3. Install the SKÅDIS Boards
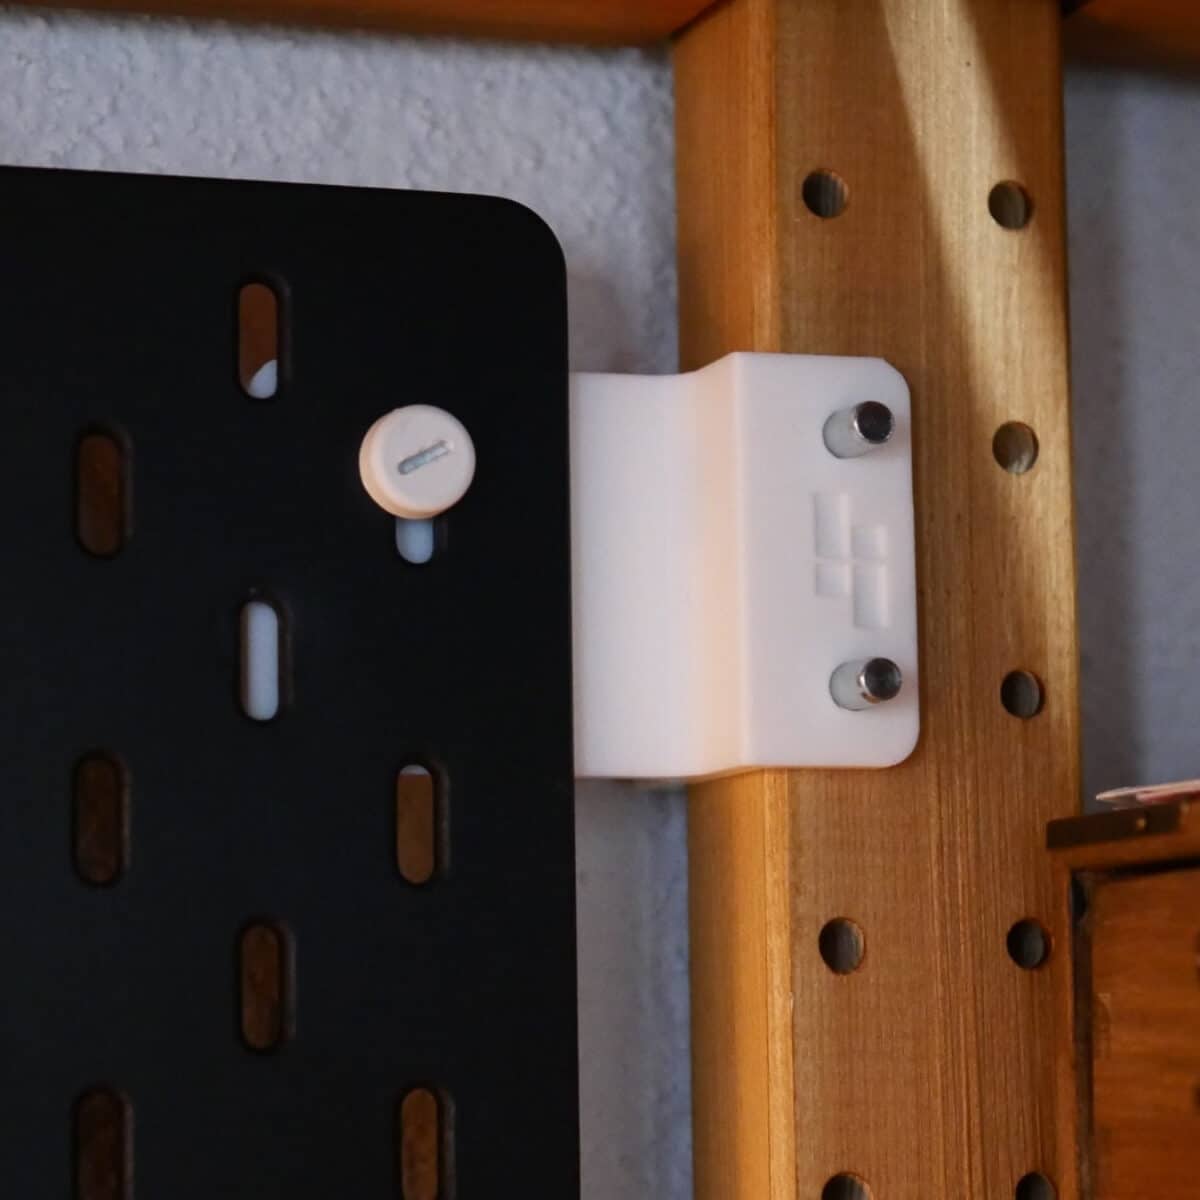
Hold the SKÅDIS against the brackets and secure it with the round connectors through its own slots, which fit into the brass inserts in the brackets. Easy peasy, no tools, no glue. (Have I mentioned how great that part is?)
4. Customize With Add-ons
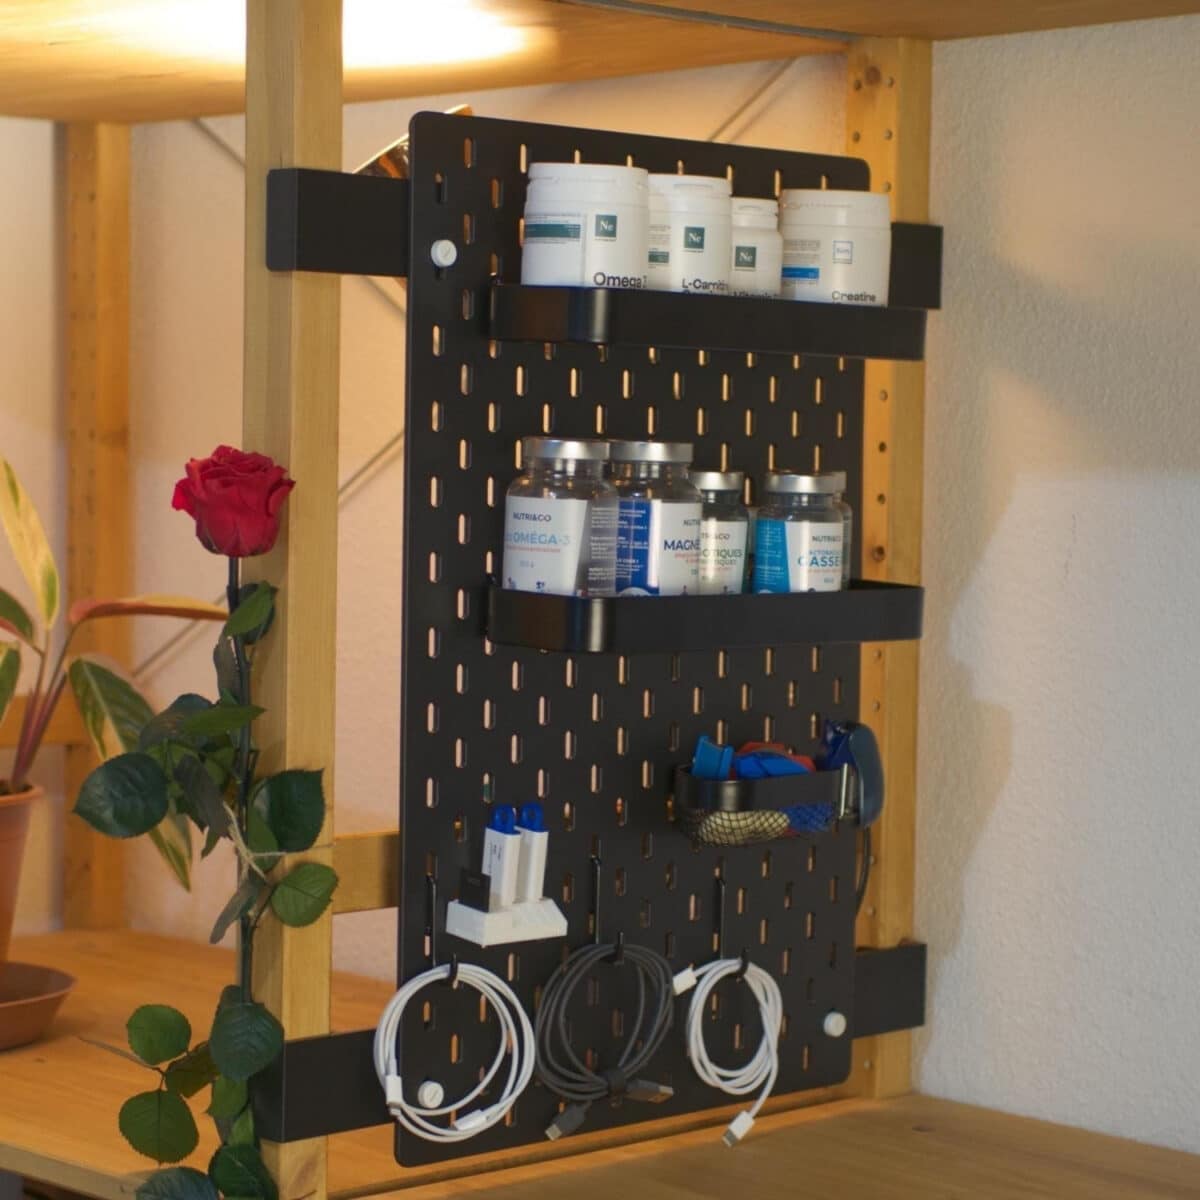
Once all your panels are where you want them, now things get really fun! Load your SKÅDIS boards with whatever accessories you decide to personalize your workspace and storage.
Reasons This IKEA Hack Works So Well
The real genius of this combination is that it makes better use of vertical space without permanently changing the shelving unit. IVAR provides the sturdy, open framework, while SKÅDIS turns the otherwise unused back and side surfaces into practical storage areas.
Furthermore, it’s a clever solution for renters, hobbyists, and anyone who doesn’t want to commit to a fixed storage arrangement. Because the pegboards attach to IVAR rather than the wall, you can take the whole setup apart and rearrange it when you move or your needs change.
But…Don’t Skip the Planning Phase
You’ll get the most bang for your buck and return on your time investment if you really consider how you plan to use the finished piece. Therefore, think about what you use most often and where these items need to go to make them the most accessible.
Store heavier things on the shelves and reserve the pegboards for lighter pieces. However, if you change your mind or decide to turn your hobby corner into an office, you can adjust with a few swaps and switcheroos.
What are your thoughts? How would you use this hack in your home? Would it be the ultimate craft station? A place for kids to do homework? Or would you turn it into something super unique?
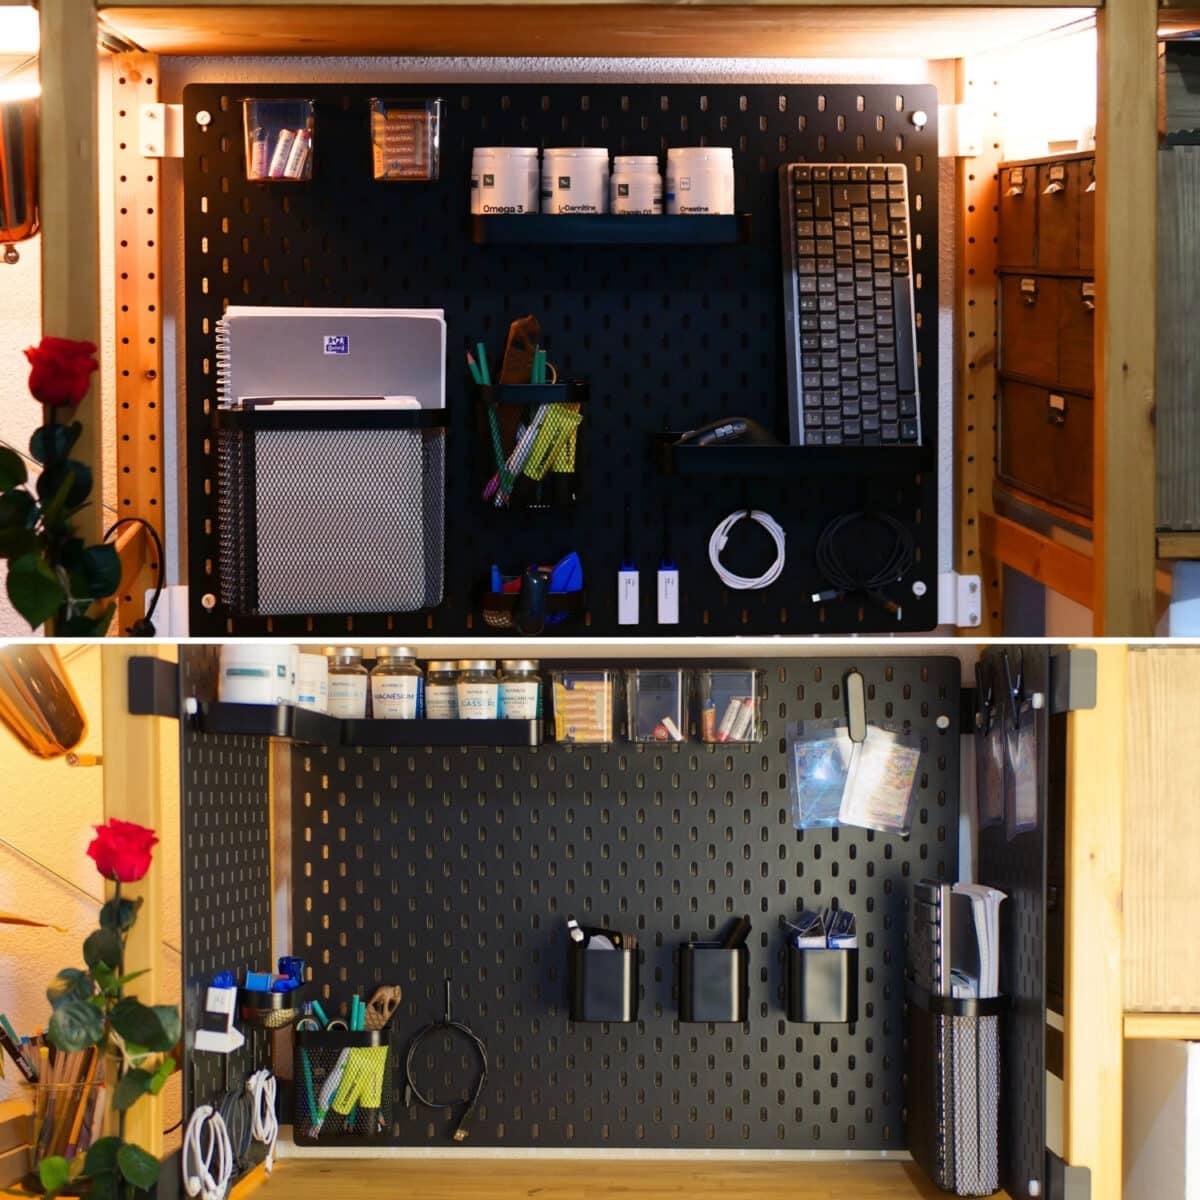
Share your ideas in the comments, and if you decide to re-imagine an IKEA item or two, share your hack! Your DIY masterpiece might be one of the next ones we feature on the site.