
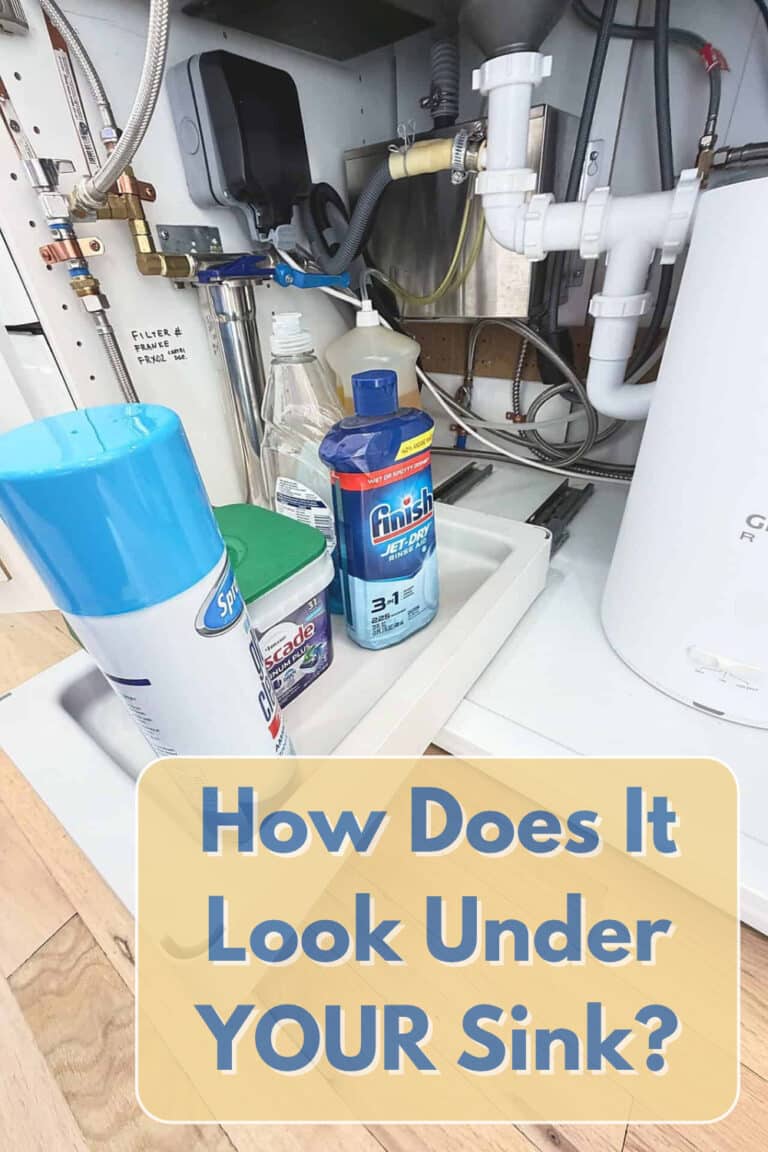
Many people would agree that one of the trickiest spots to organize is the space under the sink. (Especially in the kitchen!) You have to compete with pipes, fittings, a garbage disposal, possibly a water filter. But you also likely keep dish detergent, sponges, and other odds and ends under there.
You end up with a jumbled, cluttered mess that makes finding anything a real lesson in frustration. With so much necessary stuff taking up all the floor space, what are you supposed to do?
Well, you could keep playing tug-of-war with the dish soap, or you could check out this IKEA under-sink hack from Alex. (I’d recommend doing the latter.) Here’s what you need to know!
What You’ll Need
- 1 IKEA SEKTION 36” sink base cabinet (the hacker did an IKEA kitchen using SEKTION, but you could adjust this hack to fit in your existing cabinet)
- 1 IKEA HÅLLBAR pull-out frame, light gray, (frame only)
- 2 IKEA SKÅDIS pegboards, white, 14 1/4 x 22″
- Various SKÅDIS containers and storage baskets
- Various SKÅDIS elastic cords, pegs, and hooks
- 1 IKEA MITTLED LED drawer light with sensor
- 1 IKEA ANSLUTA driver
- Under-sink liner tray with raised sides
- Kitchen or bath silicone
- 4 short screws
- Soap dispenser extension tube kit (if applicable)
- GROHE Sense leak sensor (if applicable)
- Saw
- Screw gun/drill
Tackling the Under-Sink Clutter
1. Place the Liner Tray
Start with the liner tray to protect the bottom of the cabinet. As Alex advises, you’re dealing with the space below the sink, so you can pretty much guarantee that you’ll have a leak at some point.
Placing a simple liner before you start adding anything else may not sound exciting, but it’s well worth it to avoid water damage. But measure your actual cabinet since the specific interior dimensions can differ slightly from the label. Also, make sure to get a liner with raised edges.
2. Install the Light
The MITTLED light with ANSLUTA driver is a smart addition since it makes things easier to find. A little light is always nice, and since this one has a sensor, it turns on automatically when you open the cabinet door. Alex also gives a heads-up here to make sure you have a GFCI outlet.
3. Add the Pull-Out
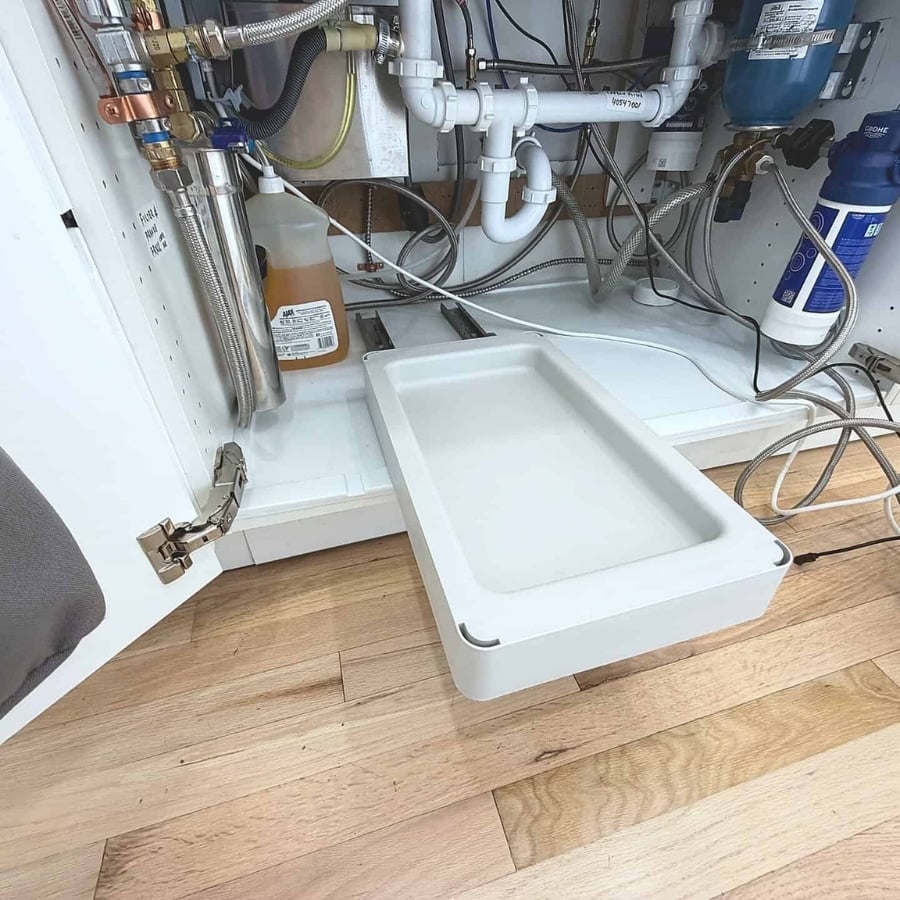
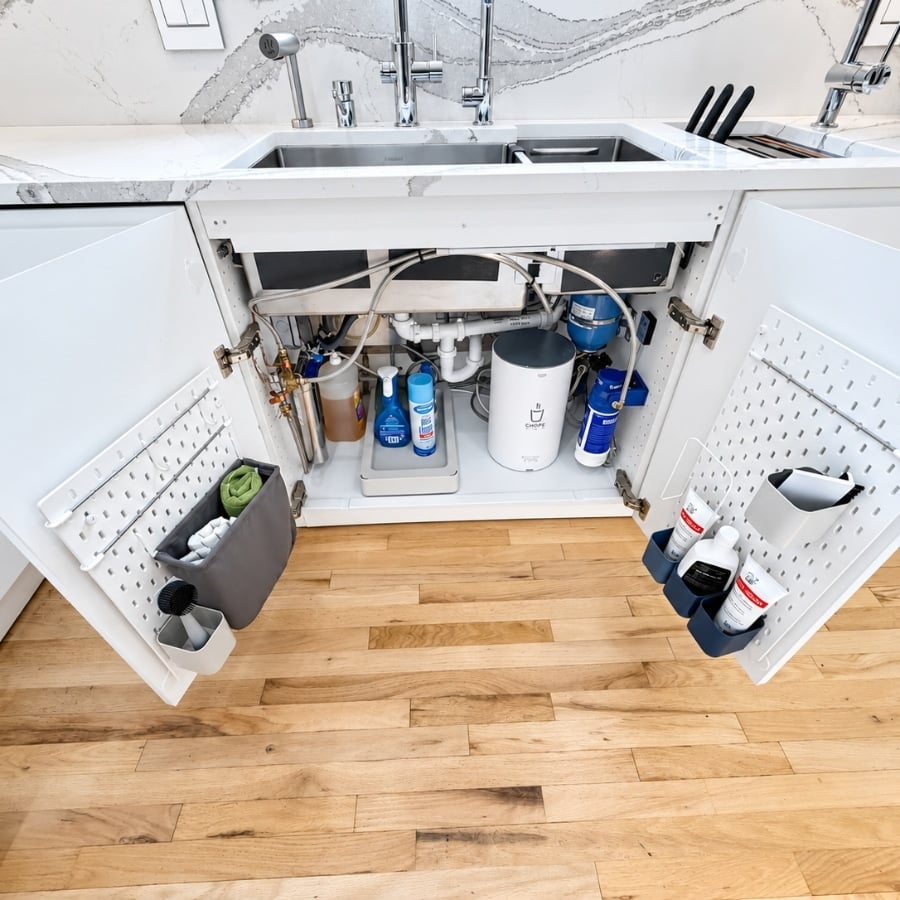
Remove the vertical parts and the top part of the HÅLLBAR, then set them aside. Alex used only the bottom part, turning it into a convenient slide-out for cleaning products.
Secure the bottom section of the HÅLLBAR frame to the cabinet base with four short screws, drilling through the liner tray. To keep things waterproof, put silicone around the holes to prevent leaks around the threads of the screws. Then, just four little screws, and that is it.
4. Maximize Storage Space With SKÅDIS Panels
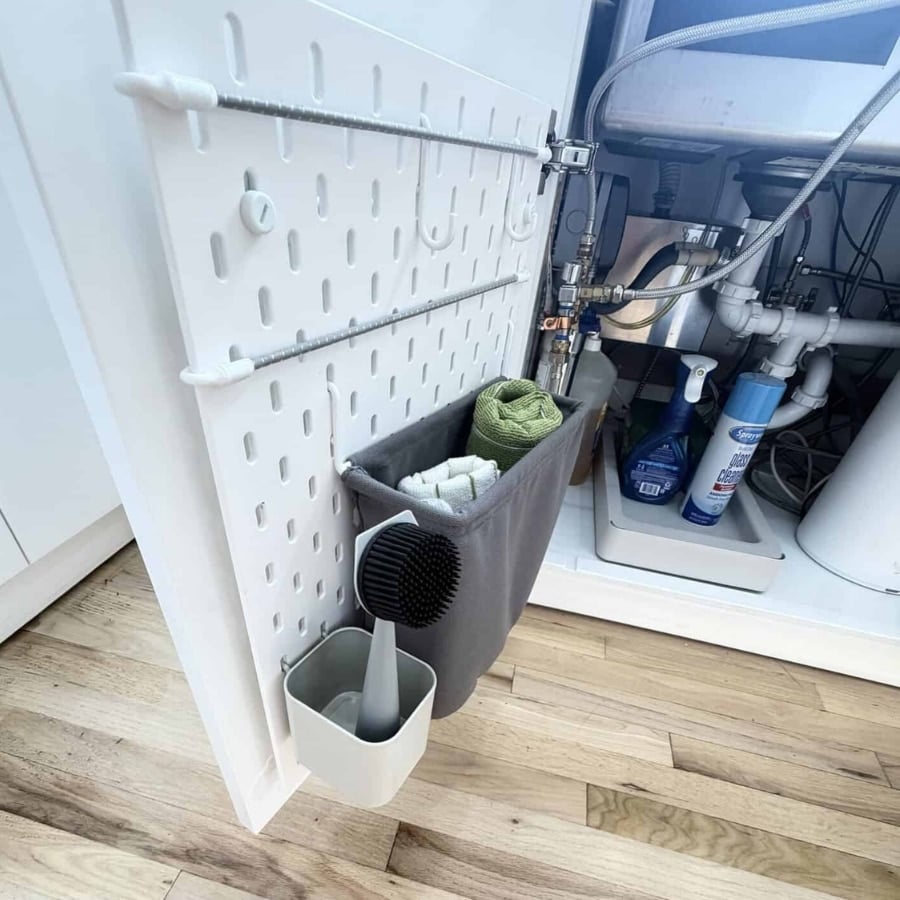
When you need extra space below the sink, the backs of the cabinet doors are goldmines! Alex added SKÅDIS panels on both doors, checking the fit first to make sure everything closed properly and fit around hinges and plumbing.
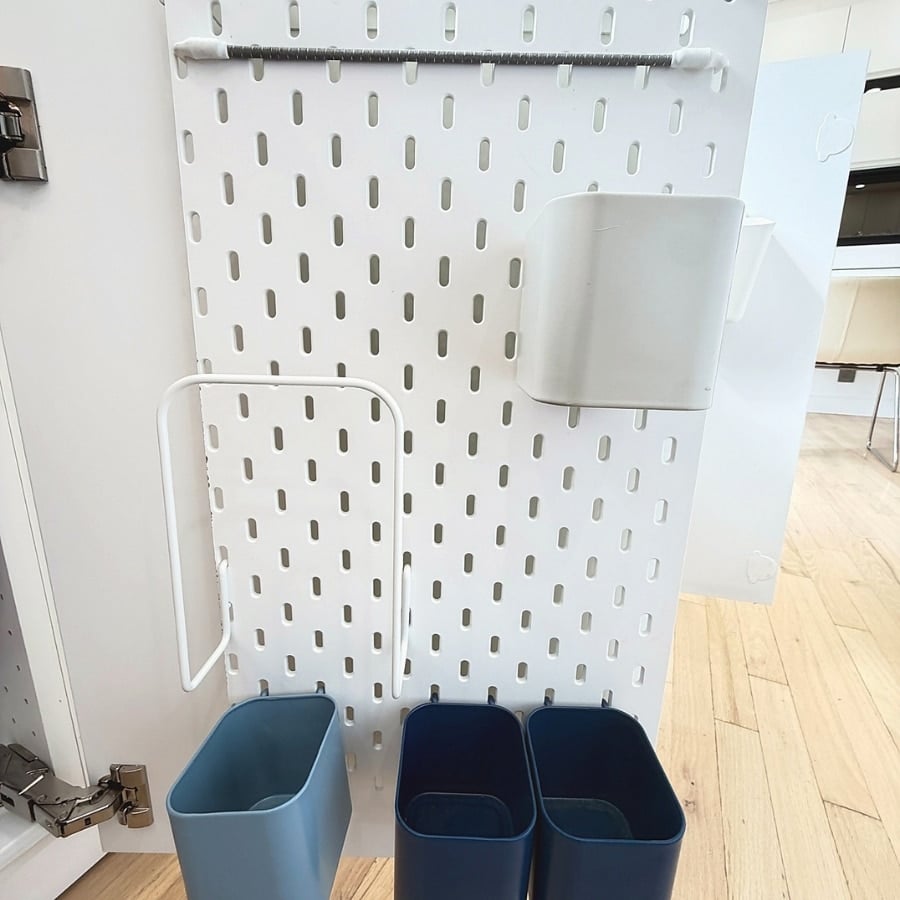
Trim the panels as needed and turn the cut edges inward so they don’t show. Mount them inside the cabinet doors using the SKÅDIS mounting brackets and screws short enough that they won’t poke through the door fronts. Leave space behind the panels for the hooks and accessories. Then add containers, baskets, and hooks to suit your storage needs.
5. Finishing Touches
Alex has a countertop soap dispenser that refills from a giant bottle below the sinks. There’s also a leak sensor under the cabinet. These finishing touches depend on whether or not you have similar components (or want to add them).
How much did this hack cost? About $70 for the SKÅDIS panels and HÅLLBAR pull-out. Then you’d need to add the cost of the accessories you choose. Also, even the MITTLED light is optional, giving this hack quite a bit of flexibility in the cost department.
What was the hardest part of this hack? According to Alex, the most challenging part of the project was drilling through the waterproof liner. However, putting silicone in the holes solved the issue. Also, pay close attention to door clearance before mounting the pegboard panels. Moreover, stick with lightweight items on the doors.
Check out Alex’s full under-sink project here for more information and details on the DIY from start to finish.
Have you already tamed your chaos under the sink? Share your hack and show us how you conquered the clutter!