
Every since I was little I was fascinated with floatie pens. I am not sure how my ‘collection’ actually started but at some point I realized that I sort of had a lot and should display them. As I was searching for a display to purchase, it quickly became apparent that there was no such thing–at least that I was able to locate. So, I made several attempts at DIY displays. One in particular I thought would work, but never turned out quite the way I wanted. (It was using a toothbrush holder. I still believe someone could pull it off, just not me.)
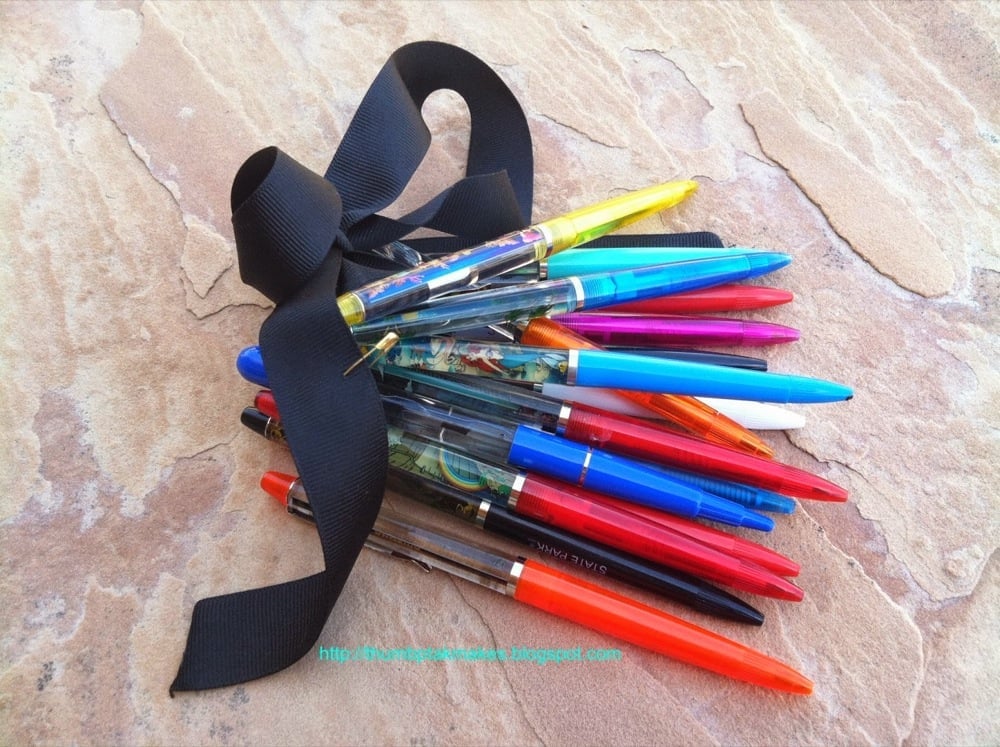
My floatie pen collection
Then it hit me, a picture shelf ledge turned vertical! And I had just the spot in the house to hang it!
Here is how it turned out. I really love it! I have summarized the steps I took to create it. It’s super simple!

Marks on painter’s tape helped me make sure I was drilling where I wanted to.
So, this project turned into an IKEA hack. YAY! I purchased a Ribba picture ledge from IKEA.
I took that Ribba picture ledge and drilled holes into it that would accommodate the pens. I used some painters tape on the front to mark where I wanted to drill. I also added some of the tape to the back. My hope was that this would save the finish. I was not so lucky. Easy fix though, I painted the center piece front and back a coordinating wall color. I started with a 1/4 inch drill bit and tested the pens and went up from there. I believe I landed on 9/32. A 5/16 may also work. I would advise that you go slow and test a variety of pens after everydrill. For the visual learners out there, here are some pics.


A little touch of paint in the center makes it look fancy I think.
I am very pleased with the outcome and it makes me smile everytime I walk past!
