
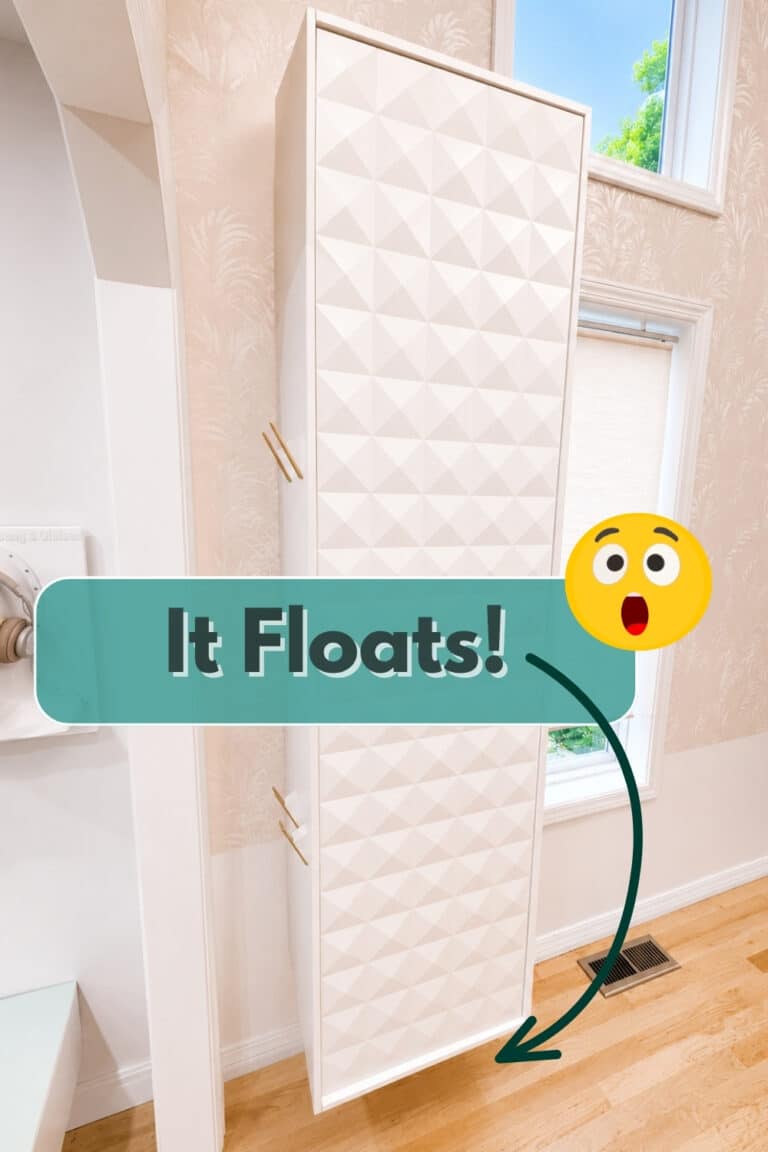
As someone who lives in a small home, I’m always looking for ways to make things more functional without overwhelming a room. One trick I love is keeping things off the floor to create more visual space. (Plus, it makes it easier to vacuum.)
Turns out, IKEA hacker Alex Semenov (Homeject) had similar thoughts about his entryway. He needed a place to hang coats that didn’t feel miles away from the front door and made it easy for his robot vacuum to do its thing.
His solution started with a tried-and-true IKEA favorite, the PAX wardrobe. But he decided to lift it off the floor and make a few modifications, creating a custom closet that looks like it cost a pretty penny.
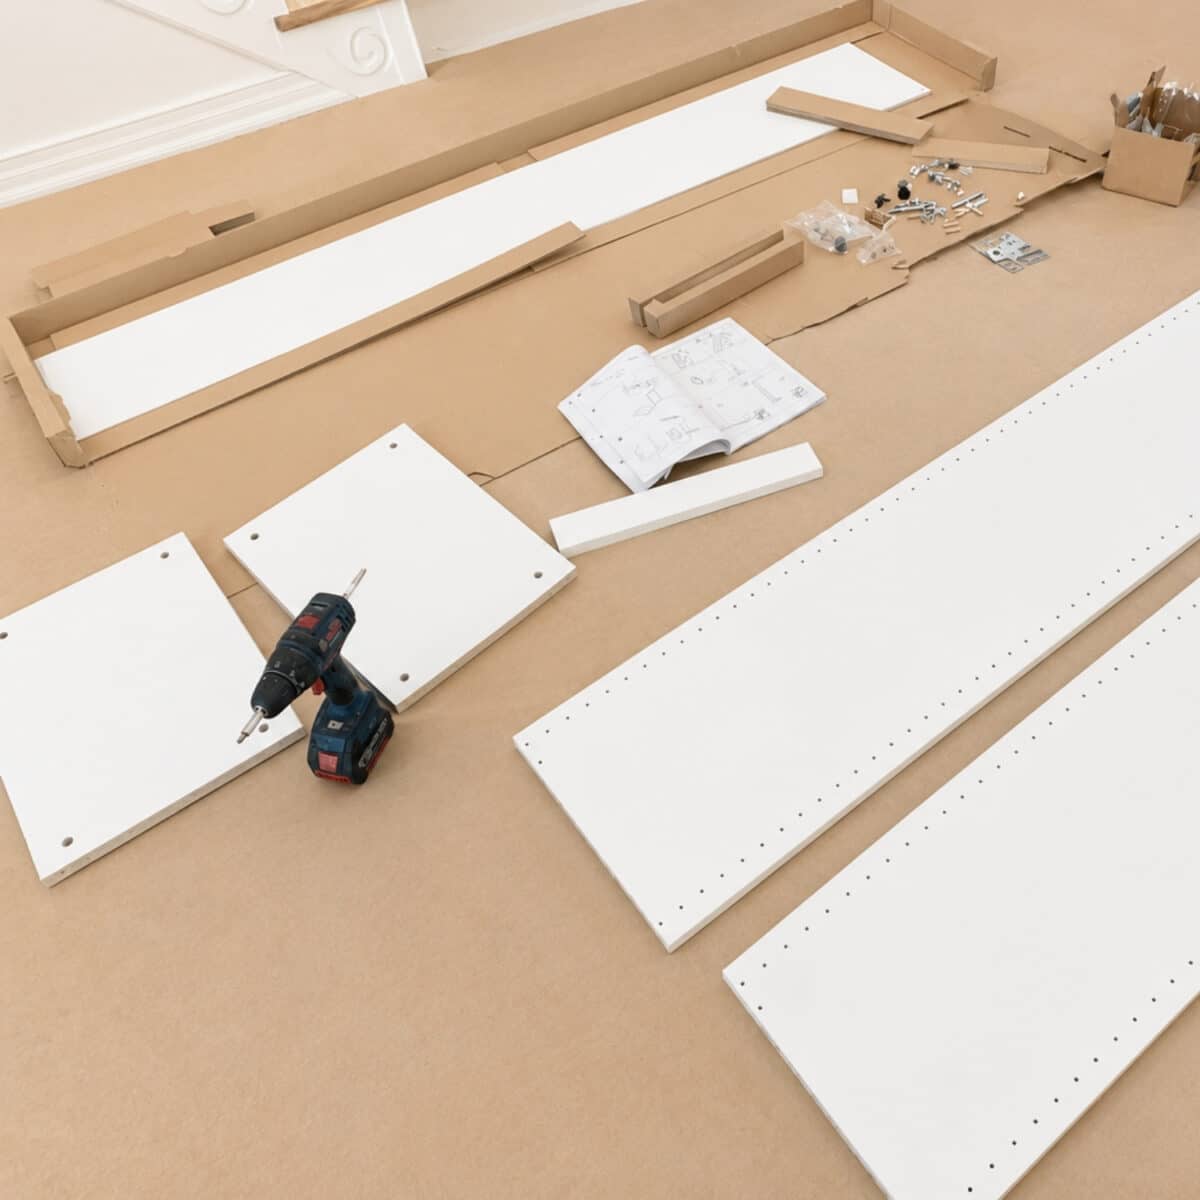
What You’ll Need
- PAX wall-mounted storage frame, white, 19⅝×13¾×79⅛”
- SEKTION suspension rail, 84″ (cut into two)
- PAX wall-mount brackets (#124518 + #124516)
- FORSAND door, white
- KOMPLEMENT push opener
- KOMPLEMENT pull-out tray
- KOMPLEMENT shoe shelf ×3
- FÖRBÄTTRA cover panels, high-gloss white (optional) (Alex found them in the As-Is section)
- ÖVERSIDAN LED strip (optional)
- Pull-down closet rod (21–26″, cut to fit)
- Hook bar
- Gold and white wall hooks
- Screws
- Stud finder
- Level
- Utility knife
- Hand saw
- Basics: drill, screwdriver, tape measure, pencil
How to Create a Custom Entryway Closet That Looks Pricey
1. Start With the Studs
Anytime you plan to hang something on the wall, think of support, support, support! First things first, locate the wall studs and mark them so you know exactly where to put the mounting screws.
2. Assemble and Hang the PAX
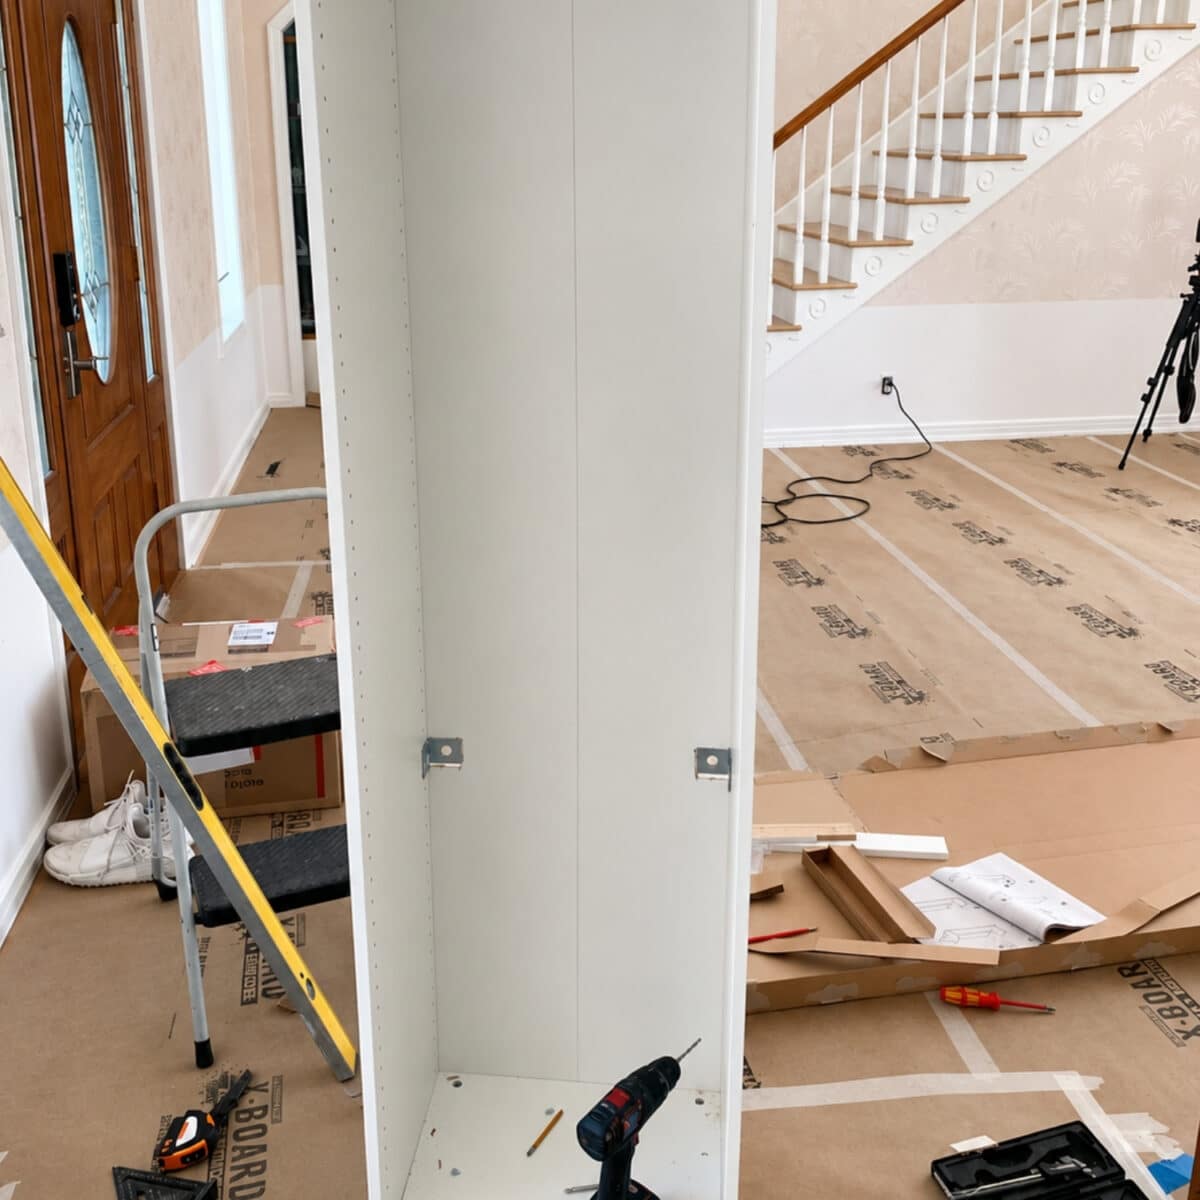
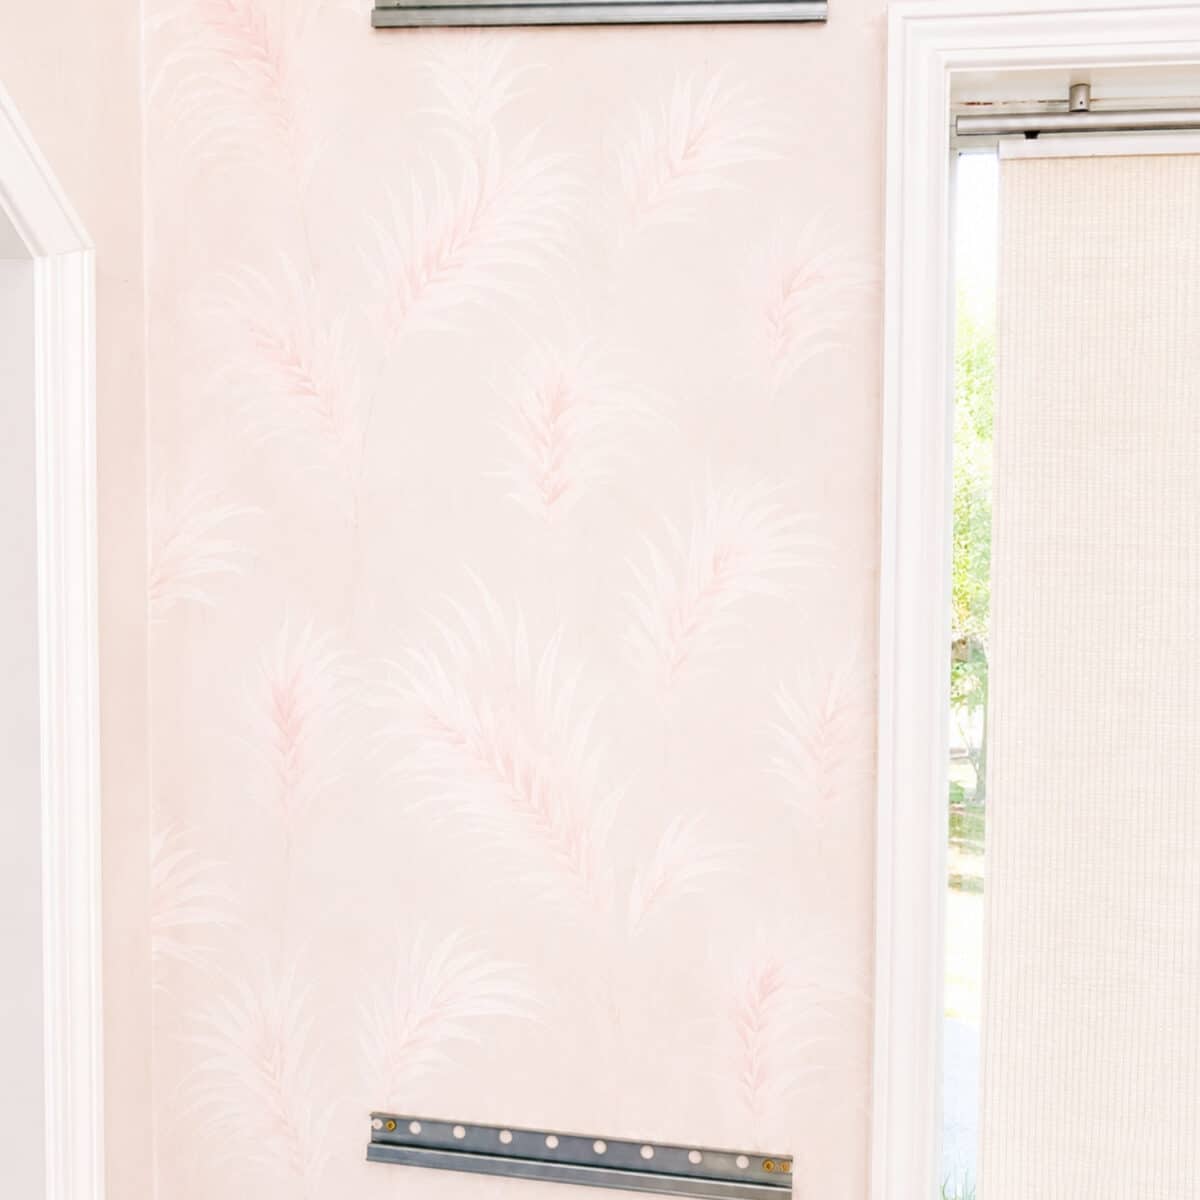
Put together the PAX wardrobe frame according to IKEA’s instructions. Screw the top SEKTION rail into the studs, hang the PAX, and mark where the bottom rail needs to go. Remove the frame, screw the bottom rail into the studs, then rehang the frame.
3. Time to Go Custom and Make It Float
Cut off the base panels below the bottom shelf, and trim roughly 2 inches off the bottom to get the floating look. Attach the FÖRBÄTTRA cover panels, if you opted to get them, to the frame sides, allowing them to extend slightly beyond the front edge. Install the push opener and the FORSAND door.
4. Add Accessories and Fittings
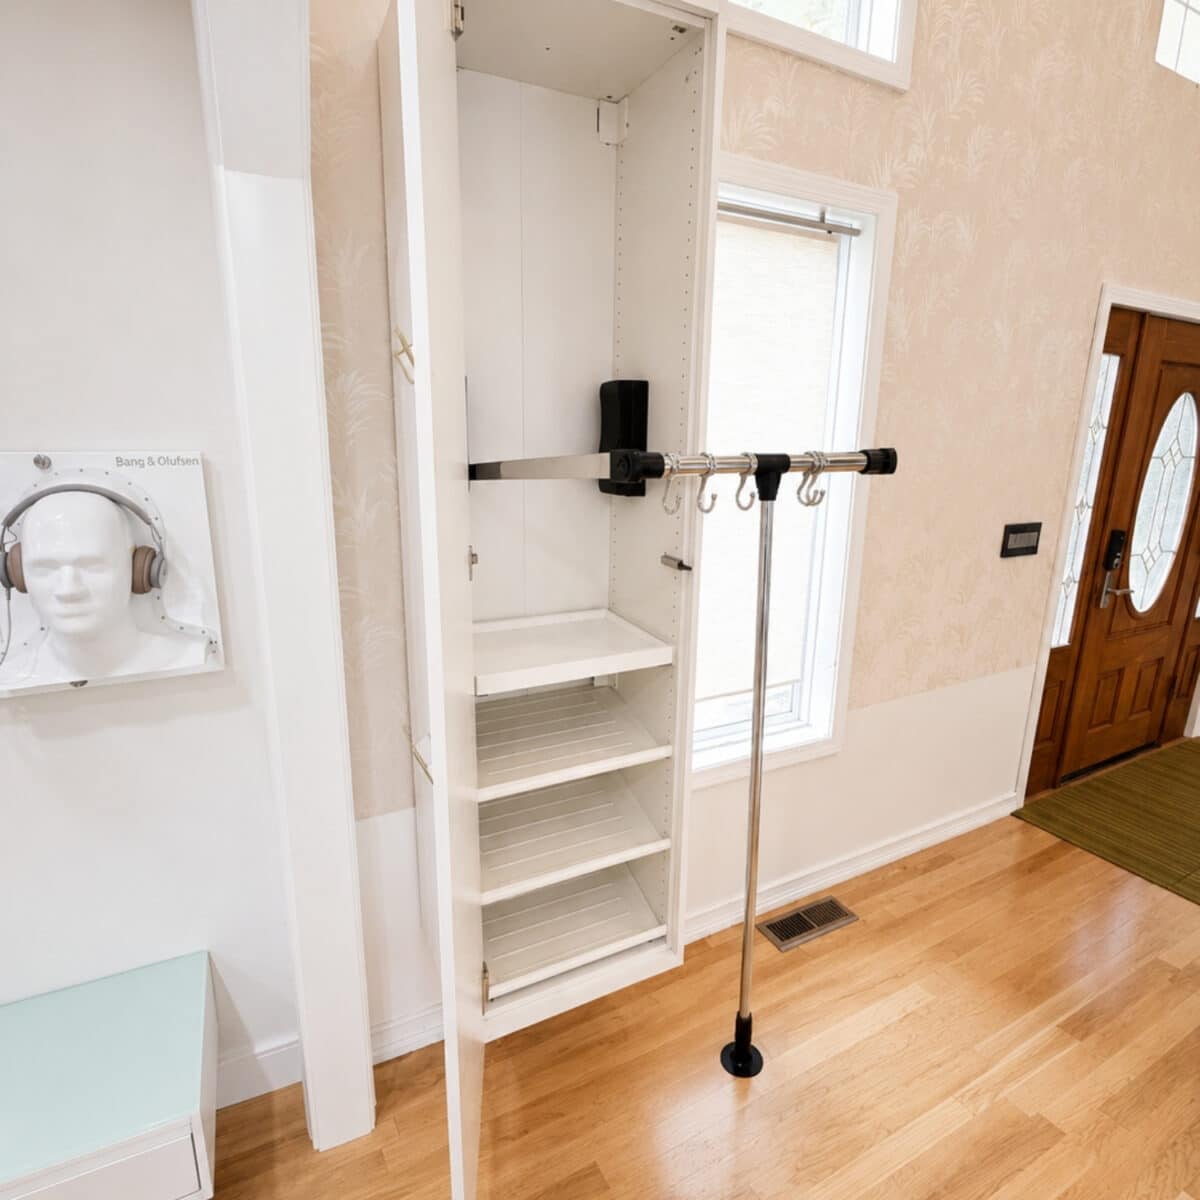
Cut the rod to size, and mount it.The pull-down closet rod is a super smart addition. It makes it a breeze to reach coats and jackets without needing a stool.
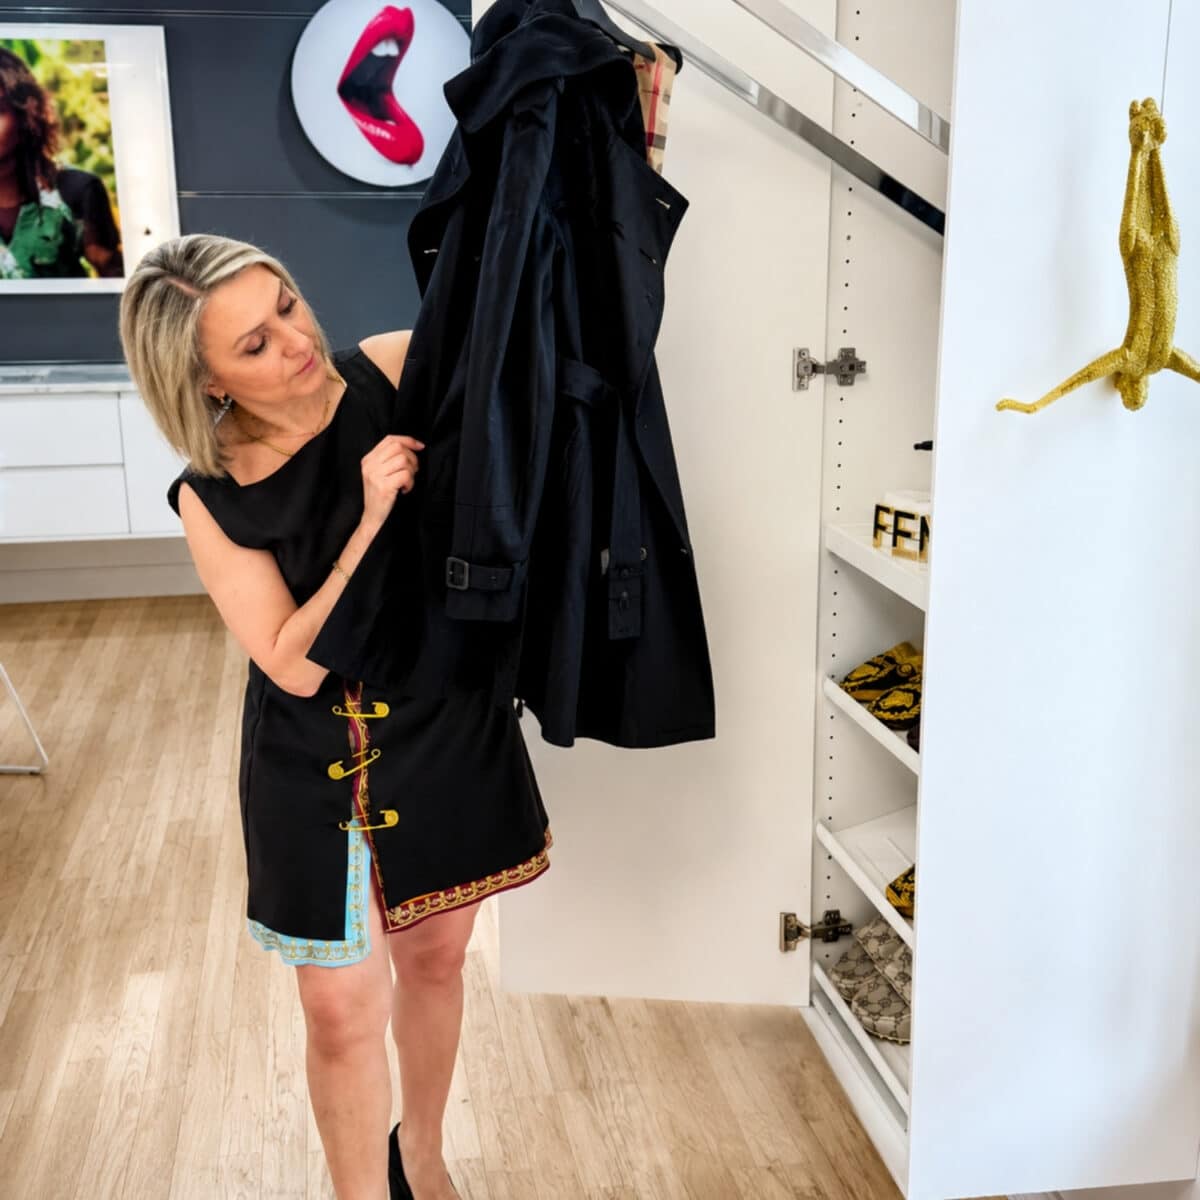
Next, add hooks, install the KOMPLEMENT pull-out tray and shoe shelves, and mount wall hooks on the outside of the frame for extra coat storage, purses, or hats. Lastly, if you decide to go with the ÖVERSIDAN LED, or something similar, place it inside the frame.
Check out more details and how Alex created this custom entryway PAX closet.
Good To Know
How long did this hack take? About five to six hours.
How much did this hack cost? Alex spent about $400 on the hack, but keep in mind the FÖRBÄTTRA panels and LED lighting are optional. Plus, even though the panels typically cost about $121 apiece, Alex lucked out and found his in the As-Is Section.
You could always scope out online marketplaces, like Facebook Marketplace, to see if anyone is selling any pieces. It’s a great way to cut costs and maximize your hacking dollars. I look there a lot when I’m searching for certain IKEA items since my closest IKEA is six hours away (sigh). But there are always a ton of possibilities.
What was the hardest part about this hack?
According to Alex, the trickiest part was getting the bottom rail in the right spot. Definitely hang the frame first to mark the proper location, rather than trying to measure and hang the rail first.
Going Custom for Less
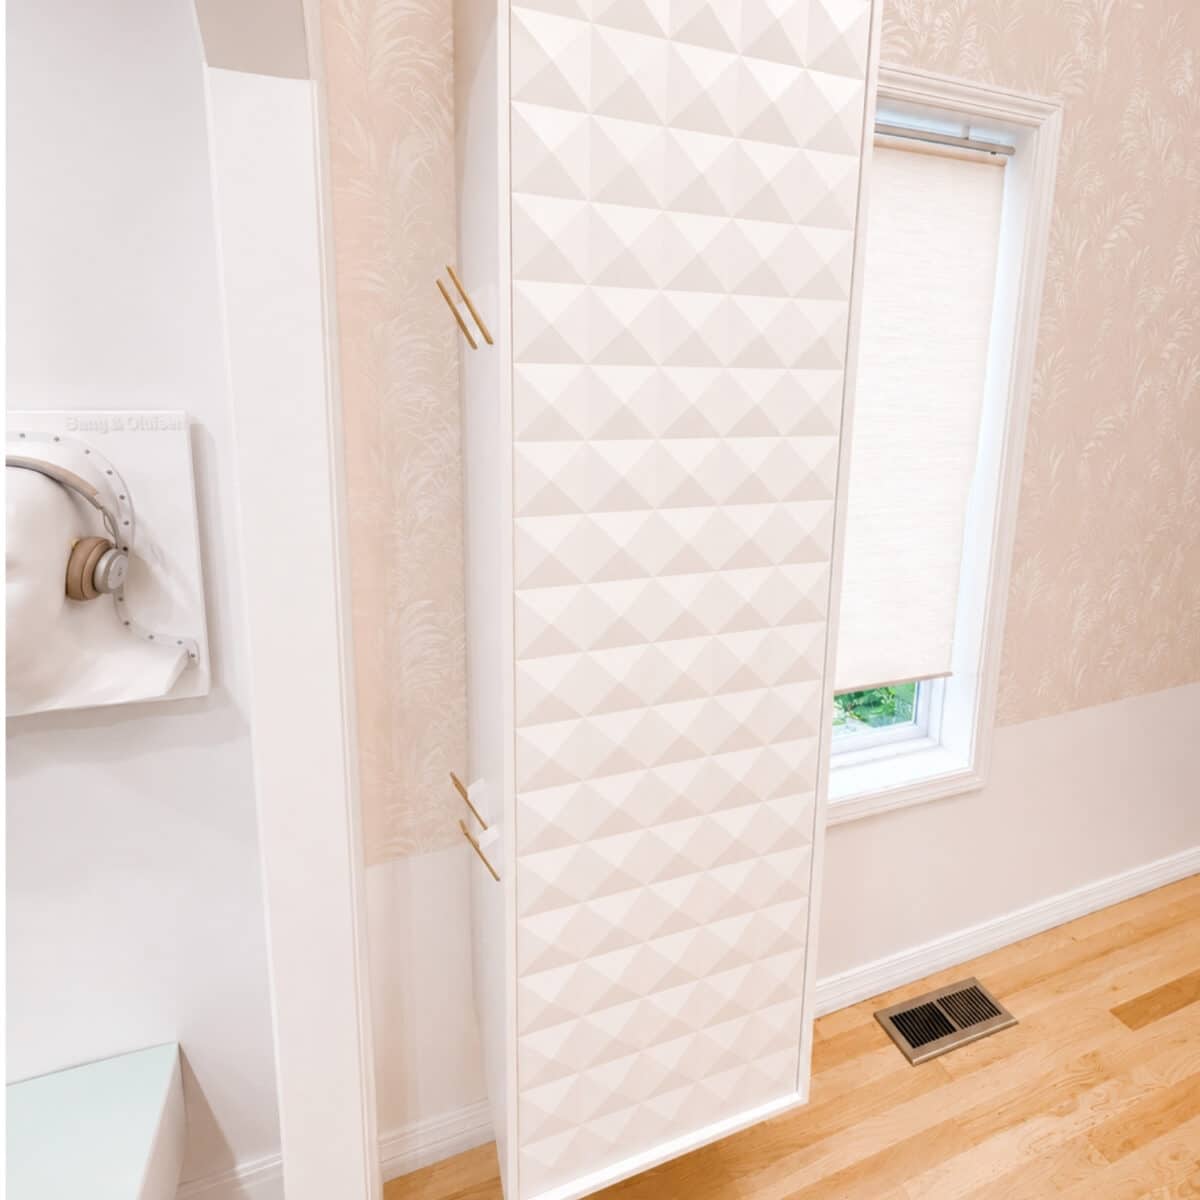
What do you think of this floating storage solution? Personally, I love how it keeps the area underneath free and clear. It really does make the space feel more open, and at a fraction of the cost of a custom built-in unit.
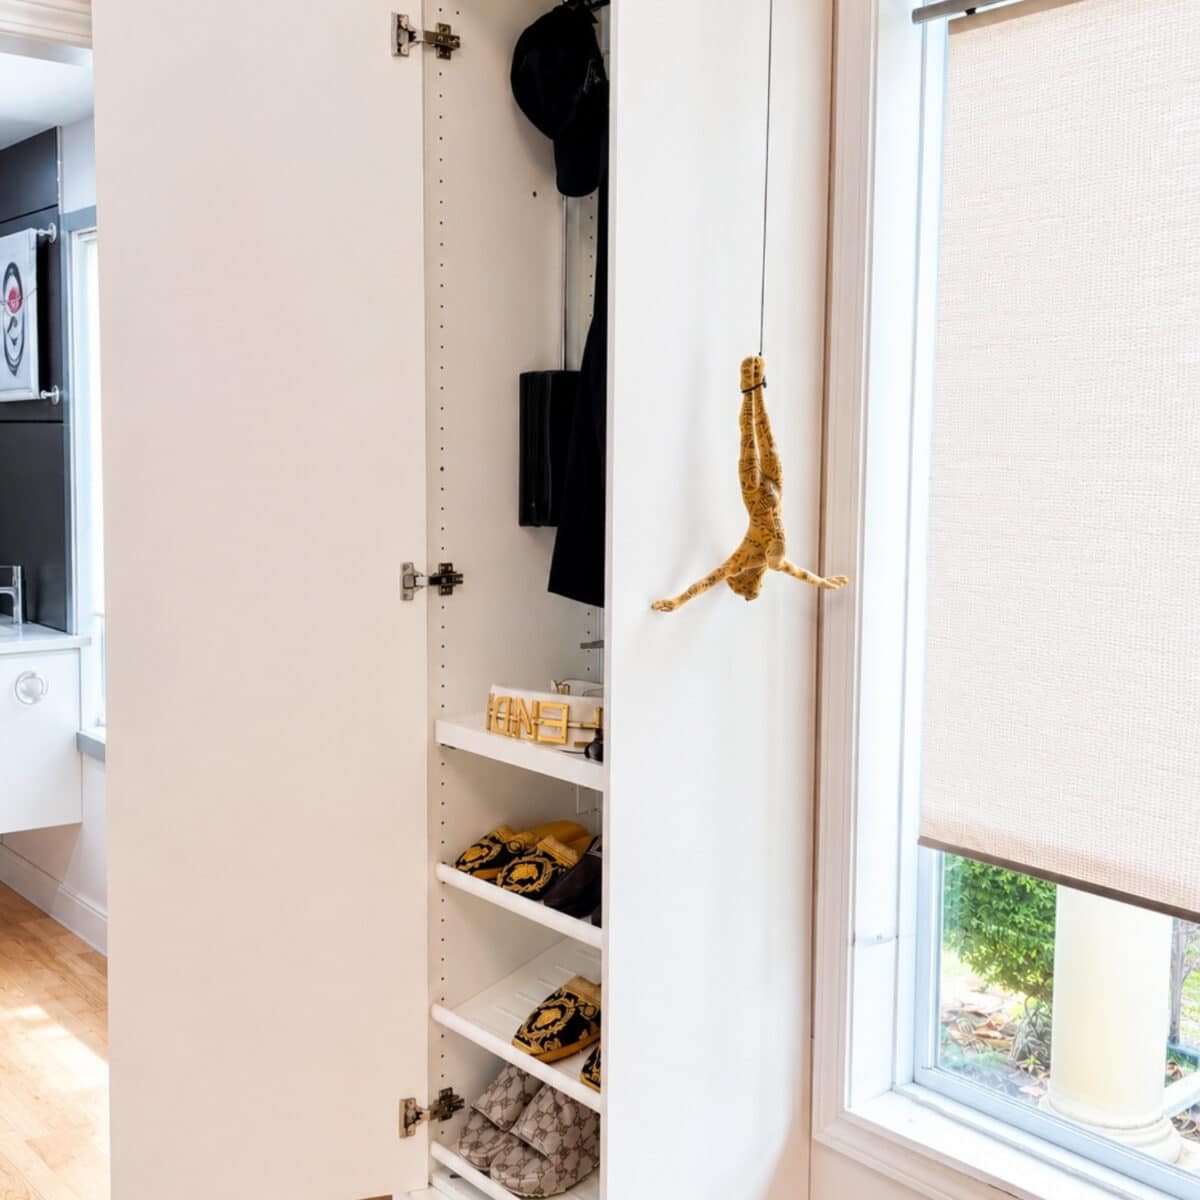
Would this be something you’d try? Or maybe you have a different project that’s helped you solve a dilemma in your own home? We’d love to see it, so make sure to share your hack for a chance to show it off on the site!