
IKEA hacks don’t have to be complicated, time-consuming, or involve tons of tools. Sometimes, you can get exactly what you want in just a matter of minutes, using nothing more than a saw and a quick switcheroo.
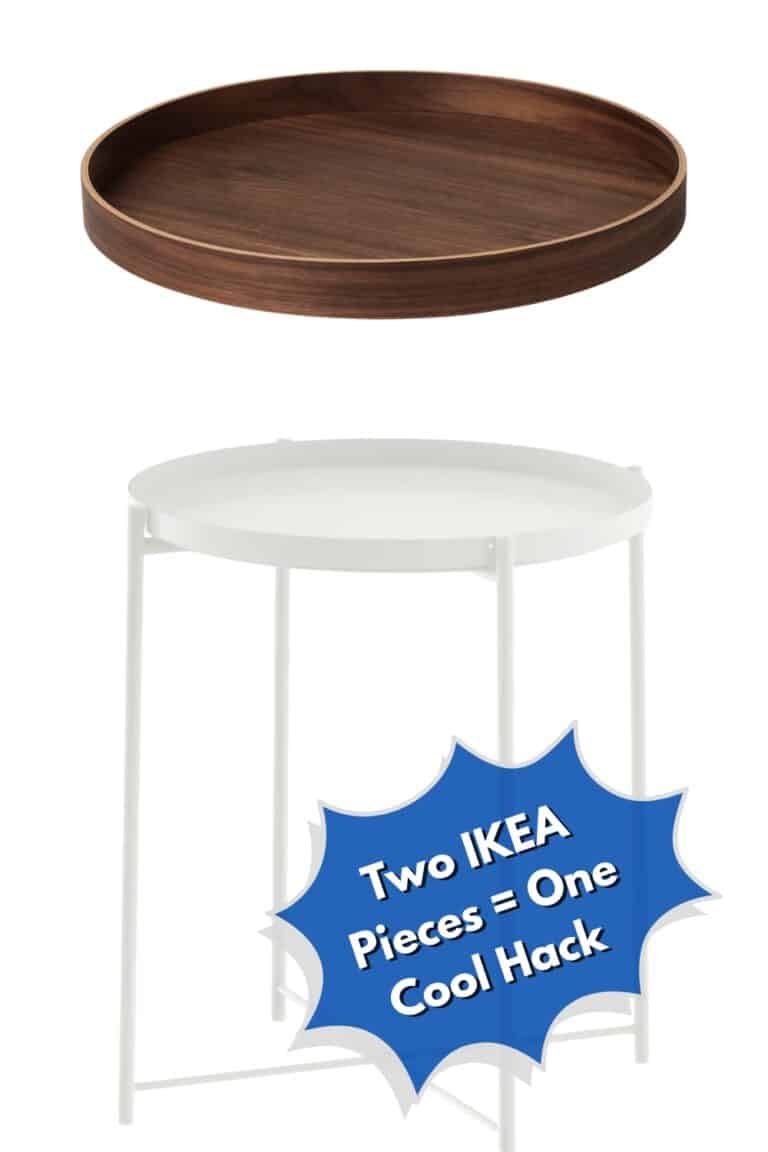
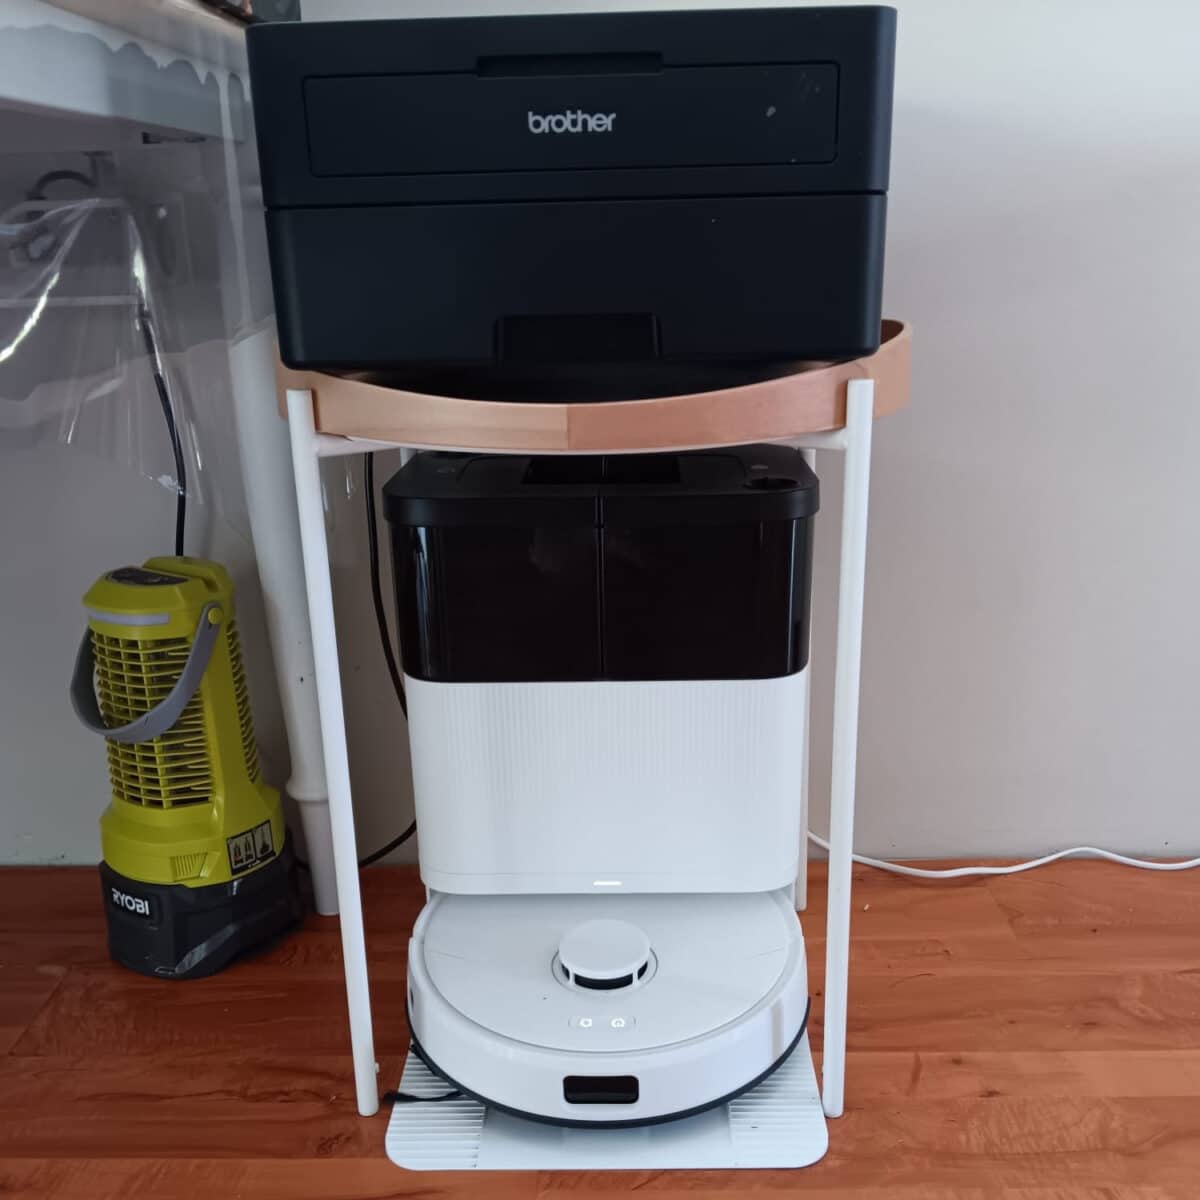
Nicky M. used a GLADOM tray table and SKALA tray to create a modern-looking printer stand for her home office corner. She moved the tray that came with the table to the bottom and put the SKALA on top to create a two-tiered stand.
Easy enough. But then, she brought home Robbi, her robot vacuum, and realized it needed a place to live.
She didn’t want Robbi to simply sit out in the open, so she decided the space underneath the printer stand would be a perfect landing zone. But oh, those pesky crossbars. Luckily, it turns out the tray table is still sturdy without the bars, and the rest, as they say, is history.
What You’ll Need
- 1 IKEA GLADOM tray table
- 1 IKEA SKALA tray
- Saw suitable for metal
- File (optional)
A Printer Stand and Vacuum Landing Zone in 1, 2, 3!
1. Switch the Tabletop
Remove the tray that comes with the GLADOM table. It simply lifts up and off, and you can use it for something else. Then, place the SKALA tray in its place. IKEA US no longer offers the SKALA, but the OMBONAD tray is a similar size.
2. Remove the Bottom Crossbars
Use a metal saw or something like a Sawzall to cut off the bottom crossbars.
3. Smooth Things Out
If the edges where you removed the bars are rough, use a file to smooth things out. Then, just put everything into position. That’s it!
The beauty of this setup is that it serves two purposes without taking up much extra floor space. It’s a particularly clever solution for smaller home offices where every bit of floor space counts. And removing the crossbars makes it super easy to slide the docking station underneath, allowing the robot vacuum to come and go smoothly.
How Much Is This Hack?
Nicky didn’t have to spend anything on this hack since she used items she already had. Basically, she was re-hacking her previous hack. But if you were starting from scratch, you’d spend $20 on the tray table and about $40 on the tray.
Of course, IKEA’s as-is section is always a good starting point when you have a hack in mind. You can find all sorts of goodies at a fraction of the price, often with little to no damage or issues. It’s a great spot to pick up pieces for DIY projects since you’re going to change them up anyway. You can also often find used IKEA items on Facebook Marketplace.
A Word of Advice: Know Your Measurements!
One thing to keep in mind is the height and clearance your robot vacuum needs. Before cutting the crossbars, check the height of your vacuum and docking station to make sure everything will fit comfortably underneath. You’ll also want to leave enough room for the vacuum to maneuver in and out without getting stuck.
Also, just because Nicky’s table supports her printer, it doesn’t mean yours will. Once you remove the crossbars, the table will lose some of its stability. So make sure it can handle the weight of your specific printer.
Of course, this is assuming you plan to use the hack exactly as Nicky did. You may decide to simply keep a few lightweight decor items on top. It’s just something worth staying aware of to keep everything as safe as possible.
Anything Special to Know About This Hack?
When asked what the hardest part about this hack was, Nicky replied, “Nothing, it was a simple fix. Simple hack with a great impact.” She also shared that she wouldn’t change a thing.
What about you? How would you use this hack in your home? Or do you have another idea in mind for re-purposing this tray table? If so, share your hack so we can keep the ideas flowing!