
I love a good organizational system. It keeps everything tidy, within reach, and just makes life run a little more smoothly. The right pegboard setup is a perfect example, and Simone Tomaselli definitely has a favorite.
“I’ve always had a soft spot for the SKÅDIS pegboard system — cheap, endlessly flexible, and there’s an accessory for pretty much everything.”
One of the best things about IKEA’s popular pegboard series is that it never really feels finished. Every time you add a new accessory, rearrange your workspace, or discover a clever storage trick, it evolves into something new.
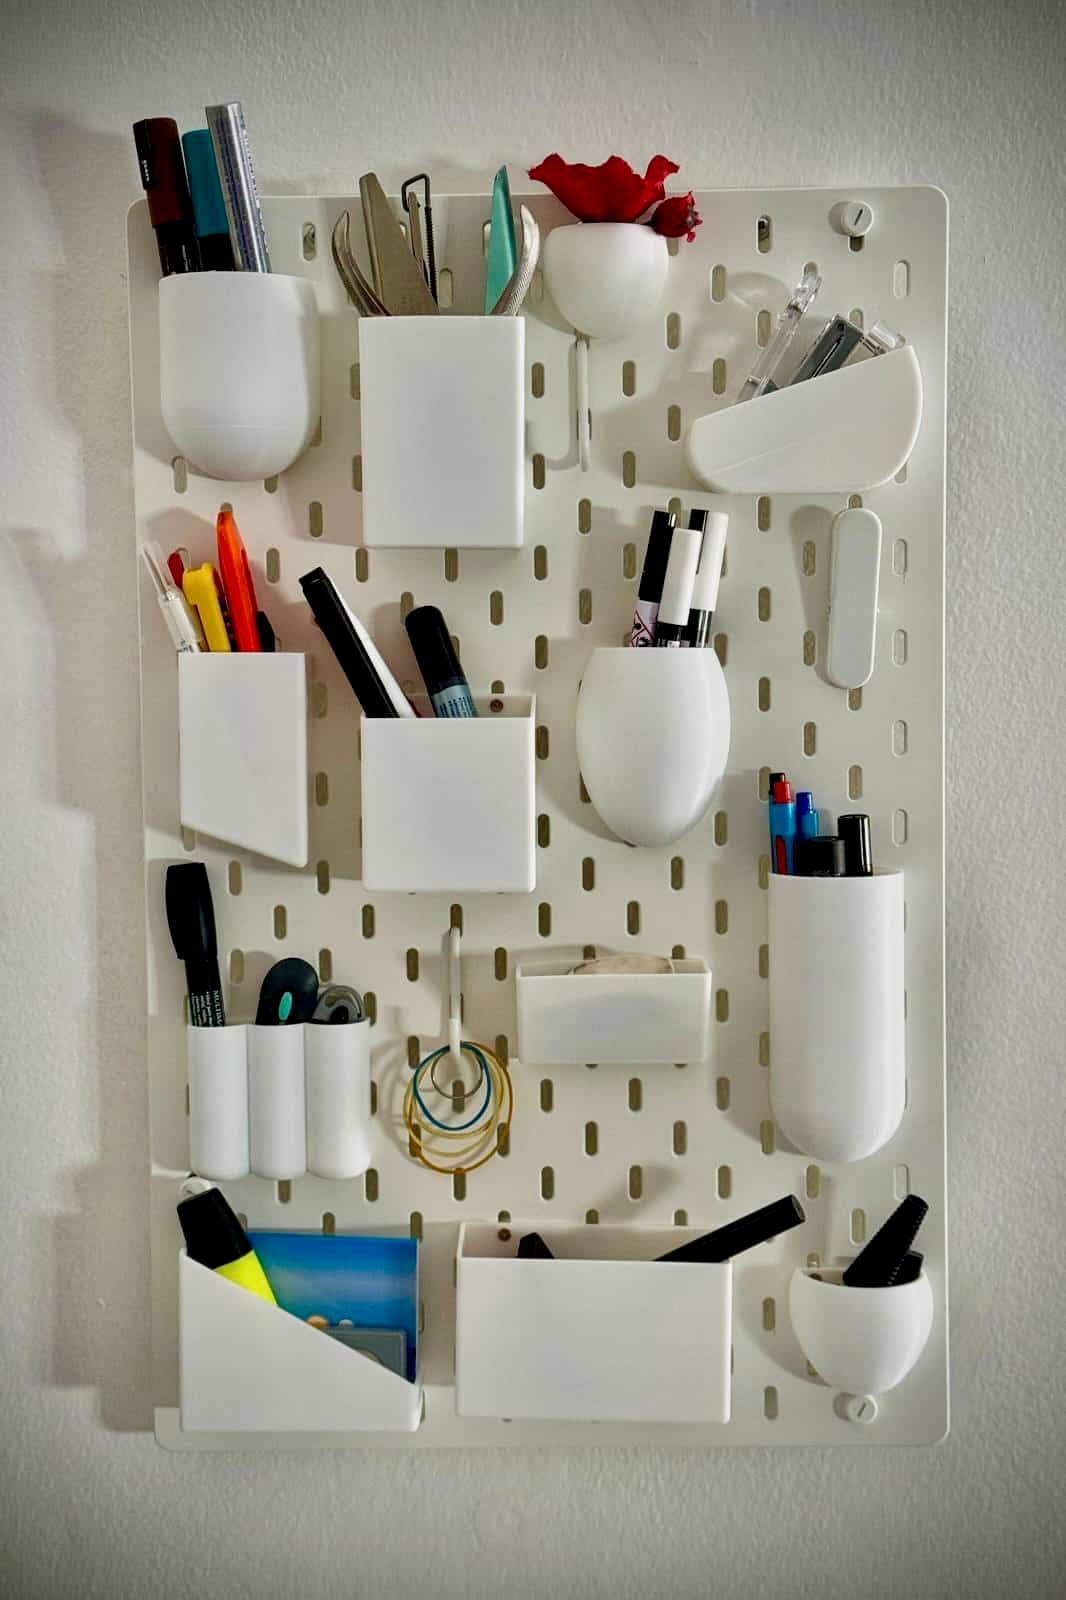
However, what Simone really wanted was to transform the SKÅDIS into one of his favorite pieces of design history, the Vitra Uten. Silo wall organizer. But how precisely does one take the flexibility of a modern pegboard and recreate the look of a legendary vintage design?
That’s exactly what inspired this hack.
Finding IKEA Hack Inspiration in Design History
Simone is no stranger to hacking IKEA into classic vintage pieces. It’s what he did with this retro-inspired wall shelf.
So when it came to replicating his favorite iconic modular storage unit from the late 1960s, he sprang into action. The piece was originally designed by Dorothee Becker in 1969 and made as one static collection of organizers.
Simone shares, “Its sculptural arrangement of compartments, hooks, and trays has become an icon of functional design, but there’s one drawback: it’s manufactured as a single molded piece. That means the layout is fixed forever.”
I have to admit, I’m all about getting authentic vintage pieces, and I love a good mid-century vibe, but I also appreciate practicality. And having the option to rearrange my storage is much more appealing than being forced to fit things into fixed compartments.
Plus, buying one of the retro pieces isn’t cheap. A quick online search showed prices from $500 to $800 (or more!) for what is essentially a desk organizer.
Therefore, Simone decided to revamp his SKÅDIS pegboard. After all, IKEA had already solved the main issue. Instead of one solid organizer, he could get individual modules and reinterpret them to match the Uten visually.
Reimagining the SKÅDIS Into a Mid-Century Icon
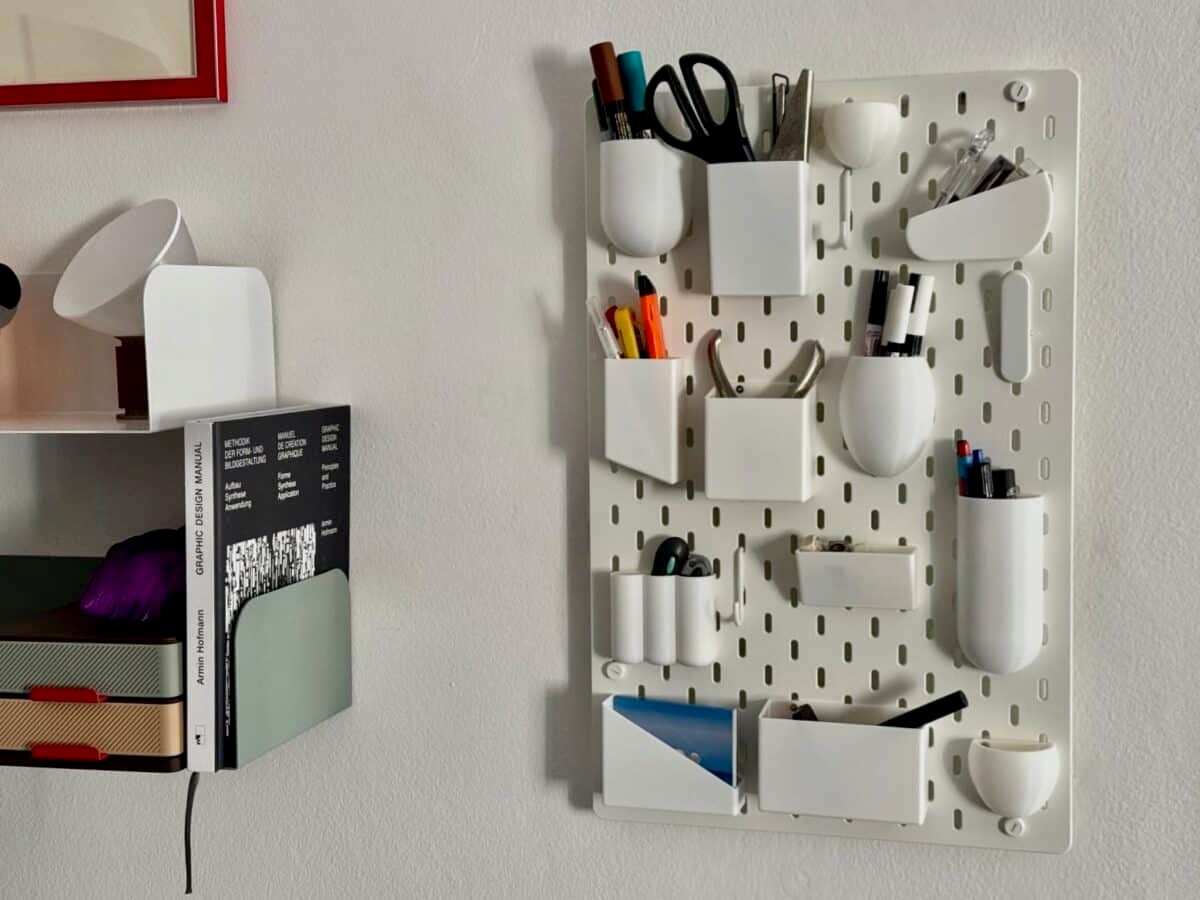
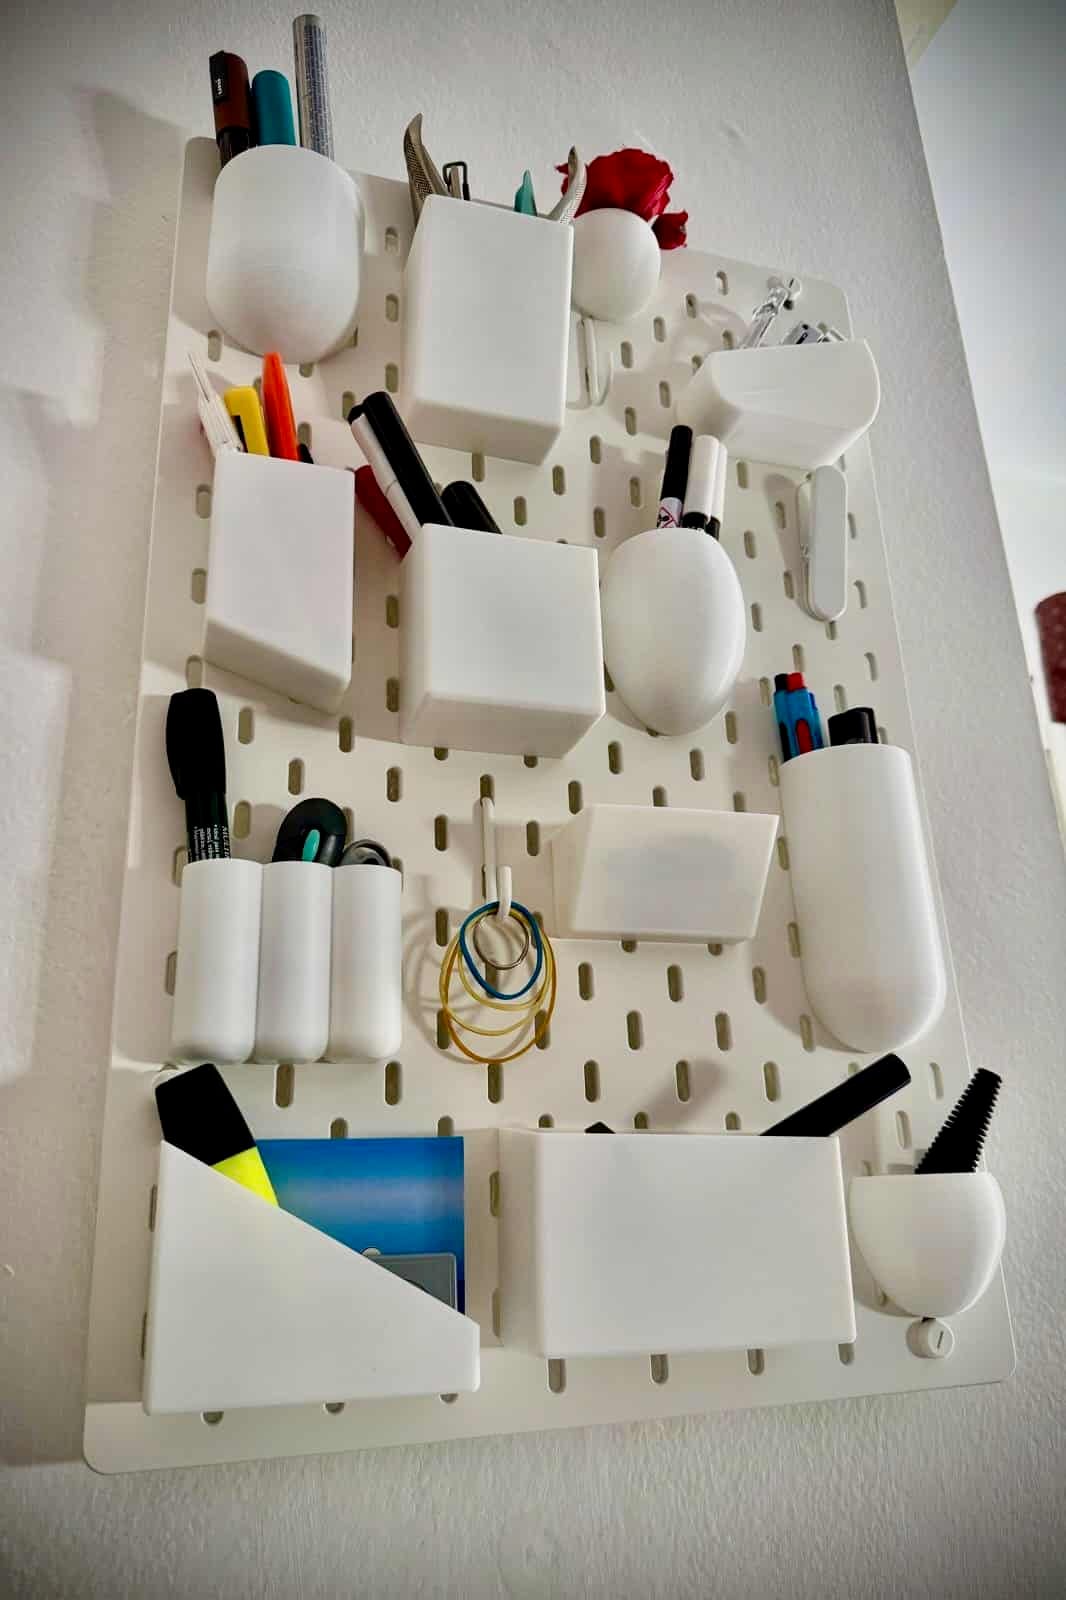
Rather than copying the original piece, Simone designed an entirely new set of accessories specifically for IKEA’s 37 × 56 cm SKÅDIS pegboard. The project became a collection of 13 individual 3D-printable modules, each with its own integrated hook that clips directly into the pegboard.
You don’t need any extra brackets or hardware since the mounting system is built right into every print. (That also means you don’t have to purchase any SKÅDIS mounting clips.)
Simone arranged the pieces into a tight grid to achieve the inspired aesthetic of the classic modular design. However, the beauty of this hack is that it retains the original flexibility of IKEA’s system.
Prefer something more practical? Spread the pieces across the board, combine them with IKEA’s own SKÅDIS accessories, or print only the modules you actually need.
That’s the real advantage over a one-piece organizer. Instead of adapting your workspace to the organizer, the organizer adapts to you.
Want to Make One?
Simone designed all of the modular pieces using a 3D Printer and PLA/PETG filament. Simone provided the following heads-up: “A few modules require some support material; however, only in small areas, and the supports remove cleanly without leaving visible marks.”
Don’t have a 3D printer? (Me neither.) The good news is that you don’t have to buy one. Many public libraries, schools, and community workshops offer affordable (sometimes even free) 3D-printing services.
As for the compartment designs? Simone has made his entire collection of STL files available for free on MakerWorld.
The Bigger Picture: Creating Your Own IKEA Accessories to Design Unique Solutions
The most exciting part of this project isn’t the organizer itself but what it demonstrates. SKÅDIS is essentially a blank canvas.
Once you understand how the pegboard mounting system works, you can begin designing your own accessories for hobbies, workshops, offices, kitchens, craft rooms, gaming setups, or photography gear.
The pegboard becomes the platform, and your imagination (and in some cases, a 3D printer) supplies the accessories. Modern CAD software is more beginner-friendly than ever, and free design programs make it surprisingly easy to start creating simple functional parts. Even if you’re new to 3D printing, projects like this are an excellent introduction to designing useful objects instead of decorative ones.
More Smart Ways to Hack the SKÅDIS System
One reason SKÅDIS has become such a favorite among IKEA hackers is its versatility. Beyond office organization, people have transformed the IKEA pegboard into:
- Workshop tool walls
- Kitchen storage for utensils and spice containers
- Craft stations for scissors, thread, markers, and cutting tools
- Gaming command centers
- Camera and photography storage solutions
- Entryway organizers for keys, sunglasses, wallets, and mail
- Charging stations with hidden cable management
- Greenery displays featuring lightweight hanging planters
Adding 3D printing into the mix expands those possibilities almost endlessly because you’re no longer limited to the accessories sold in stores. Basically, there are all sorts of ways to hack the SKÅDIS, so what are you waiting for?
Check out more of Simone’s work, and when you’re inspired to create your own masterpieces, make sure to share your hack with us!