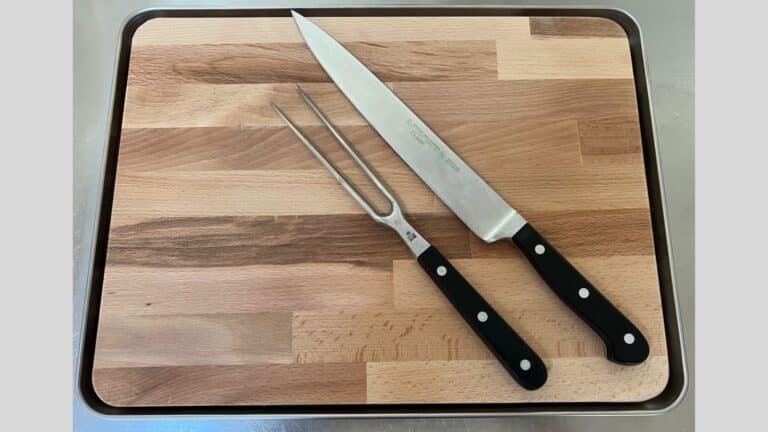
As the year-end festivities approach, home cooks may want to consider investing in a cutting board with a juice tray. This handy feature collects any liquids from roast meats as they rest, preventing messy spills on kitchen countertops.
For those who enjoy preparing juicy roast beef, a traditional chopping board can be a messy affair. The juices that flow around the board often spill over onto the countertop surface. In search of a better solution, Daniele T. imagined various chopping board designs that could better contain the juices.
The breakthrough came unexpectedly while browsing at an IKEA store. The GRILLTIDER serving tray and PROPPMÄTT cutting board were positioned near each other, and their sizes were a perfect match for the her ultimate design. By combining the two IKEA products, she created a new chopping board that effectively contains the juices and prevents spills.
With this clever IKEA hack, preparing and serving juicy roast meats can be a cleaner and easier process. It’s also great for cutting watery fruits. Here’s how to make one for yourself.
Step 1: Get supplies
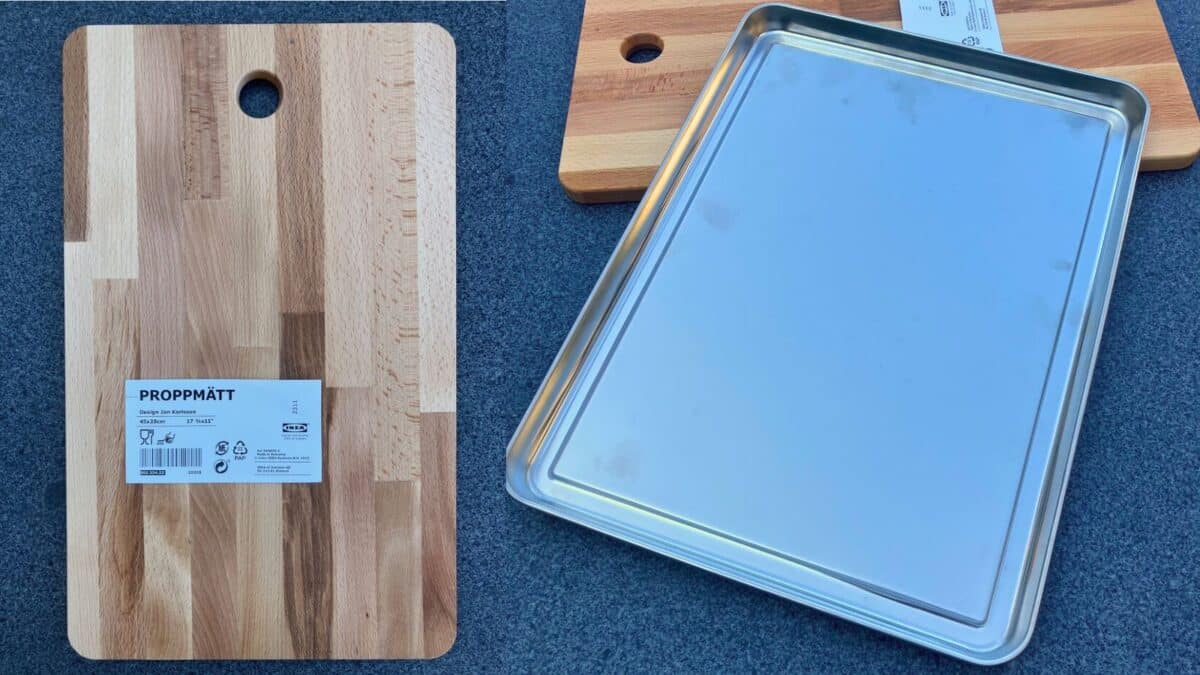
For this DIY cutting board project, you’ll need the IKEA PROPPMÄTT Chopping Board (17 3/4″ x 11″) and IKEA GRILLTIDER Serving Tray (15 3/4″ x 11 3/4″). You’ll also need 4 rubber feet/ bumpers of your choice and 4 rubber gaskets.
Tools you’ll need are a saw (ideally a circular saw and a reciprocating saw), sandpaper, measuring tape and a pencil.
Step 2: Measure and mark the cut line
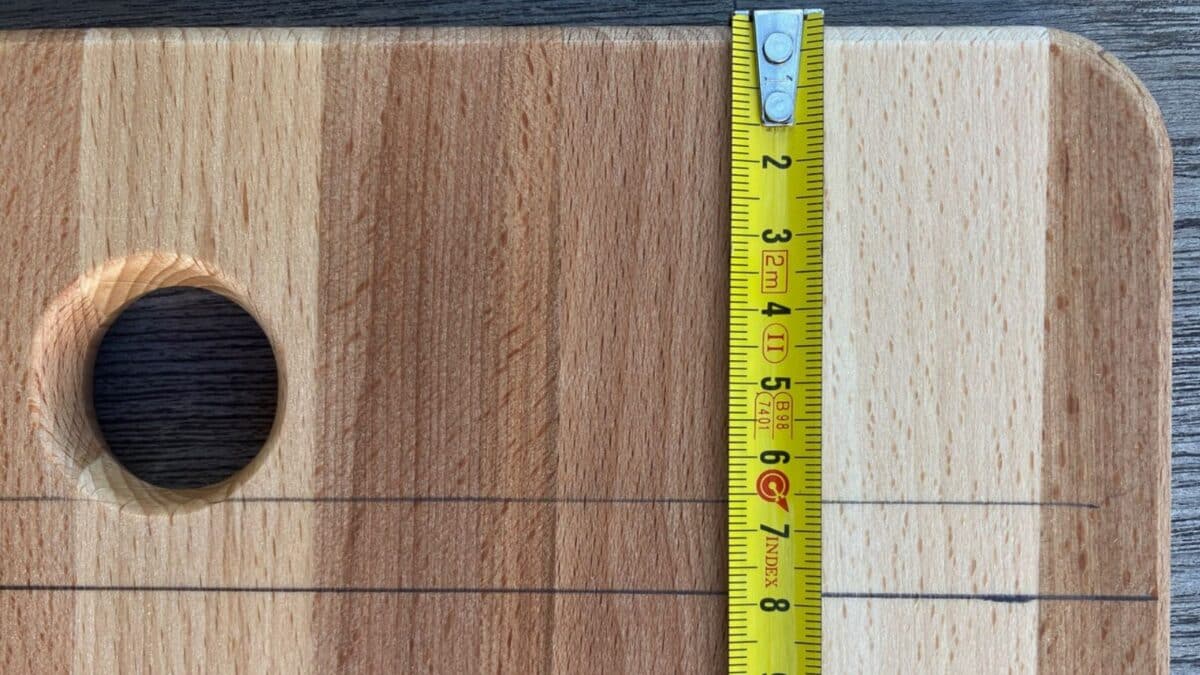
On the PROPPMÄTT side with a hole, draw a line parallel to the short side of the chopping board at a 3.07″ distance from the border.
Step 3: Shorten the board
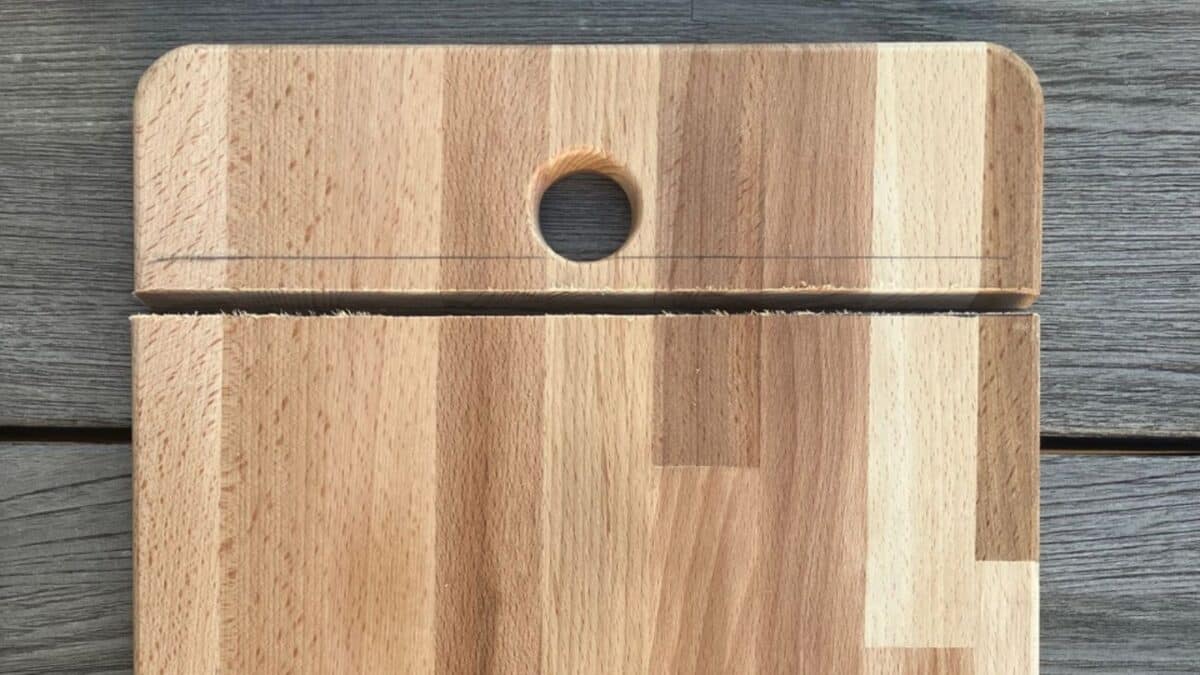
With the circular saw, cut the board along the line drawn in step 1.
Step 4: Round the corners
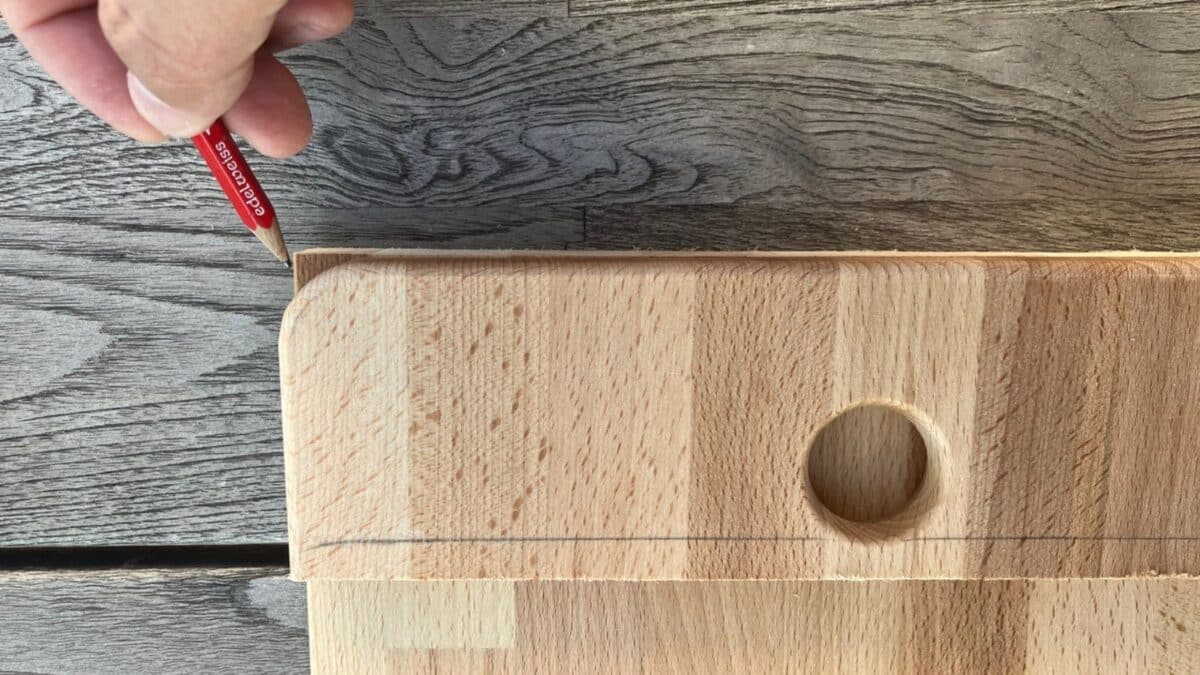
Use the smaller piece of scrap wood cut away from the PROPPMÄTT as a template to draw the curved edges on the remaining PROPPMÄTT board.
Step 5: Cut the corners
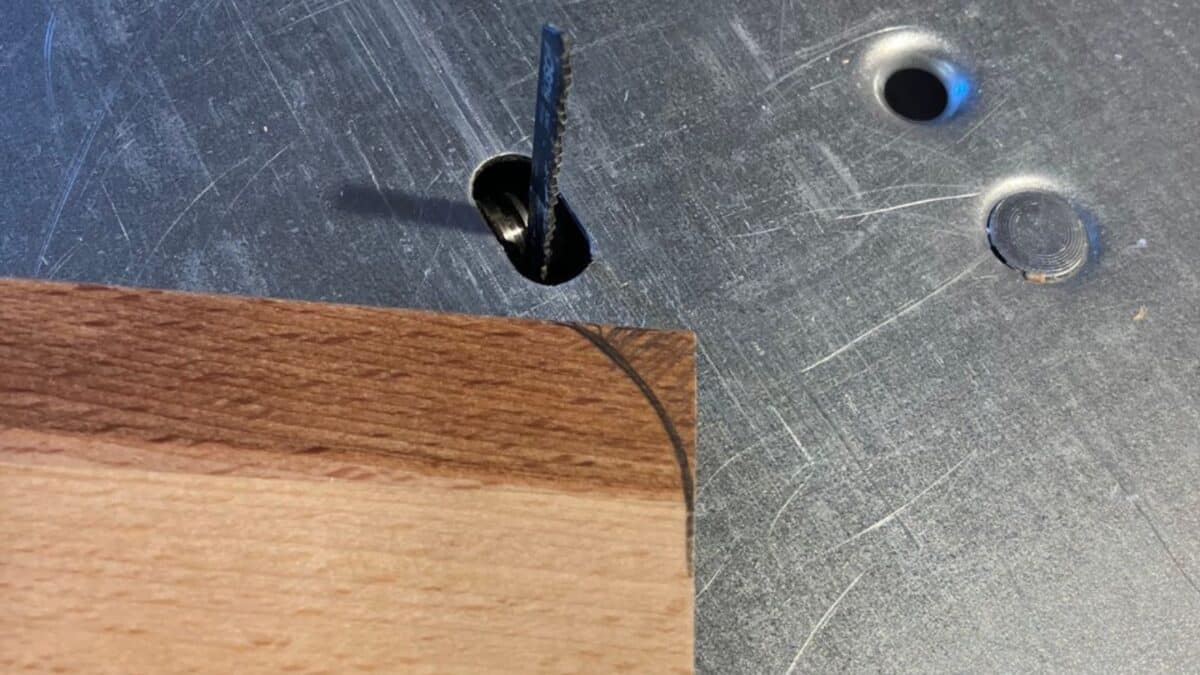
With the reciprocating saw, cut the corners to make them as round as the others.
Step 6: Smoothen edges
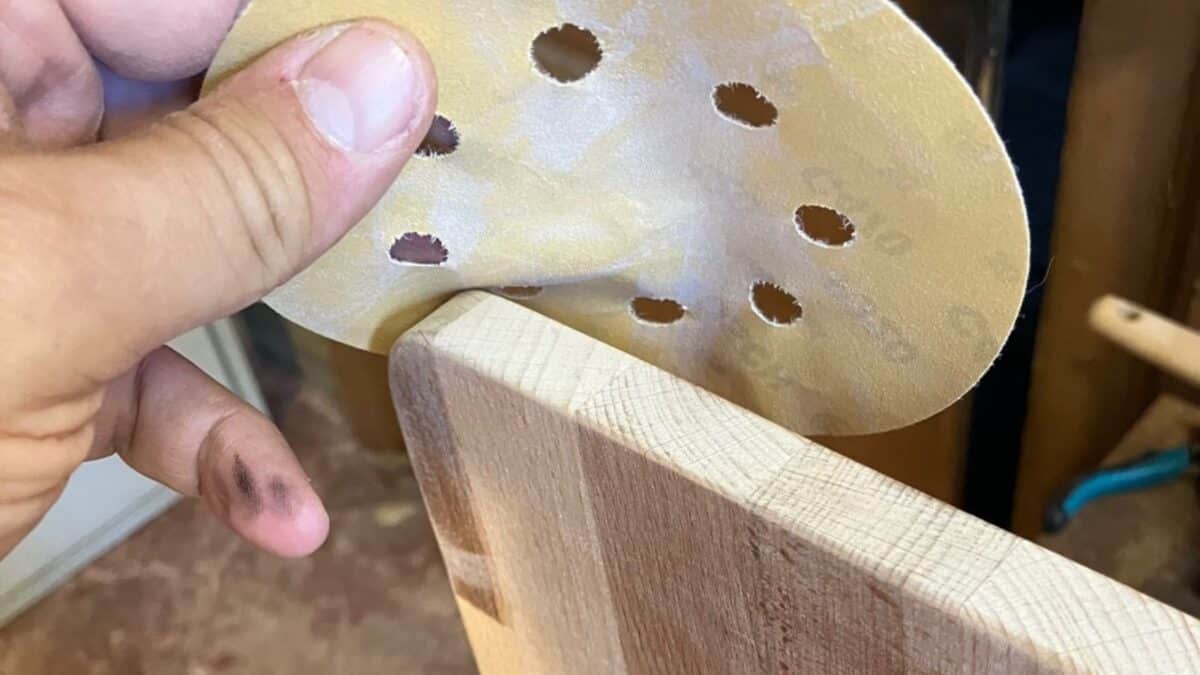
Smooth the edges with an orbital sander or sandpaper. If you want, you can sandpaper the board surface, too.
Step 7: Protect the board
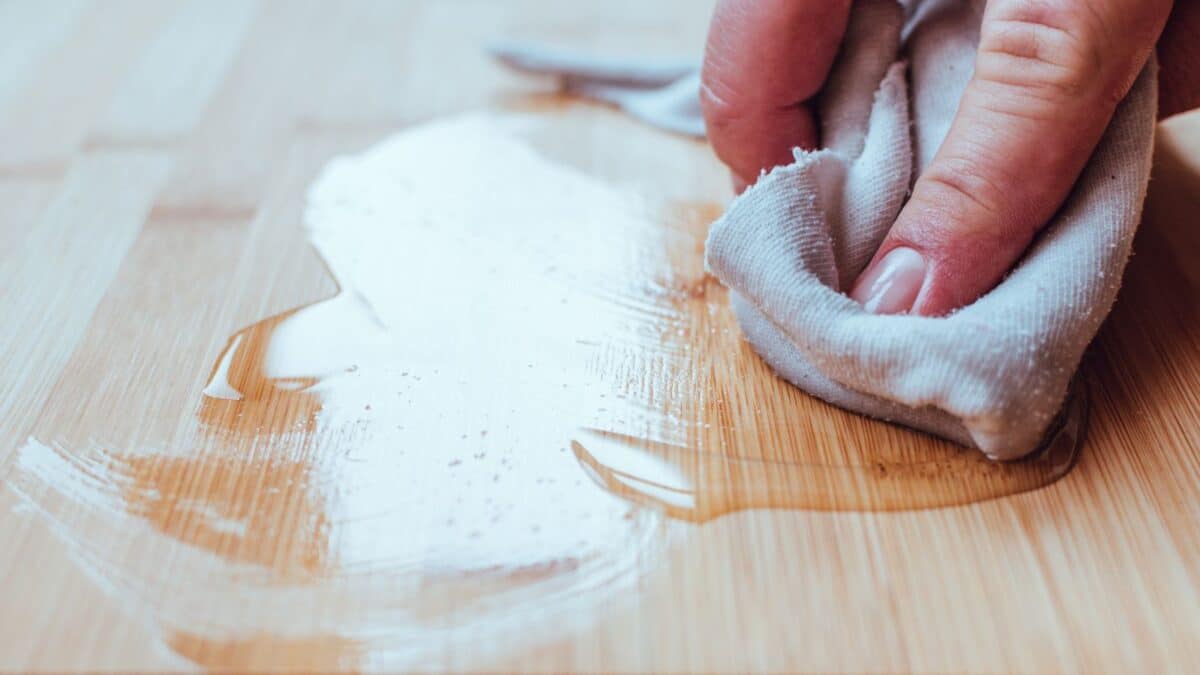
Apply protecting oil to the board, as per IKEA instructions.
Step 8: Attach bumper feet
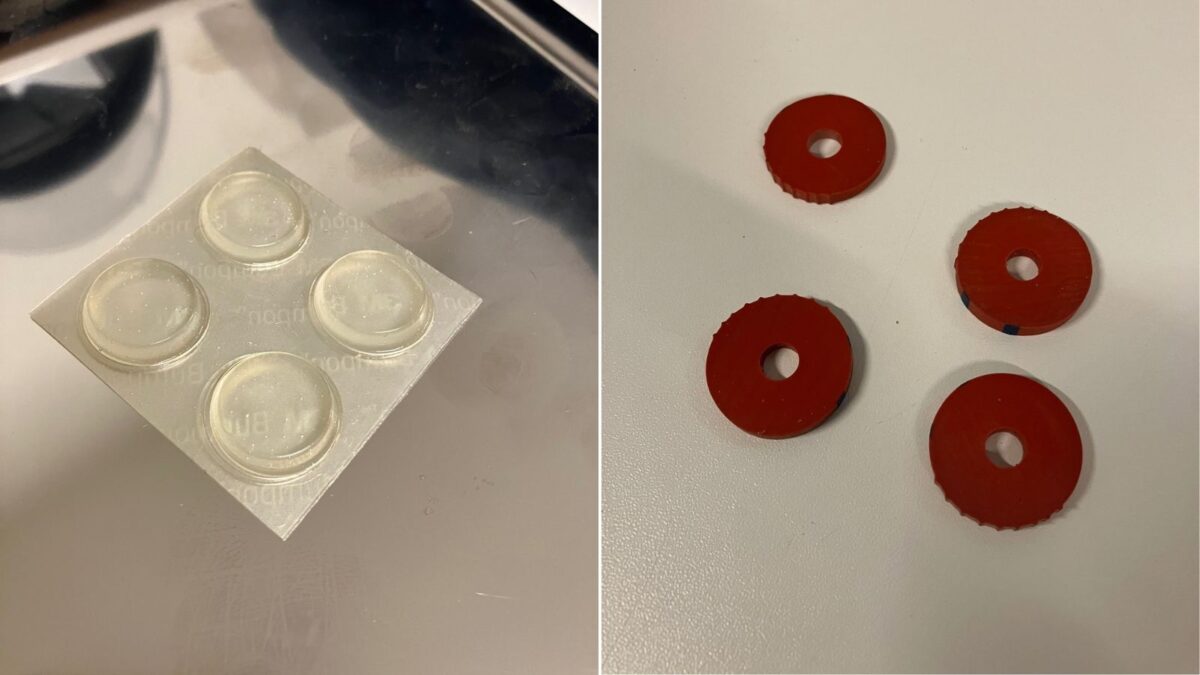
Attach the rubber feet bumpers to the under side of the GRILLTIDER serving tray to keep the tray from moving.
Step 9: Position the stoppers
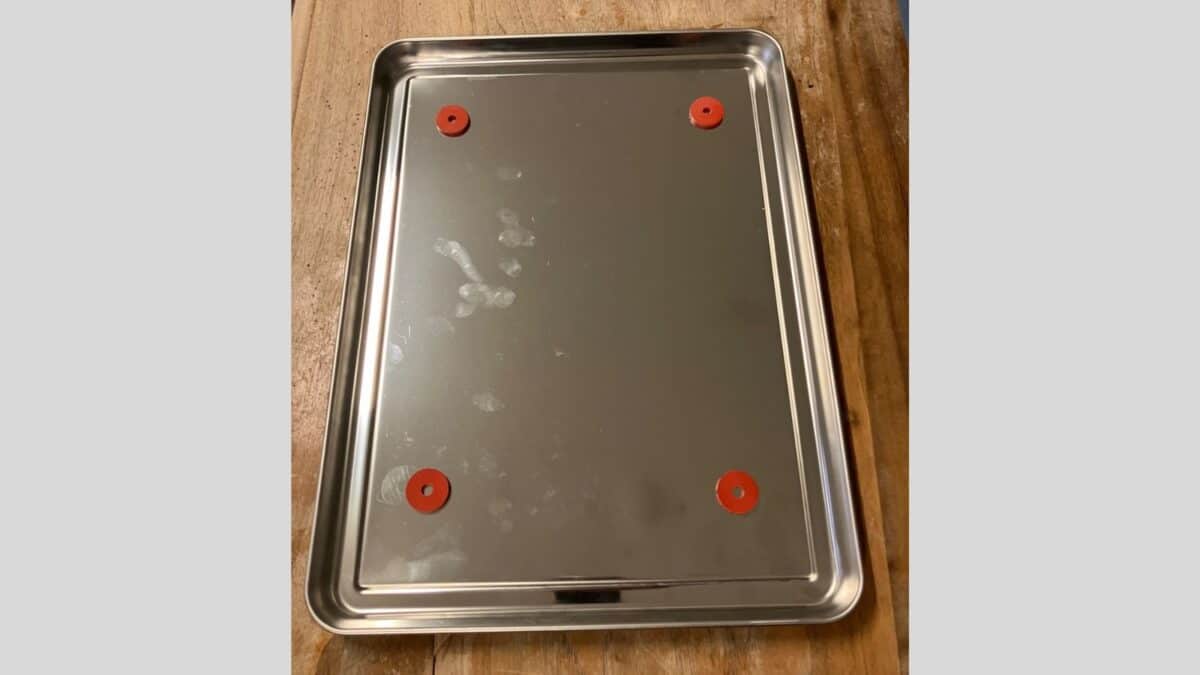
Position the rubber gaskets approximately in the corners of GRILLTIDER. Do not glue them; you will have to remove them to clean the tray.
Step 10: Fit the cutting board into the tray
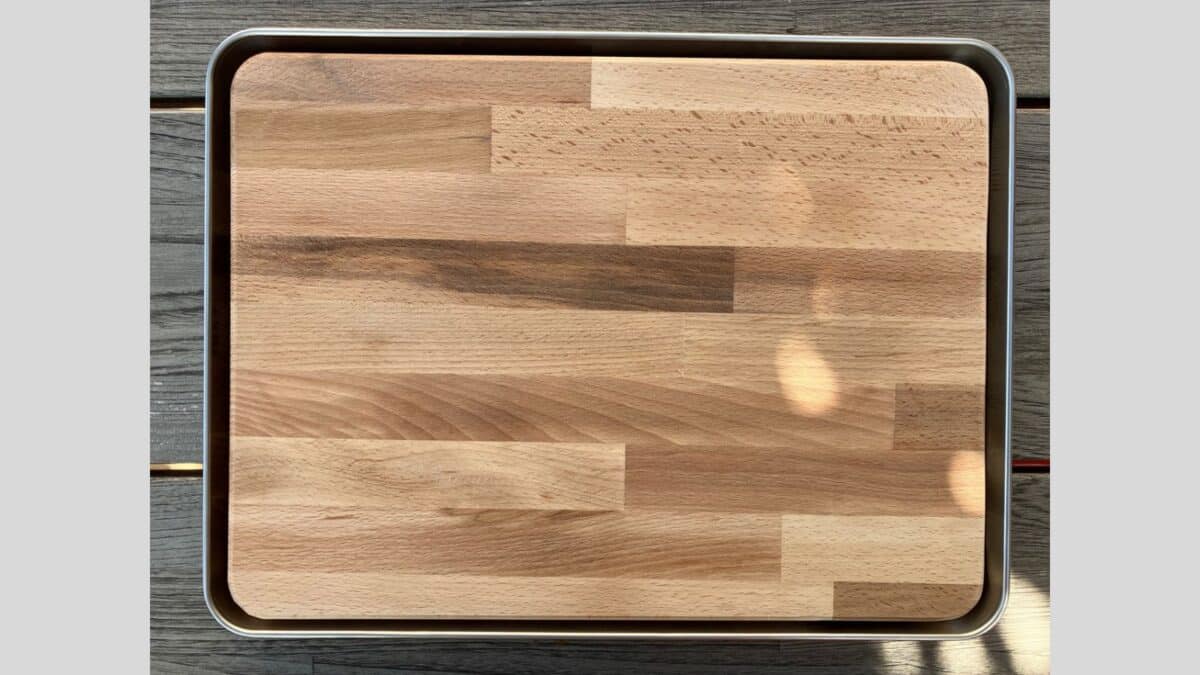
Position PROPPMÄTT cutting board on the rubber gaskets, and you’re ready to start cutting.
You may also like 6 hidden rooms you can create in your home.
The DIYer explains
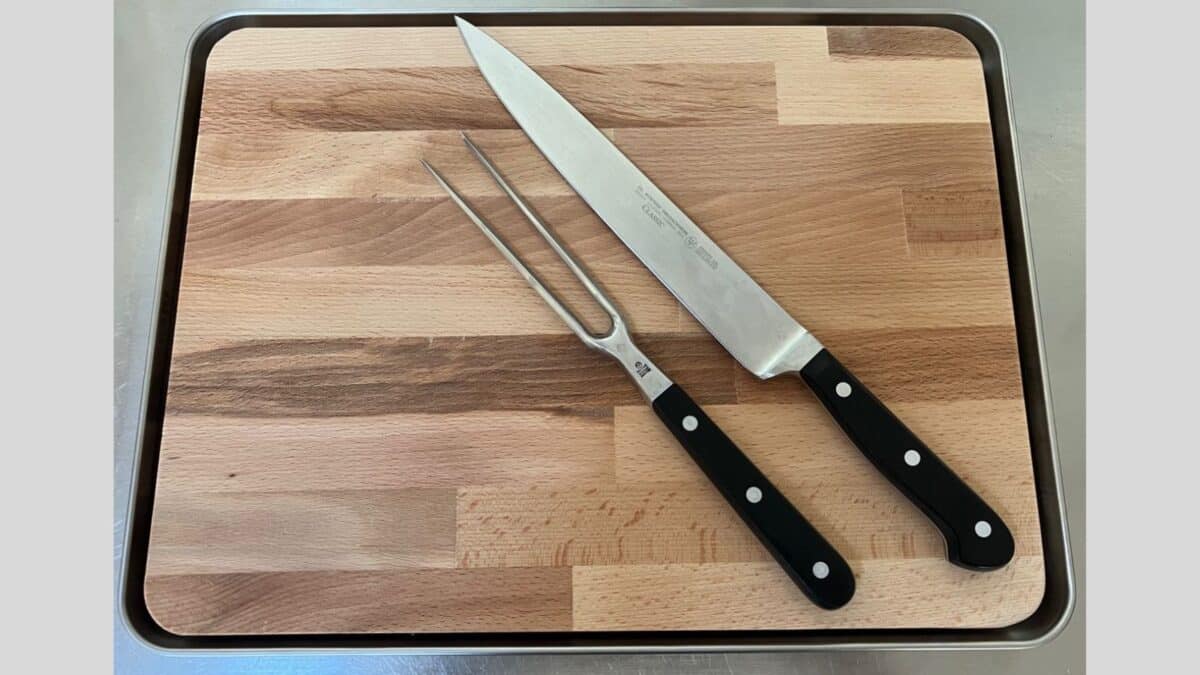
How long did it take, and what’s the cost of this DIY cutting board?
Cutting the board, rounding the corners, and sandpapering the result took somewhere between 20 to 30 minutes; add a few minutes to position the rubber feet bumpers and the gaskets. In less than an hour, spending less than 30 Euros, I now have a large chopping board that can take up to 500ml of liquid!
What do you like most about this DIY project?
I love the amount of liquid this IKEA hacked chopping board can take, the totally easy cleaning (no corners, no rods, no screws, nothing), and the look of the drain/ gutter that runs all around the board that says, “Don’t worry, I can take it.” The combination of steel and wood also adds a nice design touch.
What to pay special attention to?
The single critical element is the rubber gaskets that support PROPPMÄTT cutting board inside the GRILLTIDER tray. They have to provide sufficient adherence for the board to stay put, and their height has to be sufficient to ensure that enough liquid can flow below the board. Be also careful with the height of the feet bumpers; if they are too low, they won’t support your new SAFTIKÖTT cutting board. (It means “juicy meat” – a name I coined for this DIY cutting board for meat.)
Nothing is particularly complicated in this design: the hardest step has been figuring out how to support PROPPMÄTT inside the GRILLTIDER tray. There were many design candidates, but each of them had its own drawbacks.
Subscribe to get free IKEA hacks and DIY inspiration in your inbox weekly, and share your IKEA hack with us for a chance to be featured.
This was originally published on IKEA Hackers.
DIY rotating bookshelf for kids

Two ways to DIY an affordable and functional Montessori rotating bookshelf for her kids using IKEA pieces and some wood boards.
24 ideas on what to do with old socks

Don’t throw that old pair of socks away yet. You can repurpose old socks in numerous creative and practical ways. Most socks are still in good condition with a lot of life left in them, but even old, worn-out socks can be repurposed. See all 24 ideas here.
Genius reach-in closet hack doubles the storage space
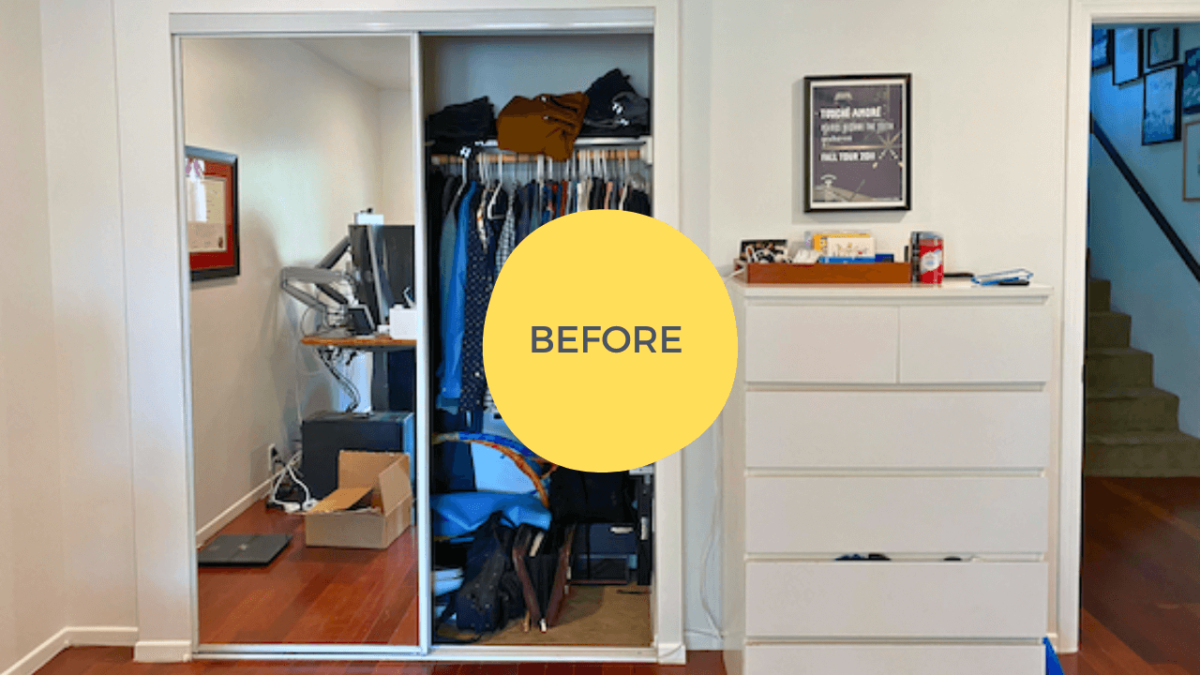
A superb storage solution if your closet area doesn’t allow for a walk-in closet design or you have an existing closet space you want to maximize. See how you can have a double layer closet too.
