
Ask anyone with kids and they’ll tell you that keeping the house tidy can be a bit, let’s just say, challenging. But when you have amazing storage, putting things away becomes a lot easier (and, dare we say, fun).
Sophie Blackwell @sophieandthebees needed more room for toys, board games, and all the other things she wanted out of sight.
But her living room lacked quality storage, until she saw a gorgeous IKEA playroom hack from @byhannahjones.
IKEA HAVSTA cabinets gave her an affordable start to create a bespoke built-in that looks custom without the extravagant cost.
Sophie started positioning cabinets, cutting MDF, filling, sanding, caulking, and hacking her way to a brilliant built-in. It definitely took some time, effort, and work, but the finished result is well worth it.
Sophie says, “Being able to tidy it all away at the end of the day has been a total game-changer!”
What You’ll Need
- 1 IKEA HAVSTA storage cabinet with sliding glass doors
- 2 IKEA HAVSTA cabinet bases
- 18mm, MDF for the shelf and frame
- 9mm MDF for the paneling behind the TV
- Coving and molding for the top of the media cabinet (100mm x 2mm). Sophie used this.
- Laser level
- Orbital sander
- Nail gun
- Router
- Plunge saw and rail
- Extra strong wood filler
- Caulk
- Primer and paint
- Basics — Drill, screw gun, tape measure, pencil
How to Bring This HAVSTA Built-In Media Unit to Life
1. Assemble and Position the IKEA Units

Assemble the HAVSTA storage unit with sliding doors and HAVSTA cabinet bases according to IKEA instructions. Before positioning the cabinets against the wall, remove the baseboard so the units can sit flush.
Once the bases are in position (not the top section with the glass yet), secure them to the wall. Sophie cautions that it takes a lot of adjusting to get everything level, so take your time. Next, fit and attach the glass-door cabinet on top of the sliding-door base and the wall.
2. Build the Outer Frame and Shelf

Construct a frame around the HAVSTA units using MDF to give the illusion of one continuous built-in. Observe the classic motto, “Measure twice, cut once,” when creating the pieces for your frame. When cutting and fitting the shelf, consider the size of your TV and any storage baskets you plan to keep on the shelf.
3. Install the TV and Back Panel
Use the router to carve thin grooves into the 9mm piece of MDF to create a decorative panel behind the TV. Install the panel, then the TV. Sophie already had an extendable arm bracket that she mounted to the wall through the MDF.
4. Install Coving and Fill All Gaps and Seams

Install the coving and molding around the top of the unit to enhance the built-in look. Once everything is in place, it’s time to fill all of the seams and gaps with wood filler.
Sophie admitted that this was a tricky step, especially near the top where spaces were larger. It took multiple rounds of filling and sanding to get everything flush.
5. Sand and Caulk
Use the orbital sander over all of the filled edges once the filler is dry to get a nice, smooth surface. Caulk between the cabinets and the wall to create a polished, seamless finish.
6. Prime and Paint
Once all the filler and caulk are dry, prime and paint the entire built-in. You could also add decorative knobs or keep the ones that come with the HAVSTA units.
How Much Time and Money Do You Need for This Hack?

It took Sophie about three to four days spread over a couple of weekends to complete the hack. Total, she spent roughly $1,750 ($1,275 for the IKEA cabinets and $475 on other supplies).
This might sound like a lot, but considering custom built-ins can cost $3,000 to $10,000 or more, it’s a budget saver. In Sophie’s words, this hack gave them,
Champagne looks on a Prosecco budget.”
Tips and Takeaways from this Built-In IKEA HAVSTA Cabinet Hack
Sophie loves that this bespoke built-in provides so much hidden storage. She says “We used IKEA baskets that fit perfectly inside the cupboards, so now all the kids’ games, board games, and toys are neatly tucked away. It’s made the room feel so much more organised and calm.”
She has a couple of tips if you plan to recreate the hack
- Make sure your measurements are really accurate. Make sketches and a solid plan before starting, including how you plan to mount your TV.
- Fix the units to the wall securely early in the process. It makes the rest of the build much easier.
- Take more time smoothing out the furry edges of the MDF to get a cleaner, smoother paint finish.
Overall, the project was a success, and it’s made her living room feel more cohesive. She’s considering adding a narrow bookcase to the end of the unit. What do you think?

Watch the hack come together, and follow Sophie @sophieandthebees for more beautiful ways to create your home, sweet home. And don’t miss these other built-in ideas, so you can find the perfect setup for your space.
Got an IKEA hack of your own? We want to see it! Submit your project here or tag us on Instagram @ikeahackersofficial.
NEXT: Explore more IKEA hacks for the living room
Want to Put a Mini Rave Inside Your Coffee Table? There’s a Hack for That!
Have you ever been so into a vacation that you don’t realize until afterward that you forgot to take pictures? I’ve done something similar with some past organizing projects. I…
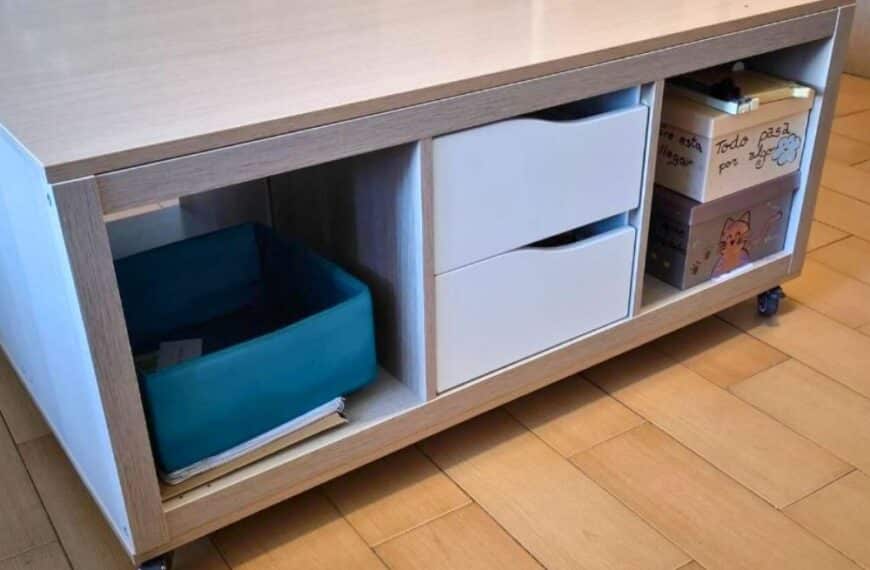
This IKEA Hack Turns IKEA Kallax Units Into a Coffee Table With Serious Storage
We’ve been there—futile furniture hunting. Txetxu31 tells us, “We’d been looking for a medium-to-large coffee table with storage for a while,” he explains, “but we couldn’t find anything that met…
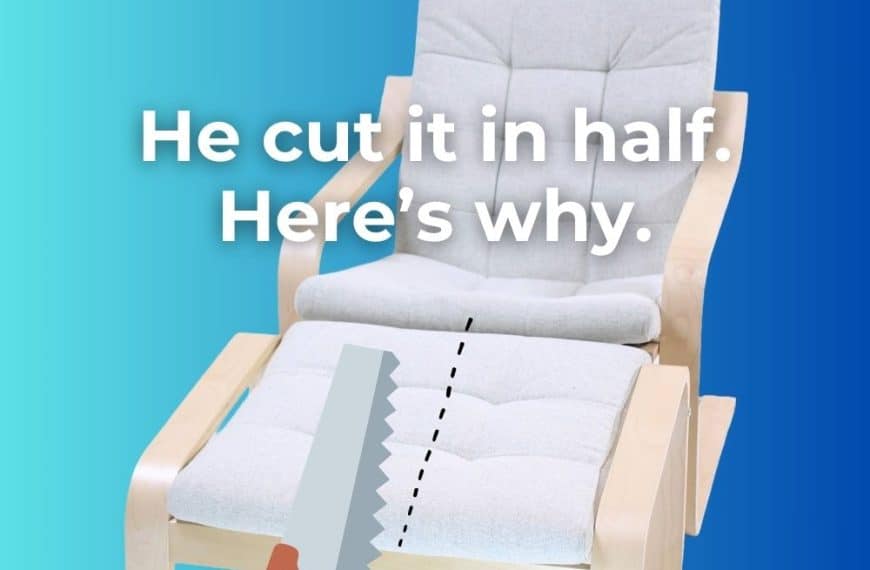
Why This Hacker Cut His IKEA Poäng Footstool in Half (And Maybe You Should Too?)
Who doesn’t love kicking back and putting their feet up after a long day? But if the whole point is to relax, shouldn’t it be as easy as possible? At…

This Reddit DIYer Turned $80 IKEA BILLY Bookcases Into Stunning Arched Built-Ins
Whoa, whoa, whoa, back up a second, those are BILLY bookcases?! (That’s what you’re thinking right now, isn’t it?) I get it; I did a double-take, too. This built-in bookcase…

This Cozy Home Library Hack Could Turn Anyone Into a Bookworm!
Warning! This hack looks so super cozy, you’re going to want to build a home library immediately! I love to read — LOVE it — so the idea of a…

No Foyer? This IKEA BESTÅ Hack Creates an Instant Entryway
A proper foyer or an alternative like a mudroom makes coming and going much easier. Just kick off your shoes, hang your coat, or drop your bag without cluttering your…