
Ever loved the IKEA IVAR range but not the entire family? You’re not alone.
While the IVAR cabinet is a hacker’s favorite, those chunky side posts don’t exactly scream “stylish”, except perhaps as a room divider.
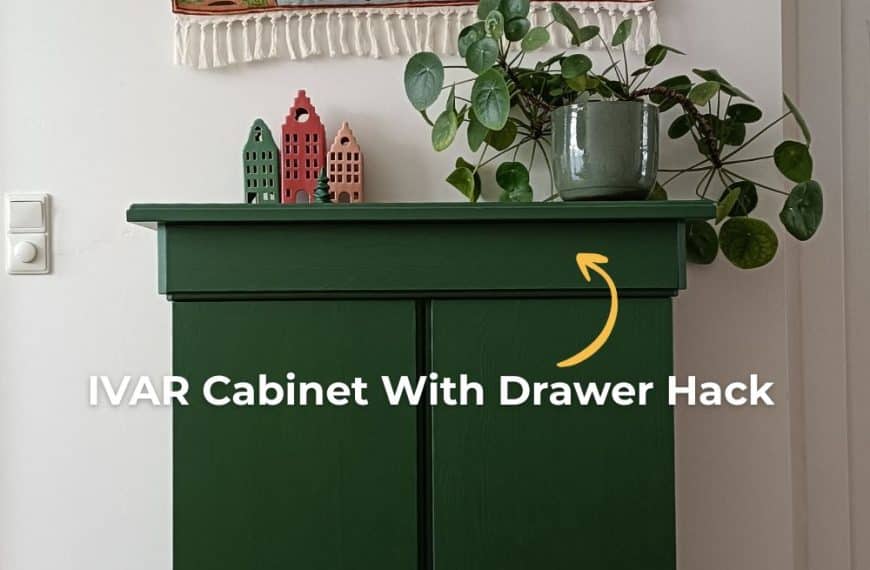
DIYer Emma Arton (@doitwithemma) may have found the solution for us as she reimagined the IVAR cabinet with vertical storage.
By replacing the stock frame with elegant side panels, she gave the simple IVAR cabinet a whole new silhouette that looks more chic than flat-pack.
Now, this DIY takes some time, effort, and skill, but if you can bring those three things to the table, you get a great piece of furniture and ultimate bragging rights.
What You’ll Need
- IVAR cabinet
- 2 pine boards — approximately 78” x 12” (for the sides)
- 4 boards (or more, depending on how many shelves you want) — roughly 31 ½” x 12”
- Panel for background (5mm)
- 4 small L-braces
- Shelf brackets
- Primer
- Paint
- Laser level
- Clamps
- Basics — ruler, pencil, saw, sander, screw gun, drill, etc.
Transforming the IVAR Cabinet Into a Sophisticated Library Shelf
1. Add Sides to the IVAR Cabinet
Assemble the IVAR cabinet according to IKEA instructions, then make tall side panels for it out of the longer pine boards. Measure and cut the boards to the desired length (the depth should be equal to the cabinet, including the doors).
Create notches at the bottom for the baseboards so the piece can rest flush against the wall. Use a jar or a similar round object to mark the curved shape for the tops of the sides. Cut along the curve with a jigsaw or similar tool. Sand everything to make it nice and smooth.
Attach the sides to the cabinet from the inside (clamp in place to keep even), leaving your desired length at the bottom to create legs. Make sure to measure and make everything accurately before screwing anything into place so your unit stands level. Reinforce the bottom using L-braces.
2. Make and Install Shelves
Cut the shelves to size, including one that will be the top of your unit. The top piece should sit slightly lower than the curved tops of the sides.
You can adjust the number of shelves to suit your needs. Use a pencil and level to mark the placement for the shelf brackets. Install all the shelves.
You’ll also need a piece to sit directly on top of the cabinet to give this section a seamless finish.
Otherwise, you’ll see where the newly created side pieces meet up with the IVAR cabinet. To make it more secure, you could use wood glue.
3. Add Back Panel
Emma marks the 5mm panel to create backs for the top part of her shelving unit. She used two separate pieces.
However, you could cut use one continuous piece for the upper back of the shelves if you had a large enough panel. For the bottom cabinet, the back panel that comes with the IVAR is all you need.
4. Prime and Paint
Apply a coat of primer or use a paint-and-primer in one. Since you’re painting unfinished wood, you’ll likely need two to three coats, depending on the paint you use. Allow each coat to dry thoroughly before applying the next one.
To make painting easier, Emma painted the back panel, shelves, and door before installing. But you can do it either way, or leave it unfinished if you love the natural look, or add a stain or varnish.
5. Stage and Style
Once your custom shelf is complete, admire your masterpiece and style it with decor, books, or collectibles. The cabinet is perfect for stowing away the things you prefer to keep out of sight.
How Much Does This Hack Cost?
The IVAR cabinet is $100, and you’d likely spend another $150 to $200 on lumber, hardware, paint, and supplies. So approximately $250 to $300 for a cute custom piece of furniture that you get to put your own spin on by changing the color, number of shelves, height, etc.

This IVAR hack gives the IVAR cabinet an upgrade, creating a custom piece of furniture that’s perfect for Emma’s space. It could be the perfect solution for you, too, if you’re ready to roll up your sleeves. What do you think?
Follow Emma Arton @doitwithemma for more inspiring ideas and to see plenty of other DIY wins. You can also see her break down this hack a bit more via her Part One and Part Two posts.
NEXT: Explore more IKEA IVAR hacks
She Hacked Her IKEA IVAR Twice—And The Second Time Is Even Better!
Time passes, things change. What worked once doesn’t anymore. This isn’t breaking news — it’s life, and even the most functional hacks can become less so over time. When Pauline…
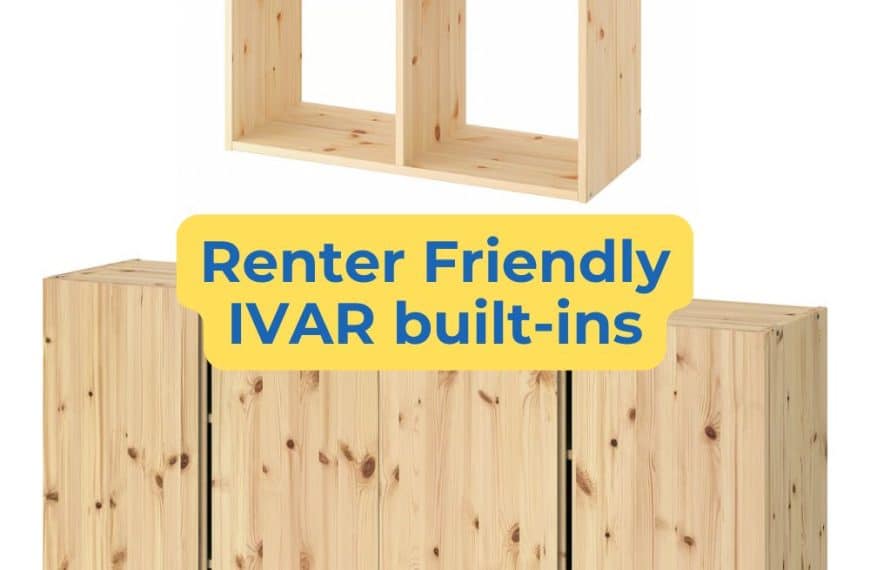
These Renter-Friendly Shelves Deliver Tons of Storage! (It’s IVAR!)
Think built-in shelves are impossible in a rental? This renter-friendly IKEA hack proves otherwise and it costs a fraction of custom carpentry. If you’re a renter, adding built-ins to the…

Is Your Fridge Putting a Damper on Your Design? (Try This!)
A refrigerator is great at keeping things cool, but it’s not exactly cool to look at, especially when its side ends up front and center in your living room. Awkward,…

How A Room Divider Transformed This DIYer’s Tiny Apartment Overnight
Living in a small house with my husband and son has taught me the art of carving out privacy wherever I can. At least we have a couple of rooms…

Who Knew You Could Have a Better Movie Night When You Hide Your TV?!
I love an all-night binge session as much as the next Squid Game fan, but I’m not thrilled about the television becoming the focal point in the living room. My…

This New IVAR Shelf Insert Is the Pantry Upgrade We’ve Been Waiting For
If you’ve ever stared at your IVAR unit thinking, “You’d make a killer pantry if only you were a bit more organized,” well, IKEA just heard your internal monologue. Introducing…