
When one room has to serve multiple functions, creating zones is one of the best ways to keep things streamlined. You can divide a space in all sorts of ways — a rug, a standing screen, strategic furniture placement — but using a dresser or shelving unit as a divider is especially smart because you also get storage. And when numerous things are happening in one space, storage is essential.
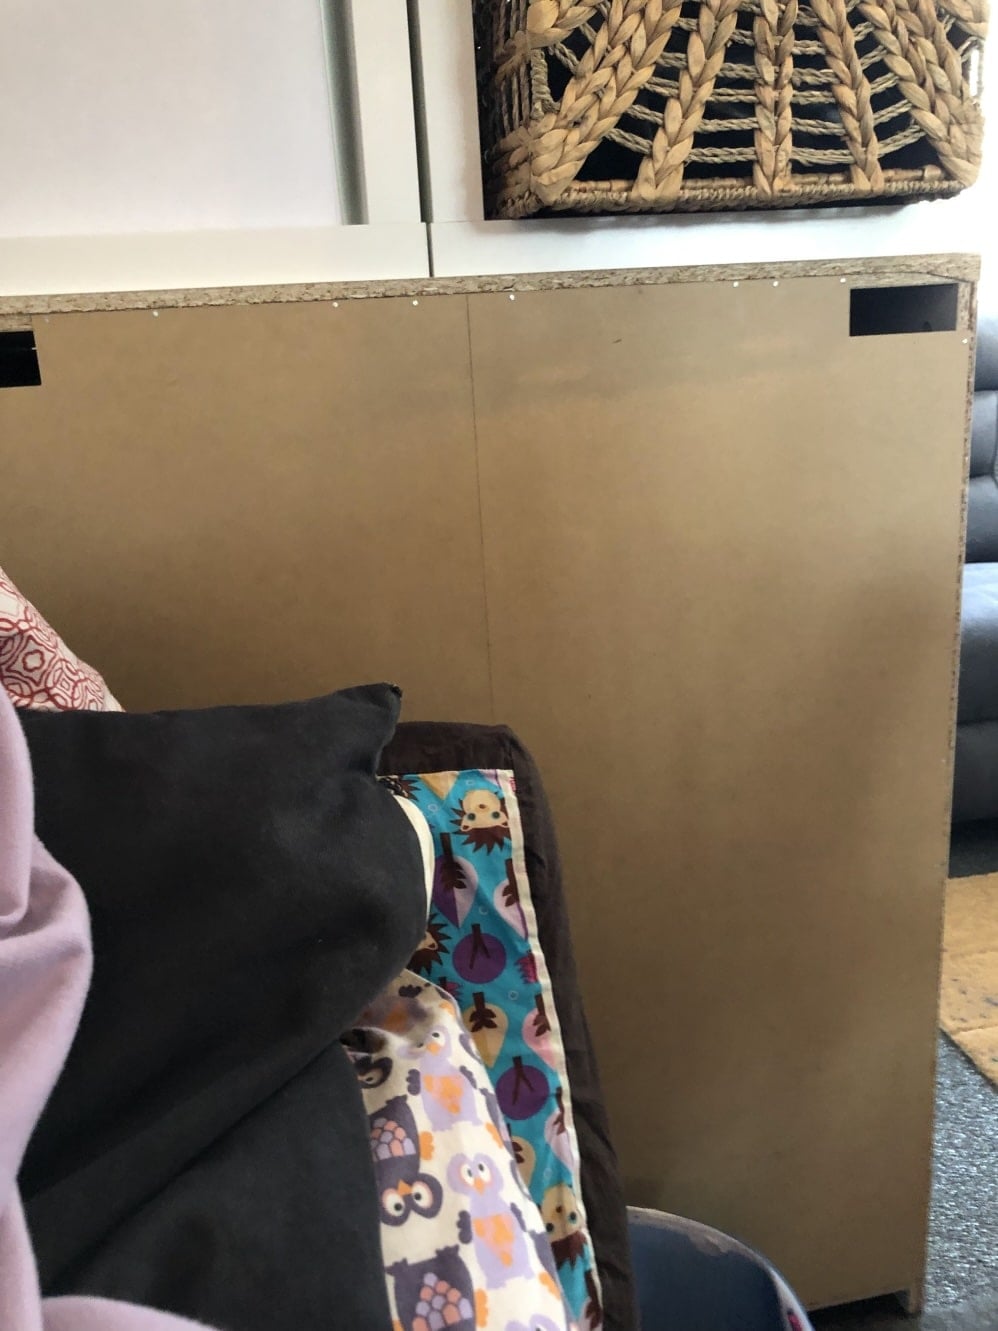
The catch? When a dresser lives in the middle of a room, that ugly brown back board is suddenly very, very visible.
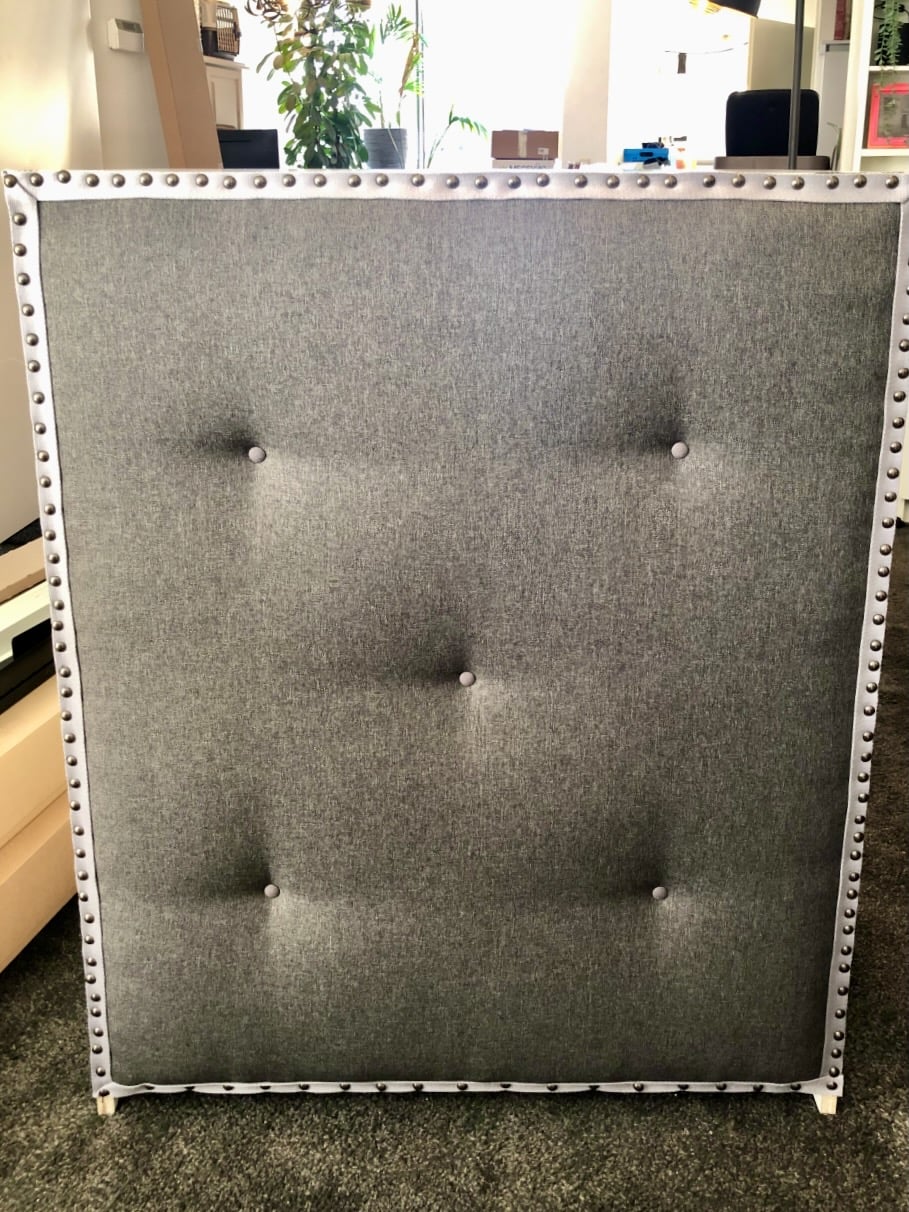
This clever DIYer used a set of IKEA MALM chest of drawers as a room divider but couldn’t make peace with that bare, boring back facing the room.
They decided to give it a more polished look by adding some upholstery with a few decorative details. If you’d like to give it a go, here’s what you need to know.
What You’ll Need
- IKEA MALM drawers (or similar)
- Fabric
- Tacks
- Shank buttons
- Regular buttons
- Bias
- Batting or wadding
- Strong nylon thread
- Cable twist ties
- Rubber mallet
- Staple gun
- Crochet needle
- Sewing needle
- Pen
- Ruler
Jazz Up the Backing Board of a Dresser
1. Remove the Dresser Backing and Make Some Holes
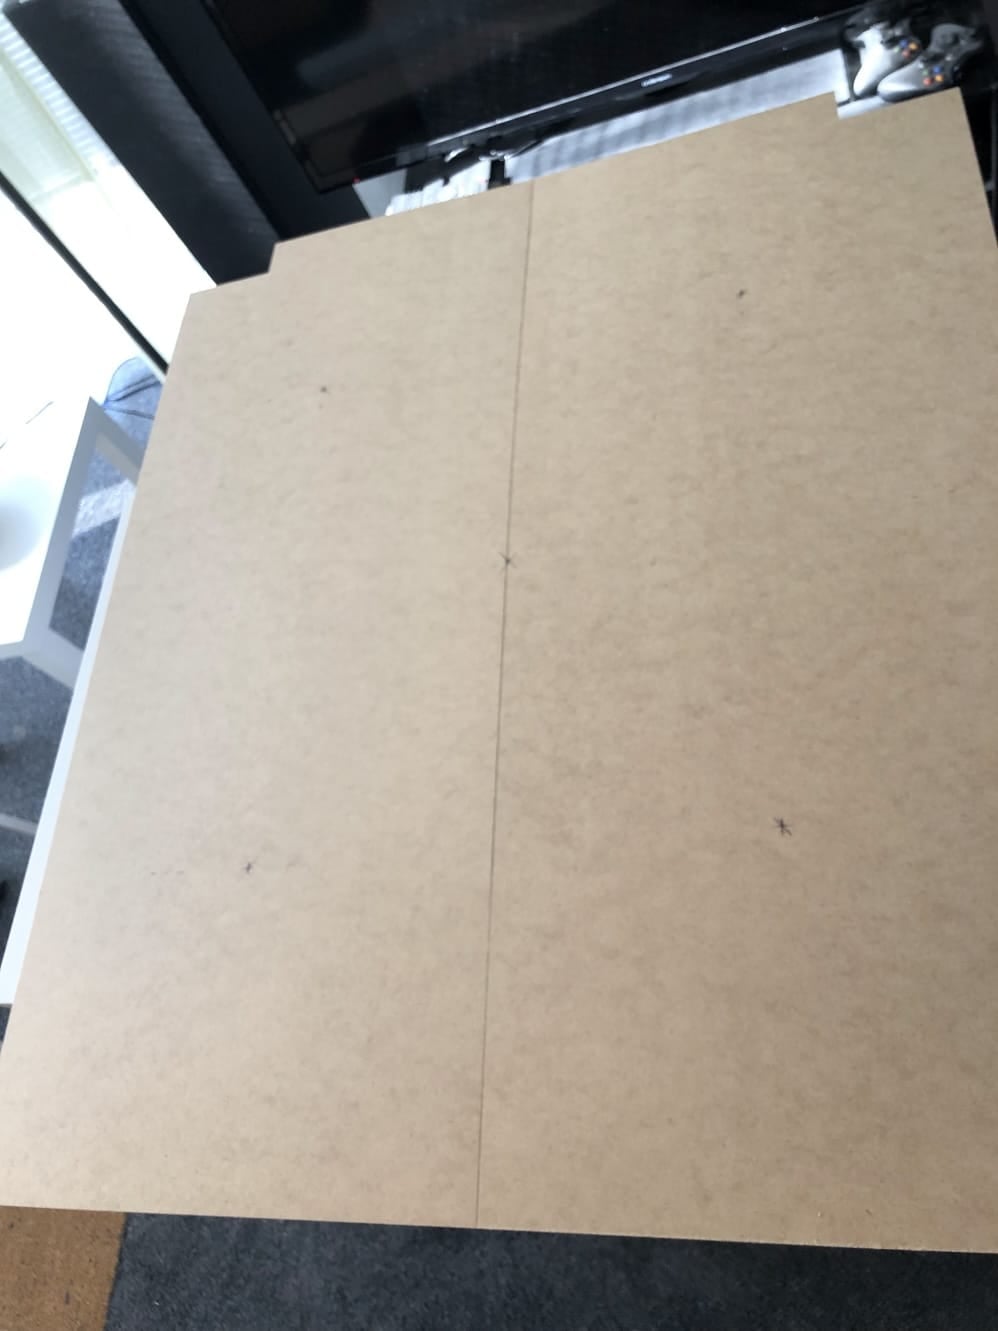
If you’re working with an assembled set of drawers, carefully remove the back, then mark and drill where you plan to place the buttons. It’s worth mentioning that you only need to do this step if you plan to add tufting. If you prefer a straight, seamless finish, you don’t need to worry about the buttons.
2. Measure and Cut the Wadding and Fabric
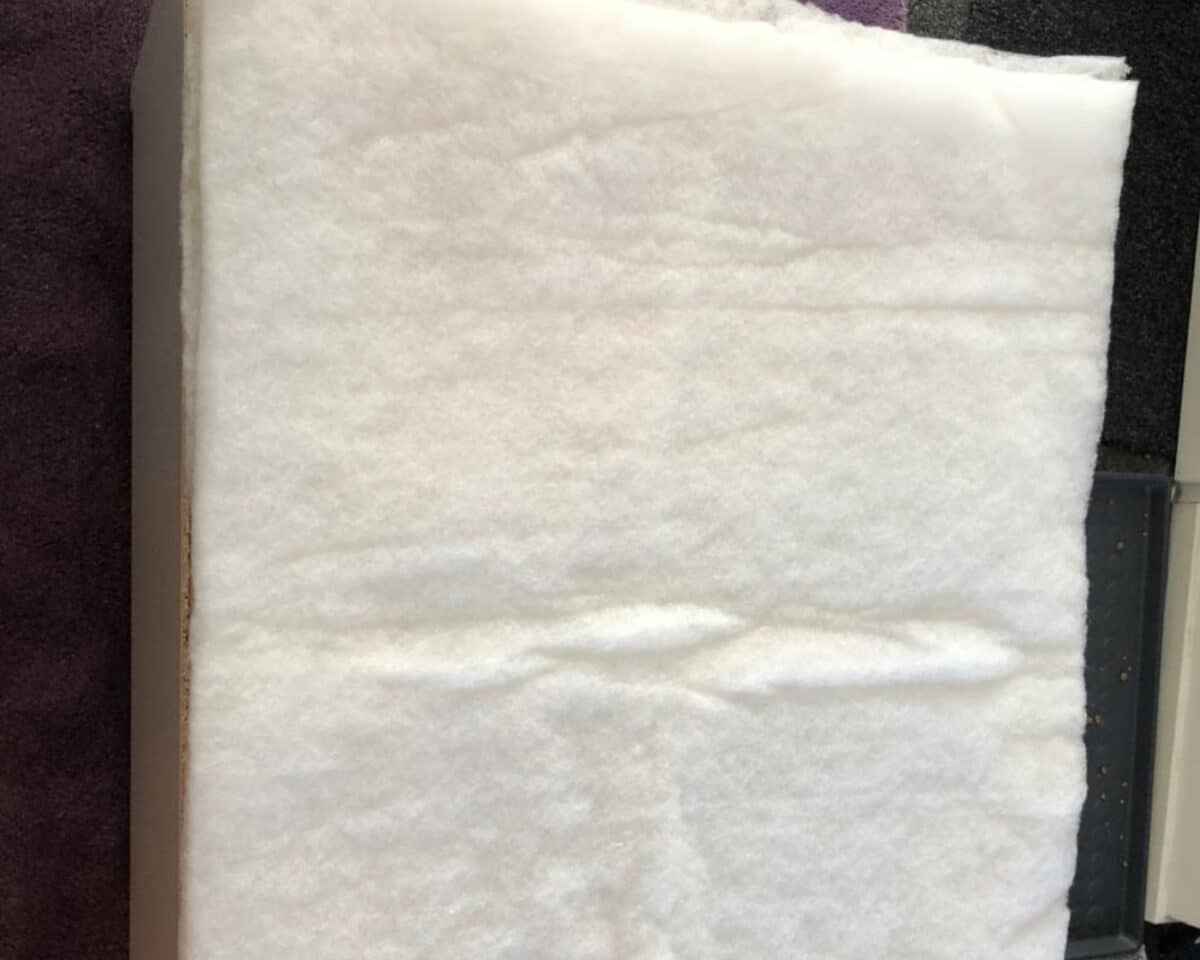
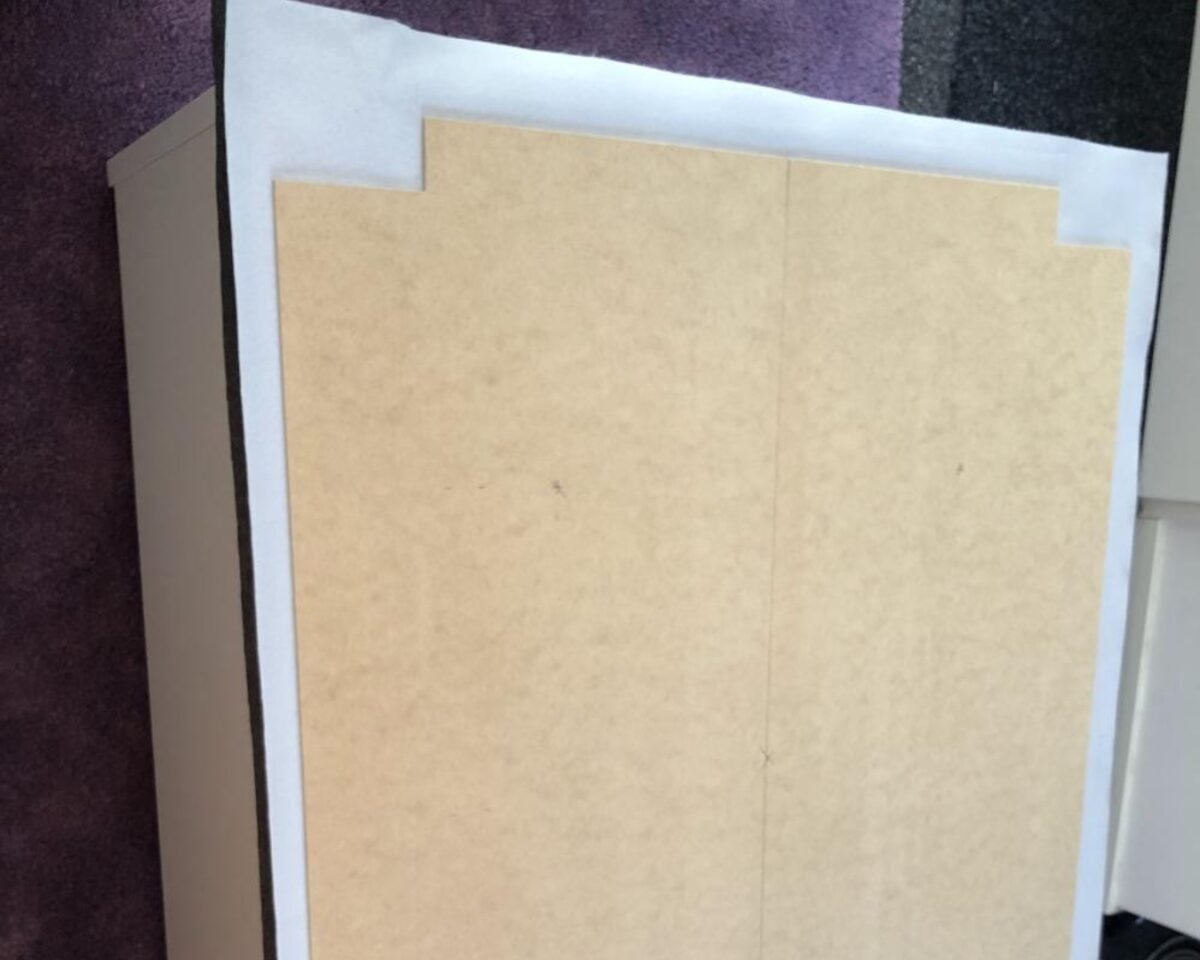
Lay out the wadding on the back to cut to size. Then place the dresser backing on your fabric to measure the correct size. Leave a seam allowance of about 1 ¼” around the entire back, then cut. (Bonus tip: when I cut fabric for projects, I like to use pinking shears to help decrease fraying, or you could also turn under the edges before you secure.)
3. Staple Time!
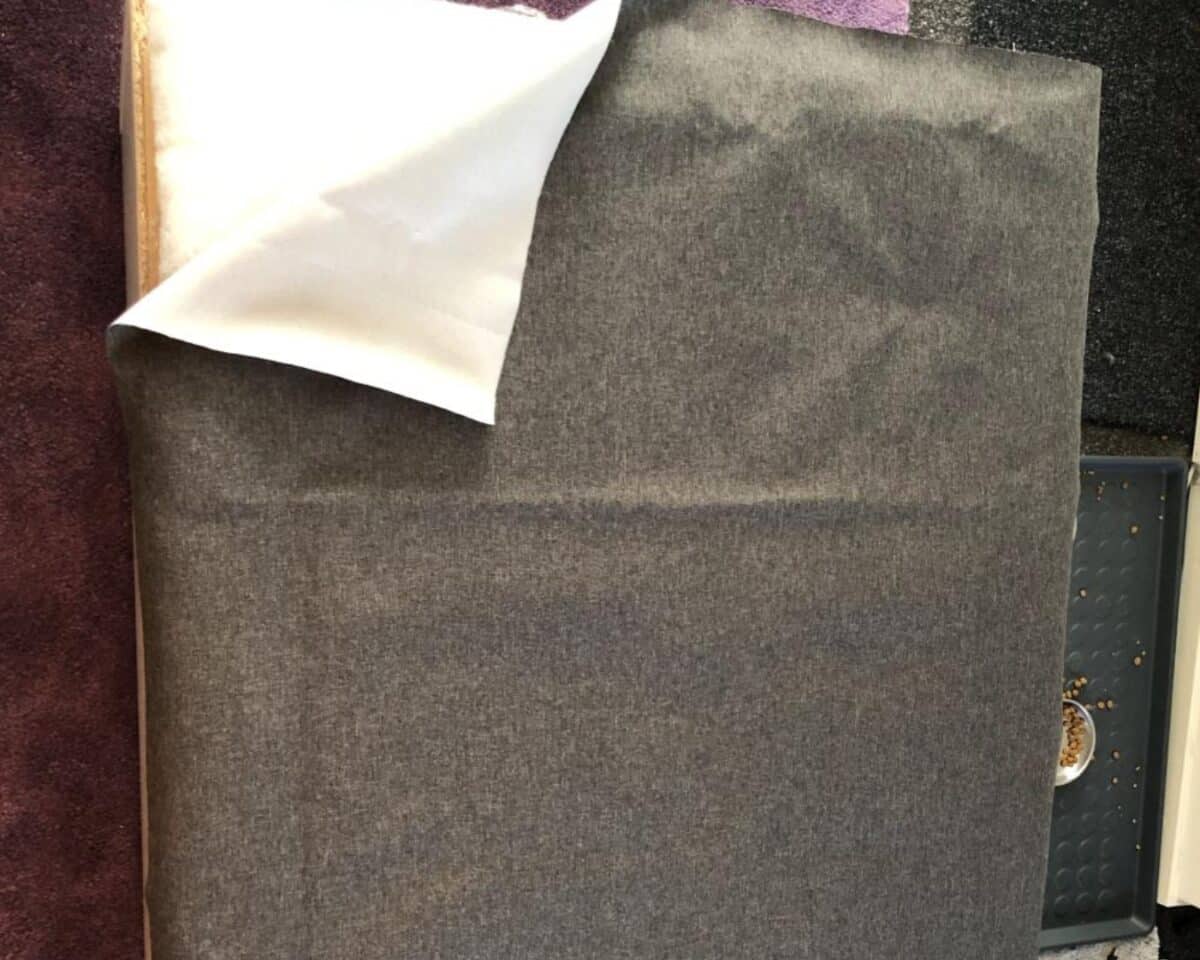
Flip the cover, along with the wadding and fabric, and place it on the back of the drawers. Fold the fabric in under the wadding and staple in place, starting at one corner, then the opposite diagonal corner.
Next, do the other two corners, then finish stapling all the way around. Make sure to use long enough staples to go through the fabric, wadding, and back panel, and into the drawer frame. Take your time to keep everything even since you’re also securing the back into place.
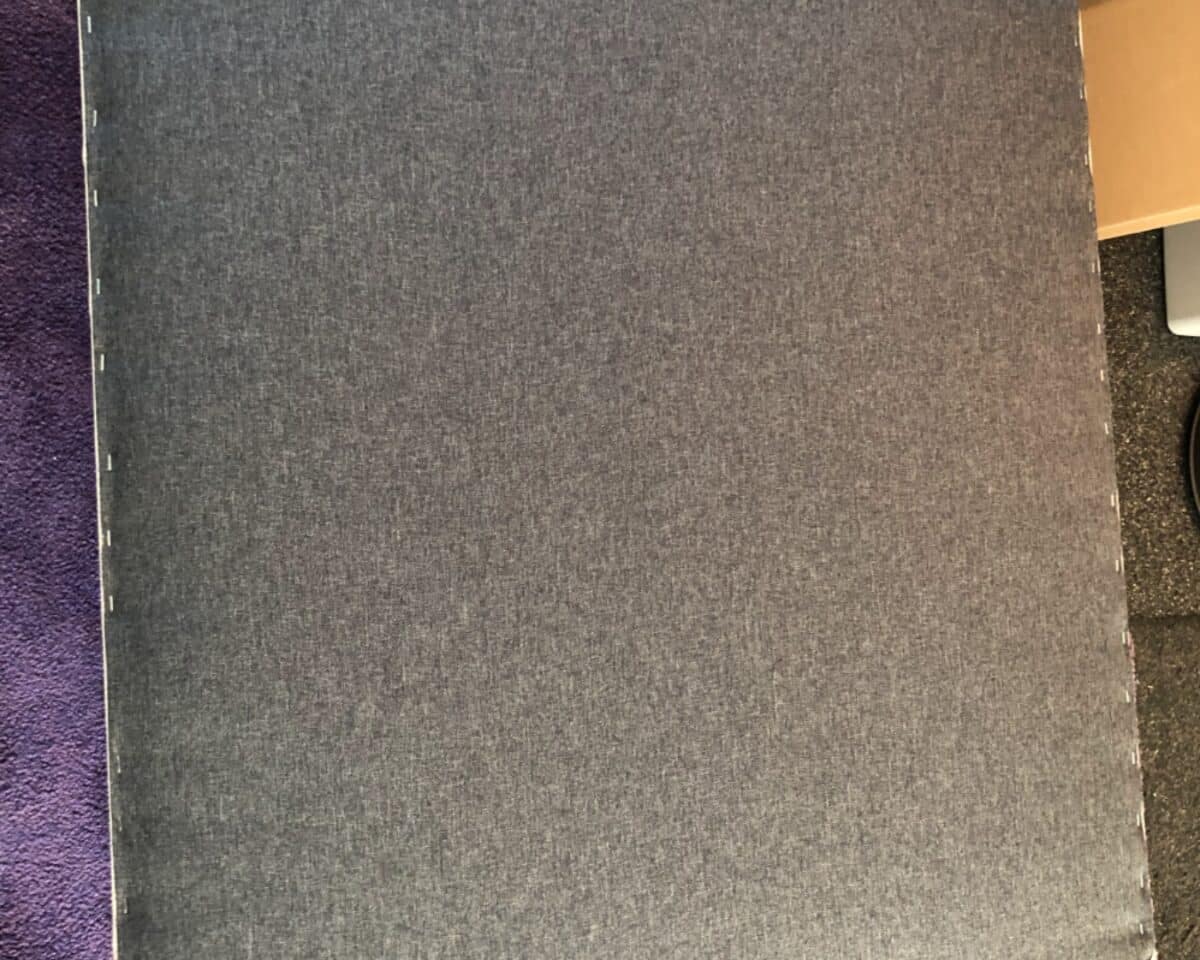
4. Add the Trim
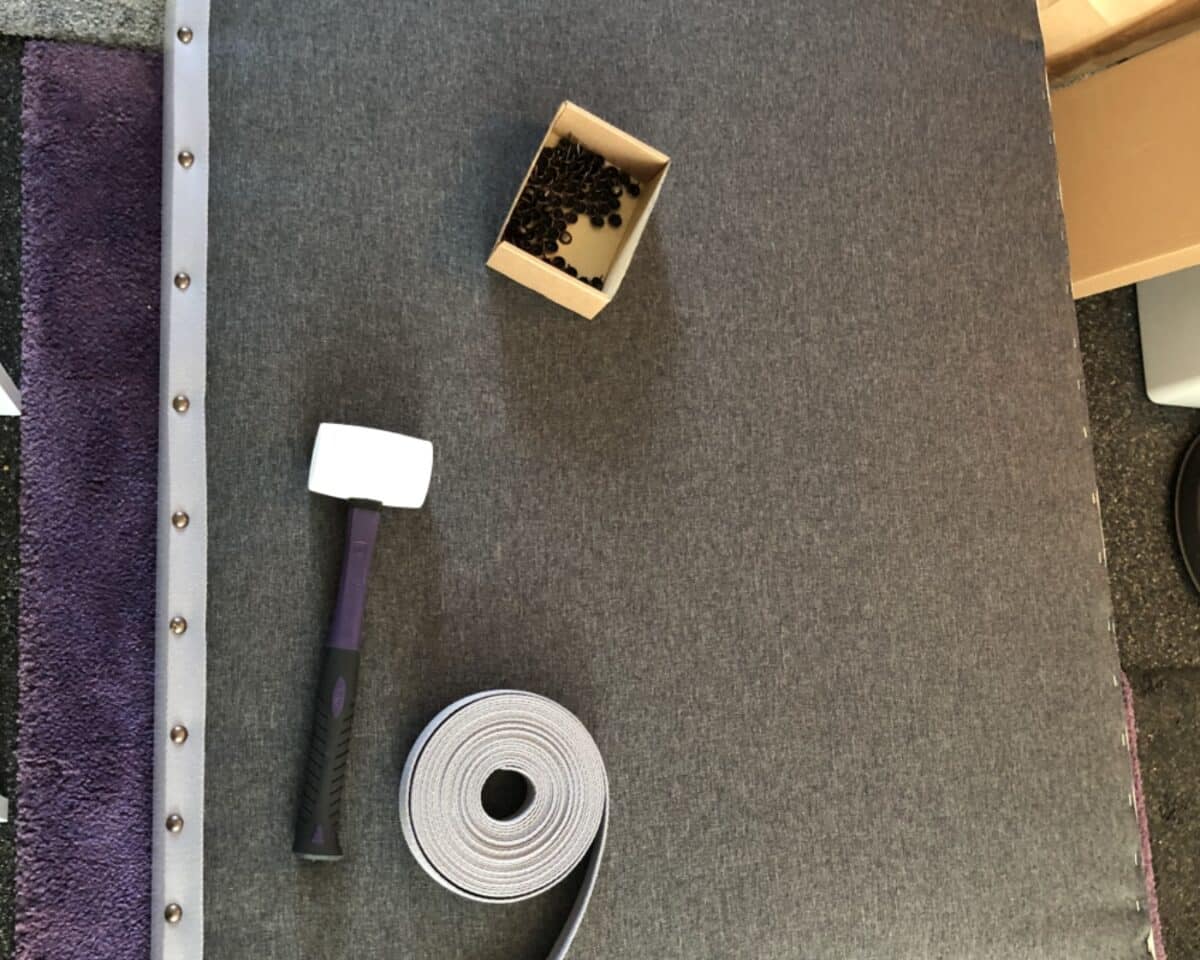
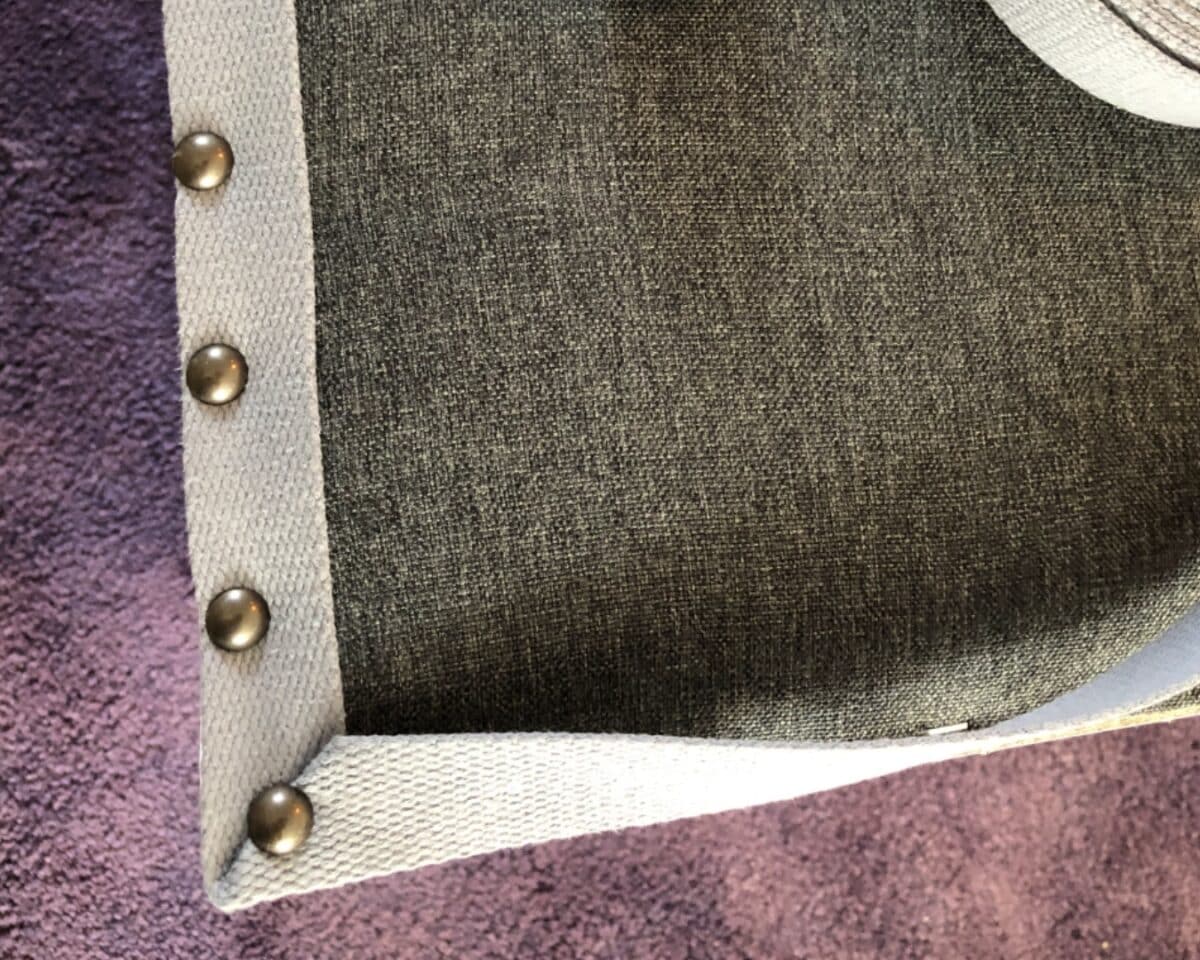
Start in one corner, placing the bias tape and hammering a decorative upholstery tack in with the rubber mallet. Work your way around the entire piece, folding the tape at the corners to turn it in the new direction.
5. Add the Buttons
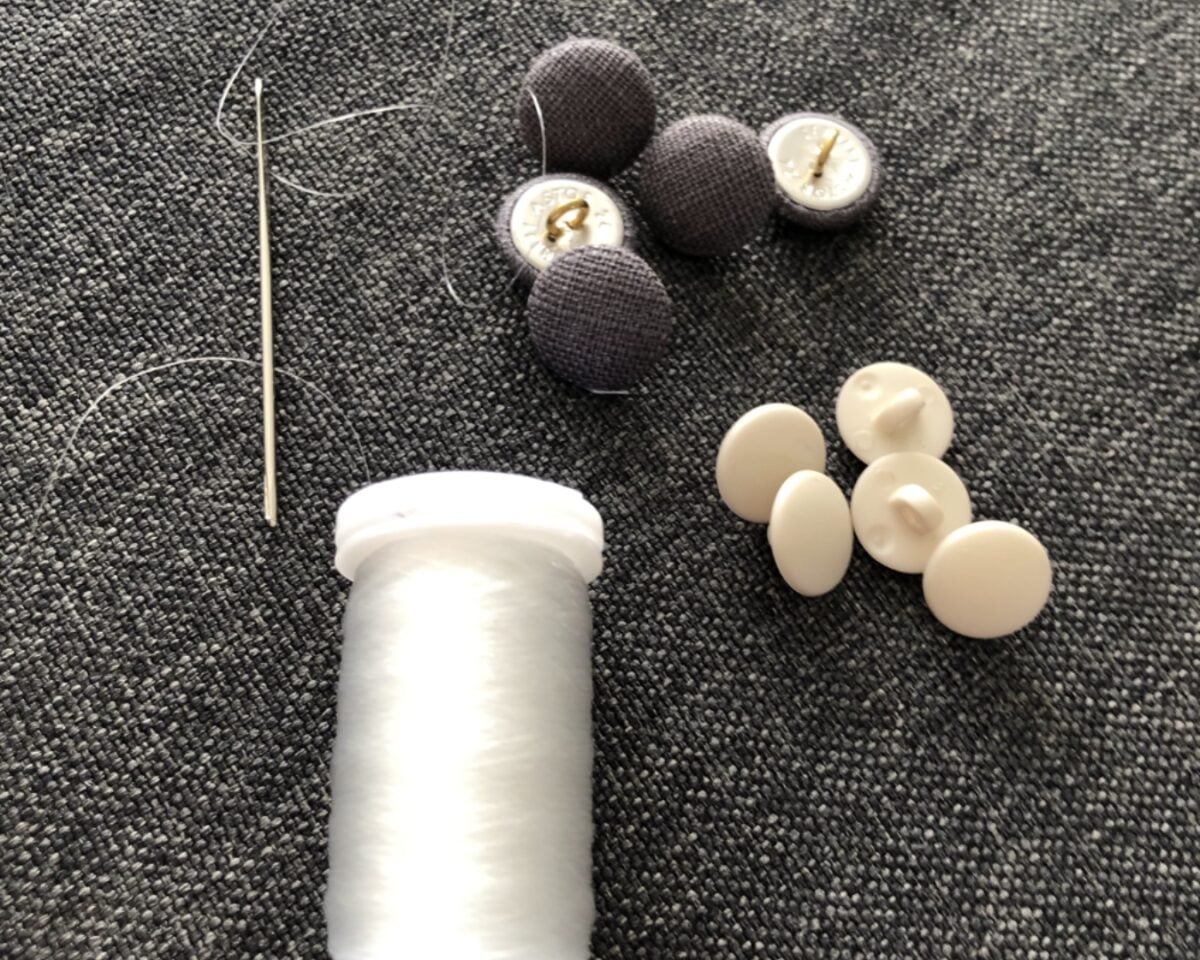
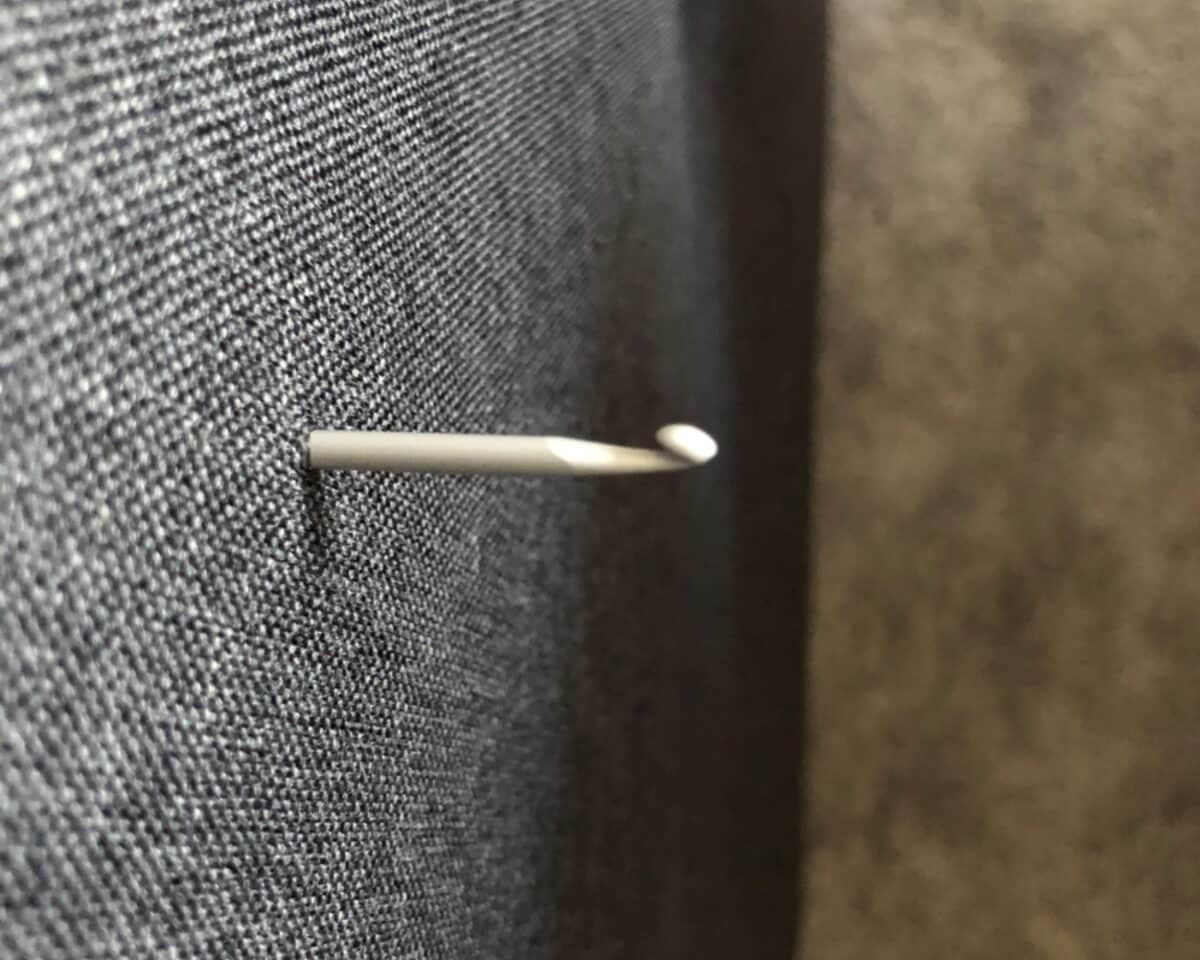
Push the crochet hook through one of the holes you drilled into the backer board at the beginning, from inside the unit, and out through the wadding and fabric.
Use a twist tie through your front button, bending it to give the crochet needle something to grab.
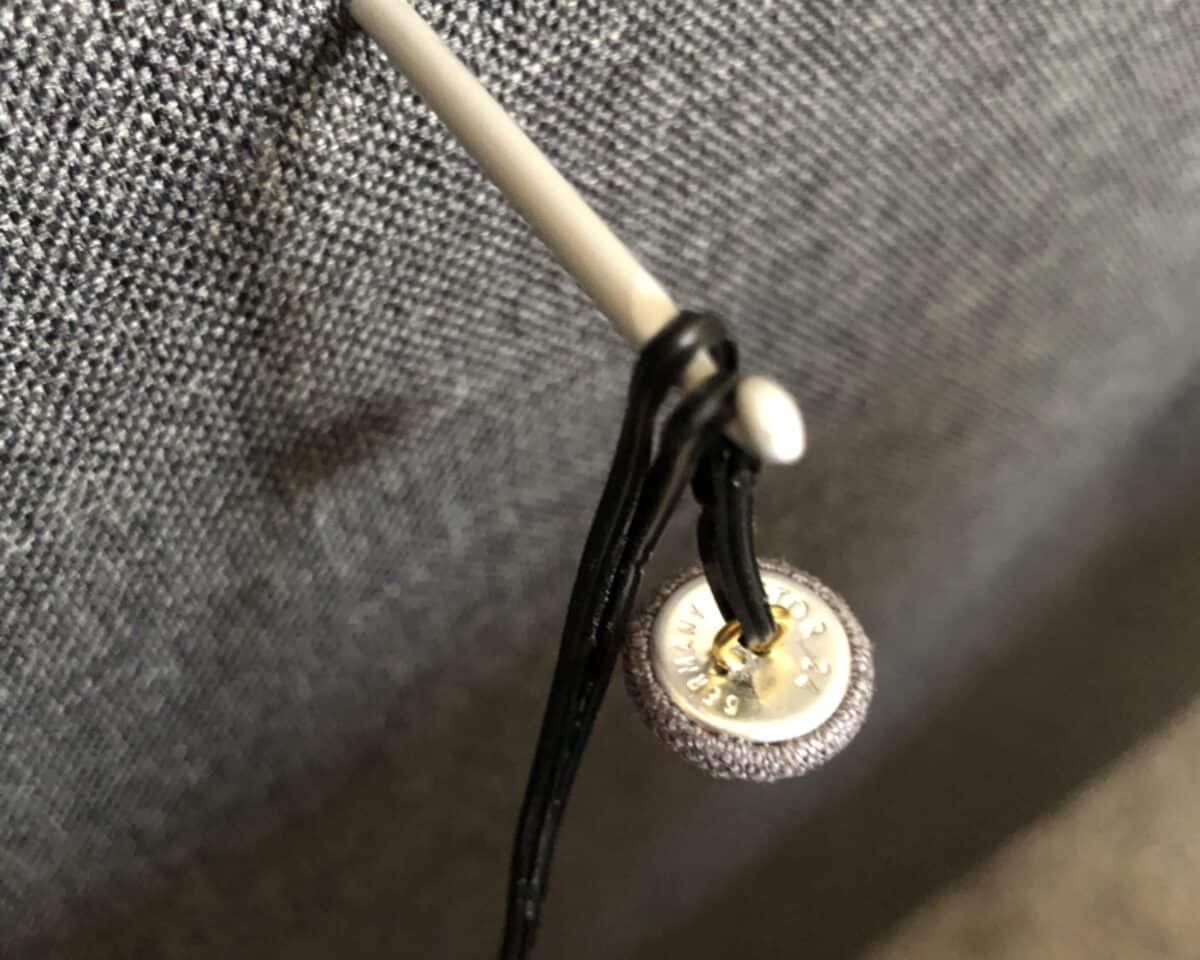
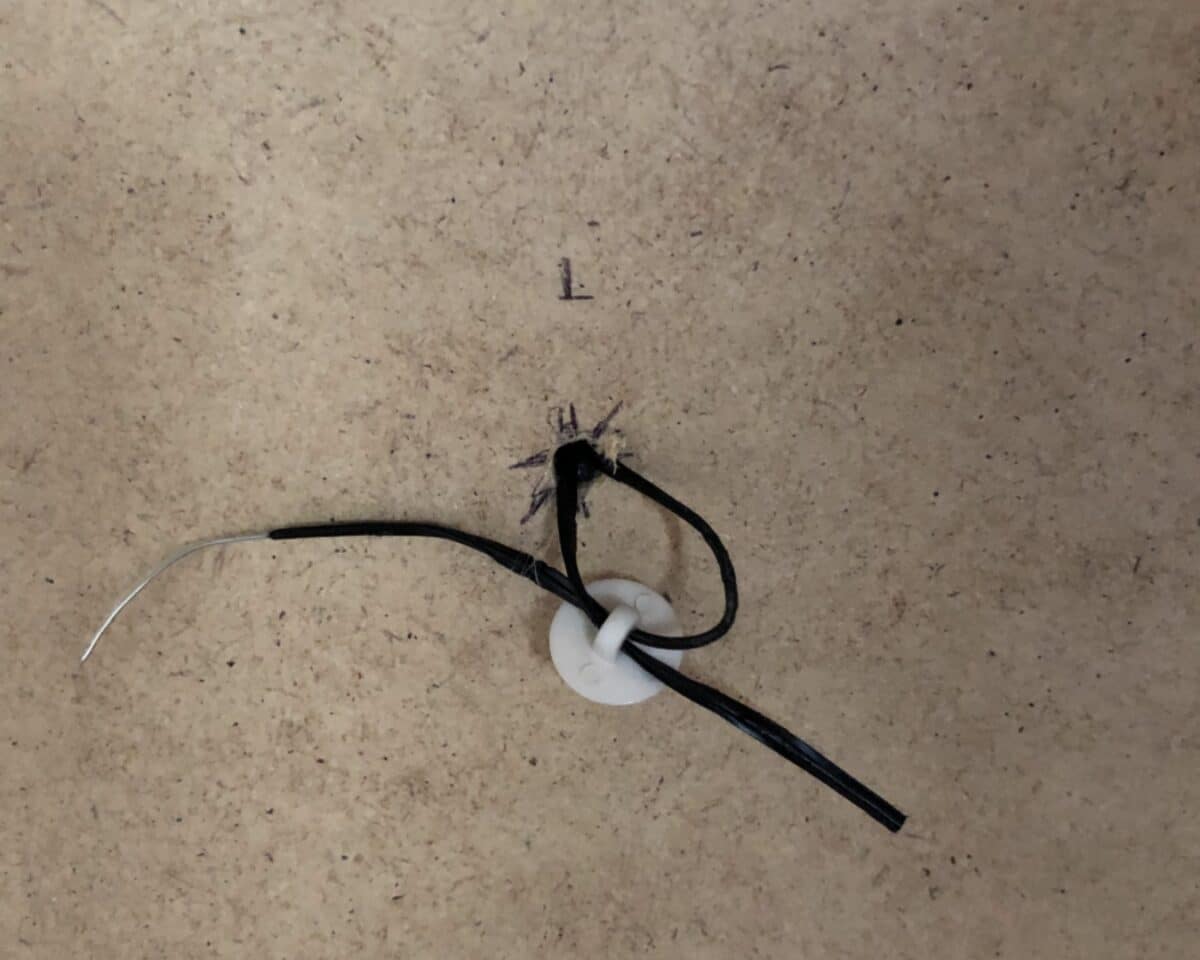
Pull it through the back panel, and use a sewing needle and thread to secure it to a regular button inside the drawer frame for stability. Twist the tie around the button to tighten it.
If you opt for a standard button (with holes in the face), you can also create the tufted look using heavy-duty upholstery thread and an upholstery needle.
Make It Your Own
You could recreate this same idea on any size chest of drawers, the back of a bookcase, a standing screen, and more. Changing up the aesthetics comes down to choosing different fabrics, buttons (or no buttons), and various trim styles.
Of course, you could also skip the upholstered idea entirely and go with a snazzy wallpaper or paint treatment. If you need a more substantial foundation, cut a thin piece of plywood to match the size of your furniture, and then cover or paint it. Then, you can attach it to your furniture of choice, essentially creating a new back.
Do you have a cool room divider idea you’ve hacked from IKEA items? Share your hack for a chance to be featured on the site!