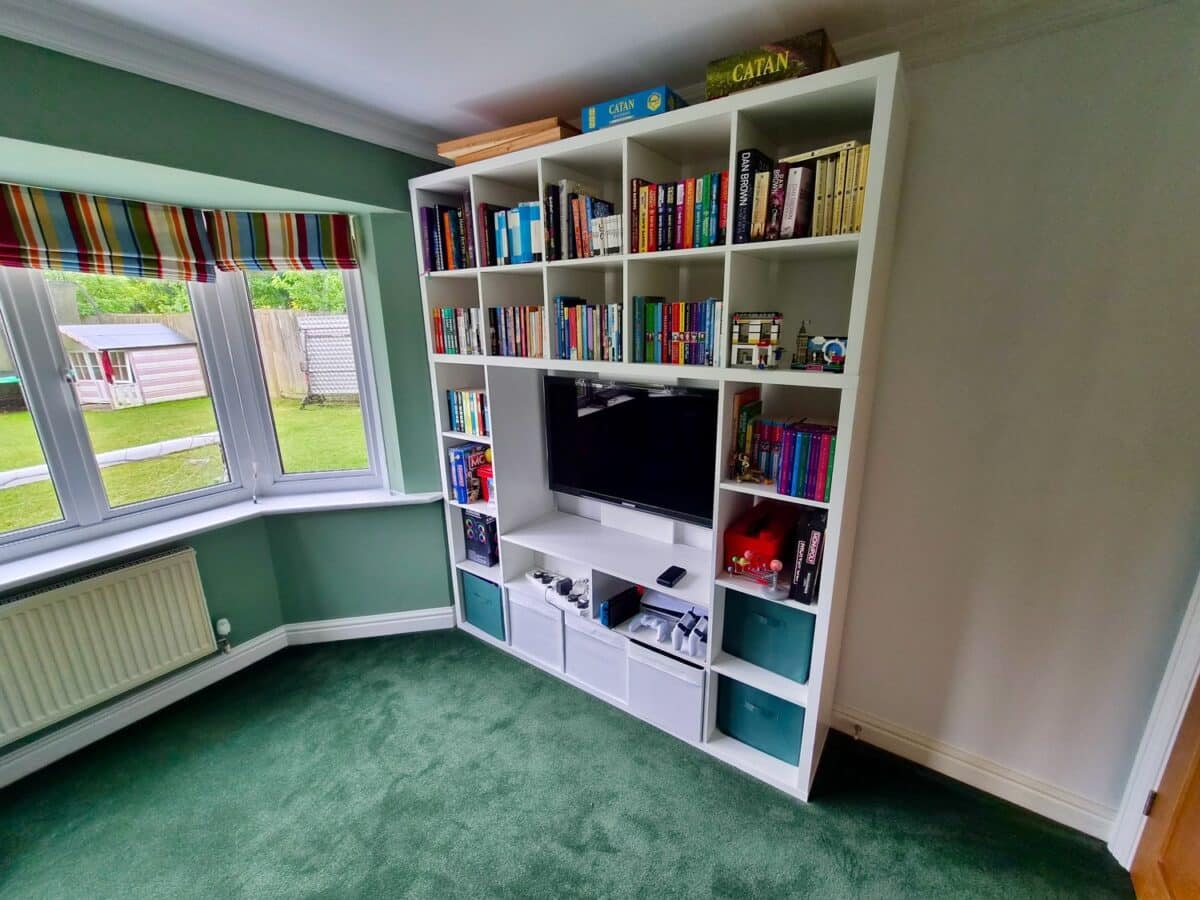
I think it’s safe to say that anyone with kids knows a playroom could always use more storage. So it’s no surprise that this is exactly what motivated Rob to create this hack.
He needed more places to put stuff, without giving up the TV and gaming elements in the space. However, pricing out a ready-made TV and media unit was a real let-down.
He said it was “more expensive and deeper, so wouldn’t have worked.” He needed something with a slimmer footprint and a more modest price tag.
Then, he looked at the IKEA LAPPLAND unit. It looks great, sits low, and leaves a whole lot of wasted space above it. The wheels started turning when Rob looked at the large KALLAX unit.
It was the same width as the LAPPLAND, so it was a match that was meant to be.
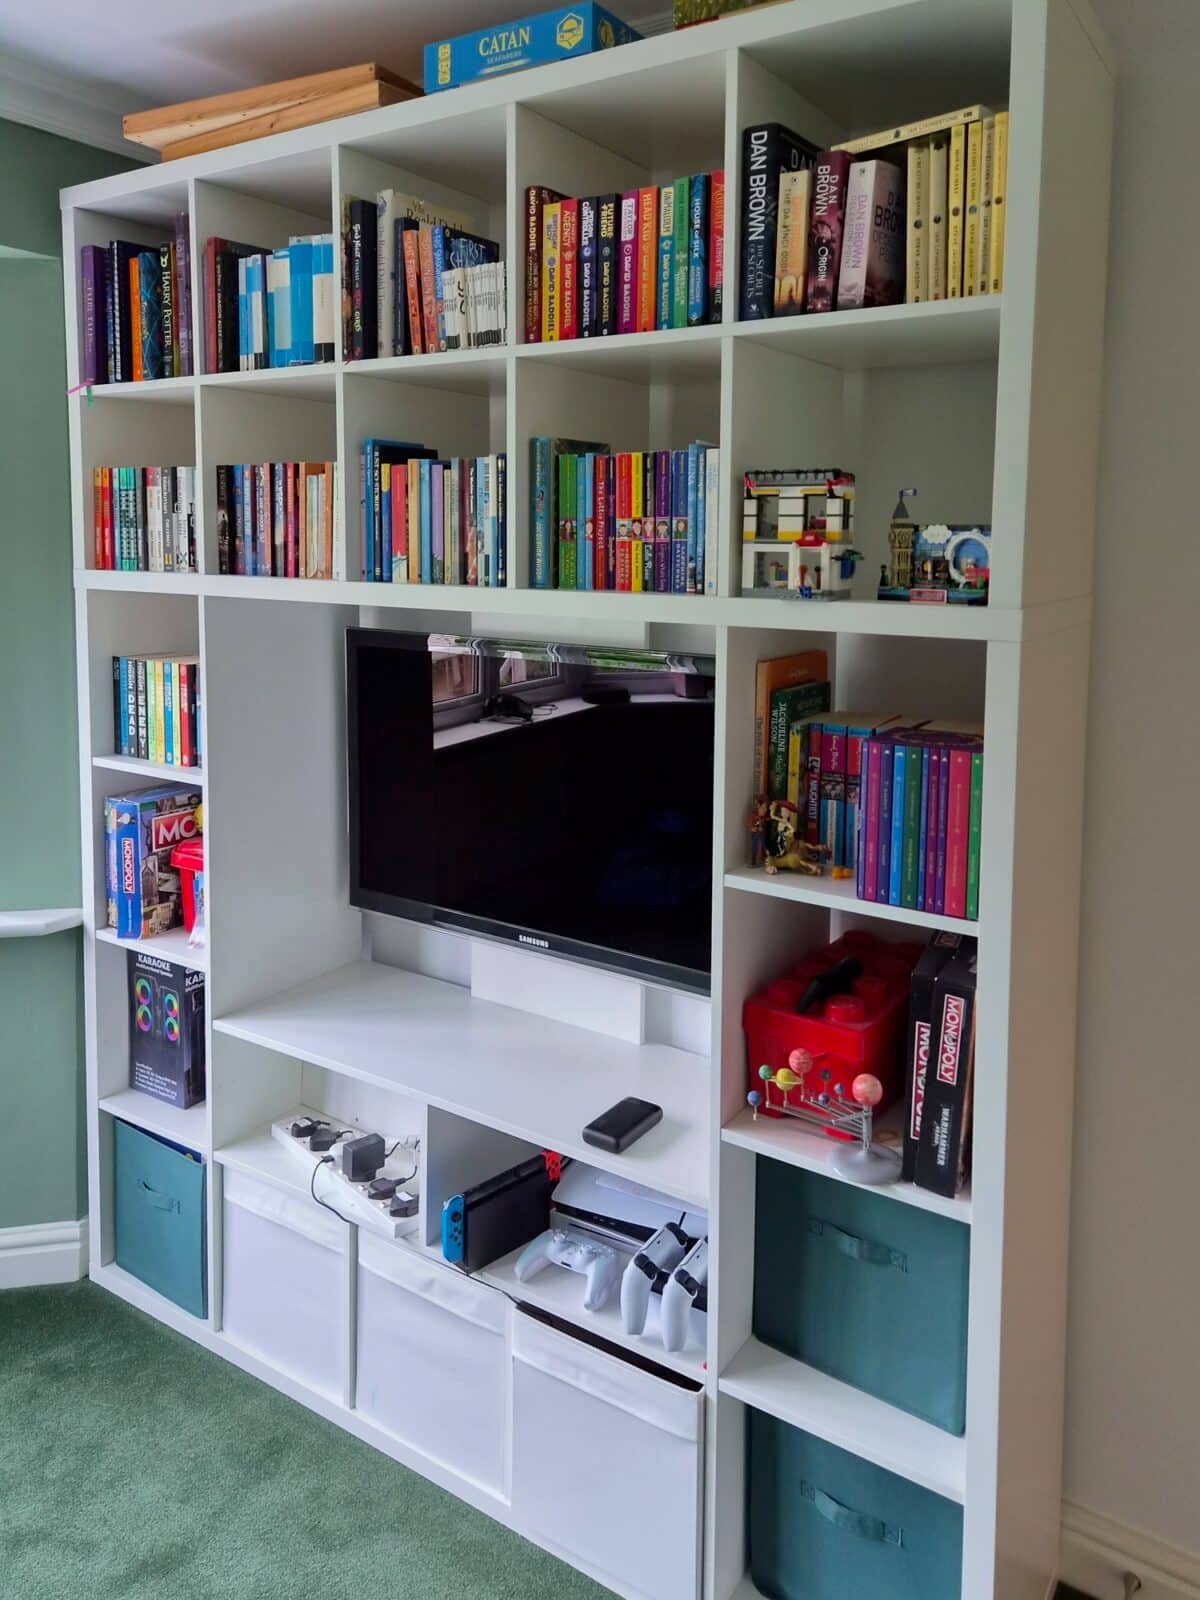
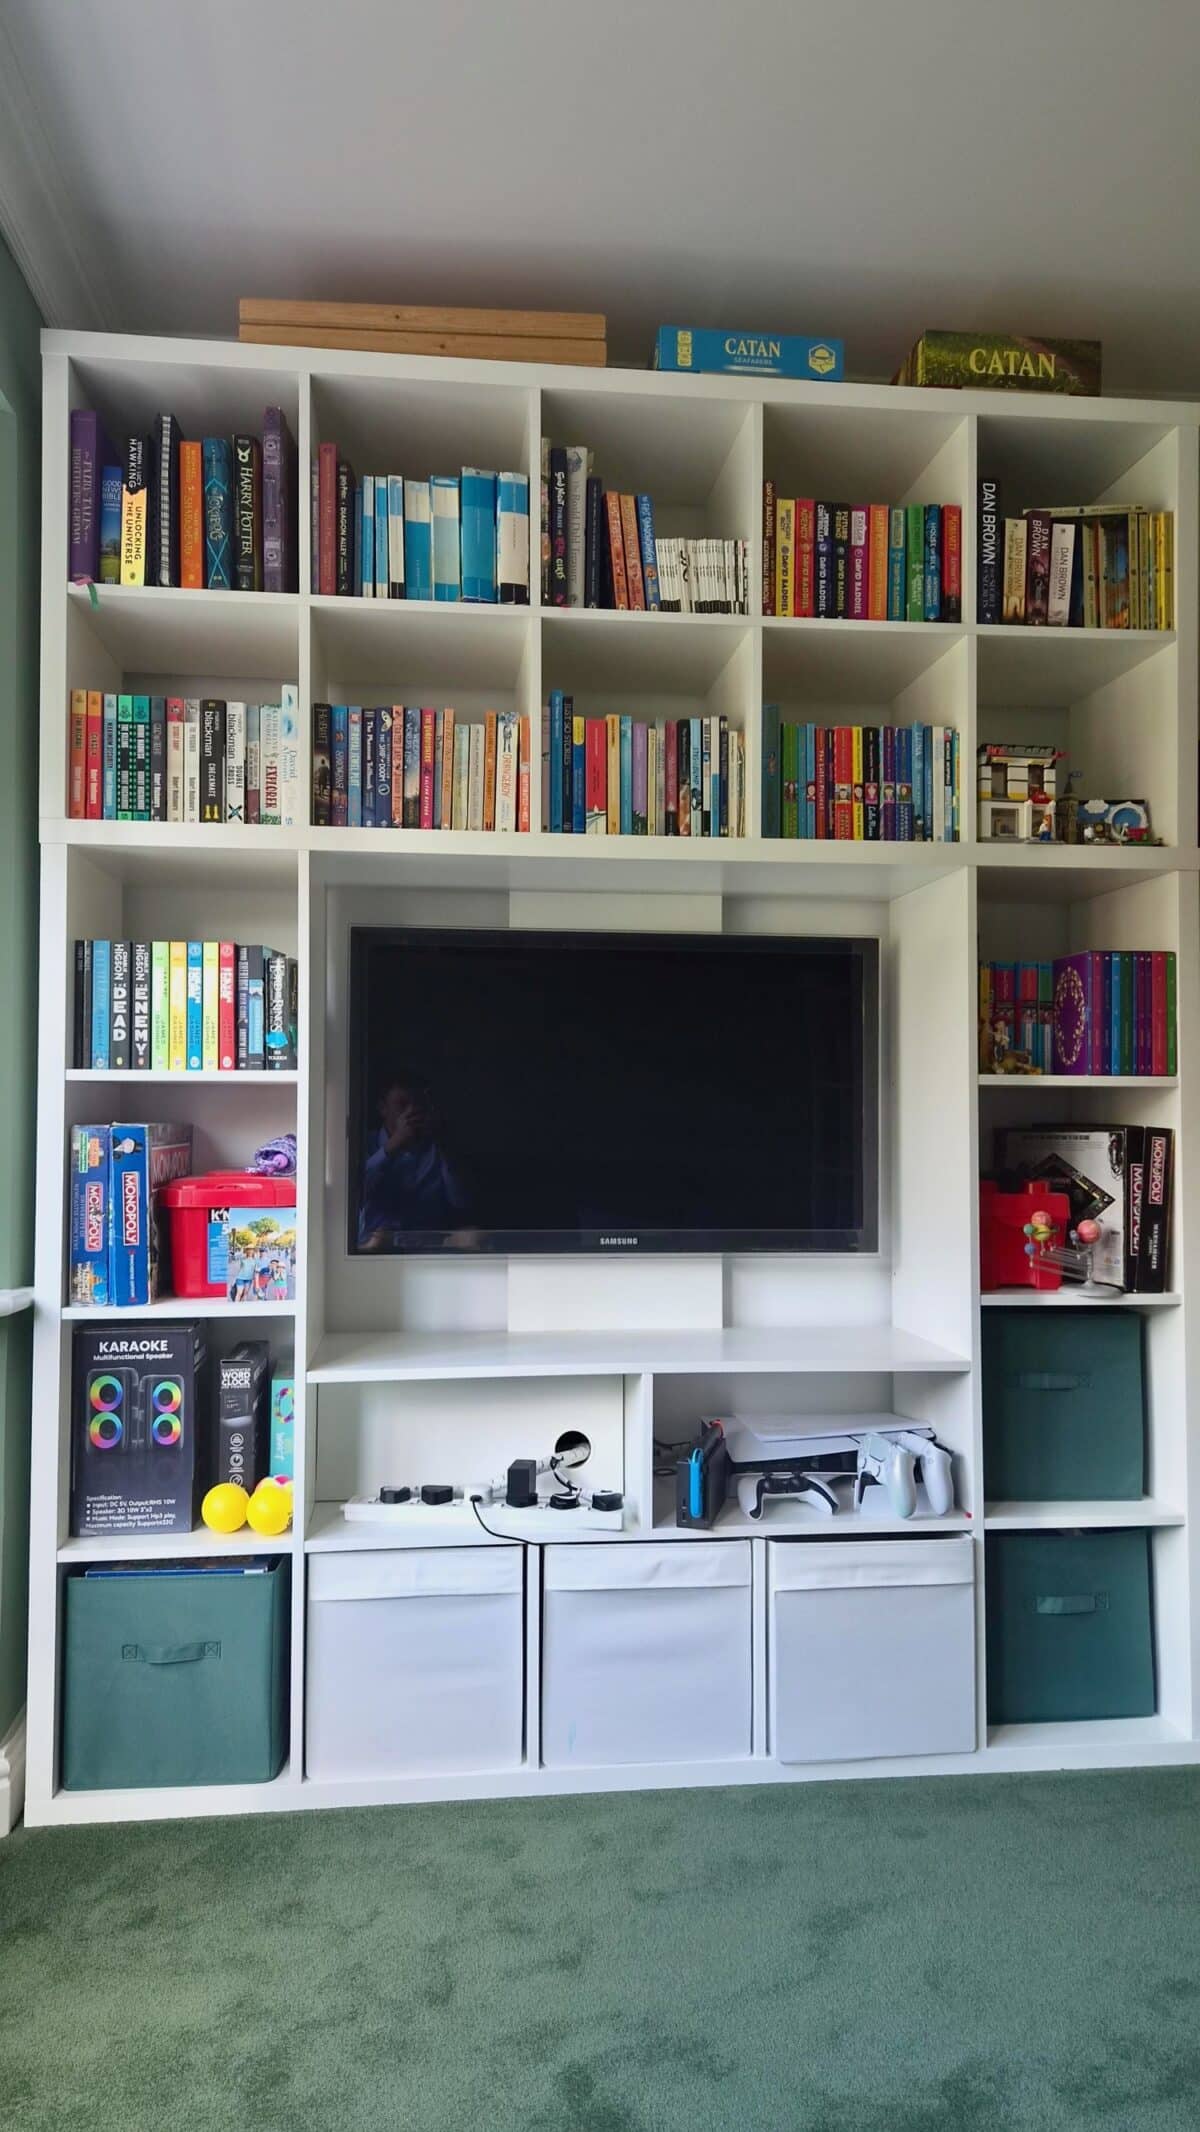
By combining the LAPPLAND with a KALLAX (5×5), Rob created a custom playroom storage and media unit that:
- Stacks extra storage high for lots of storage possibilites
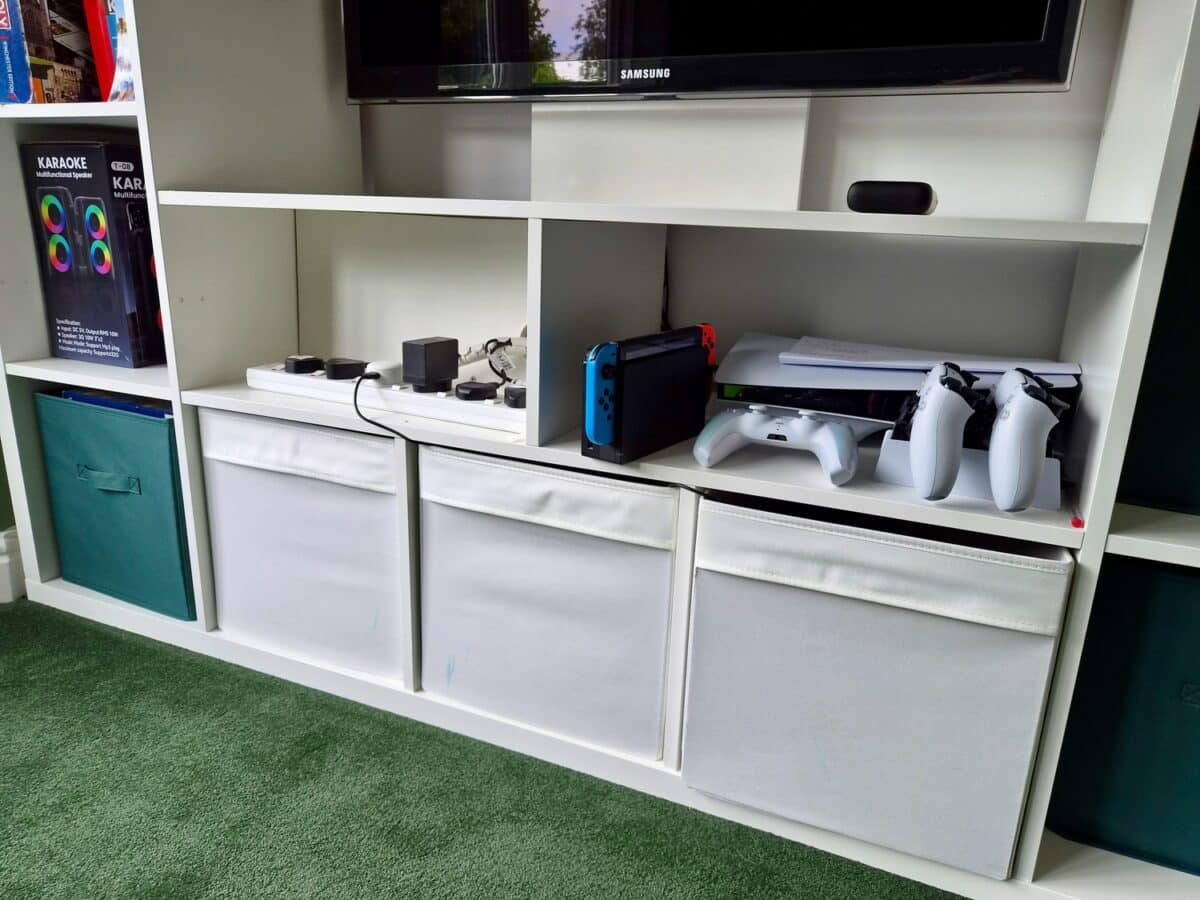
- Fits a Nintendo Switch charging dock underneath the TV
- Built-in cable management solution for easy charging of devices
- Costs nothing more than the two flat packs themselves
What You’ll Need
- 1 IKEA LAPPLAND TV unit
- 1 IKEA KALLAX (71 ⅝” x 71 ⅝”)
- Circular saw
- Set square
- Tape measure
- Drill
- Screws
- Dowels
Create a Playroom Storage + TV Unit That’s Perfect for Your Space
1. Cut Up the KALLAX
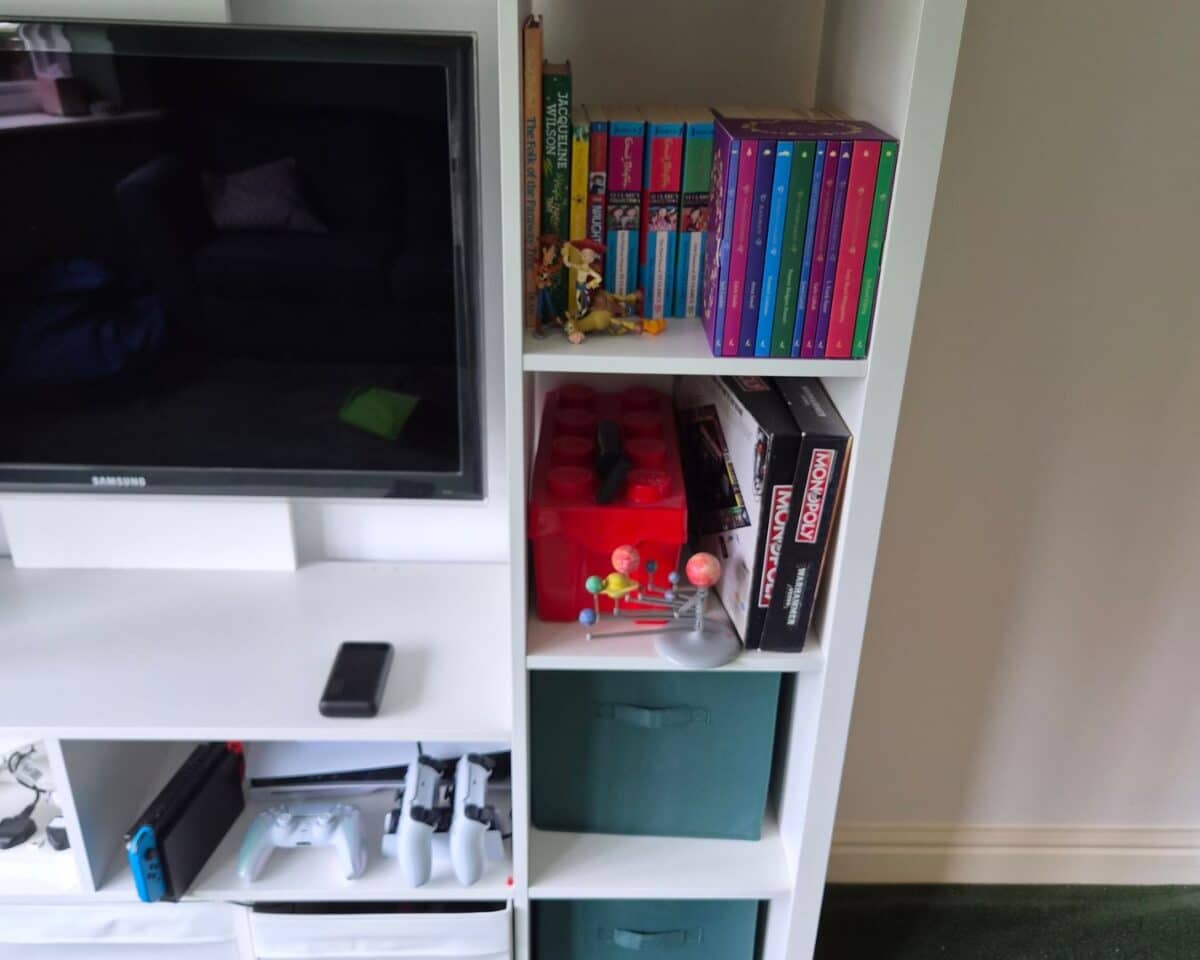
Rob basically chopped up the 5 x 5 KALLAX using the LAPPLAND pieces as templates to achieve the desired end product. You’ll end up with two rows of five on top and three cubbies on the side, mirroring the other side of the LAPPLAND.
You could also make adjustments here to create different designs, depending on your unique needs. The KALLAX and LAPPLAND have very similar dimensions, making the unit compatible with IKEA’s KALLAX cubby inserts.
2. Attach the Top
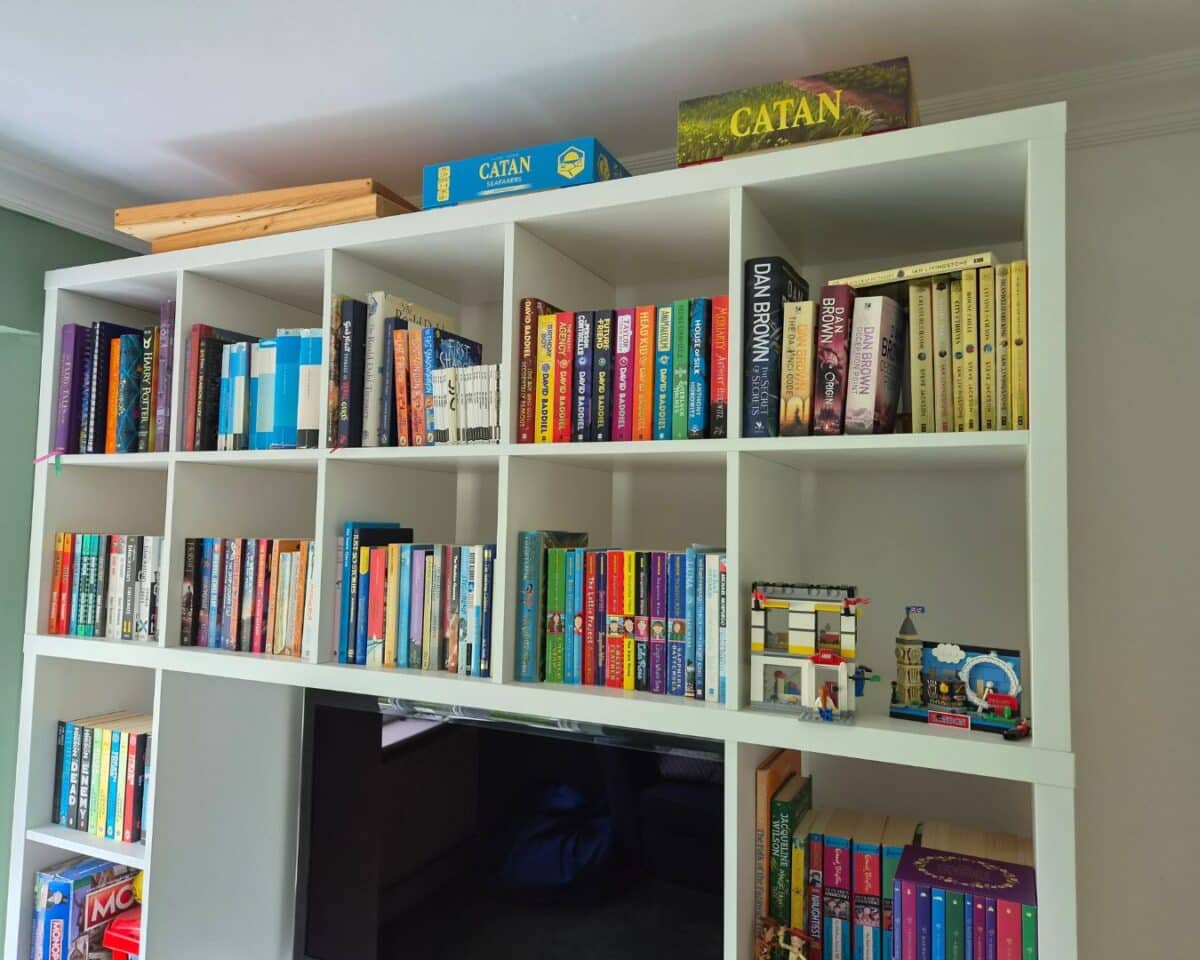
Drill and fit dowels into the KALLAX pieces that will attach to the top of the LAPPLAND. Match and drill holes in the top of the LAPPLAND unit to fit the dowels so you can install the KALLAX on top of the media unit.
3. Control the Cables
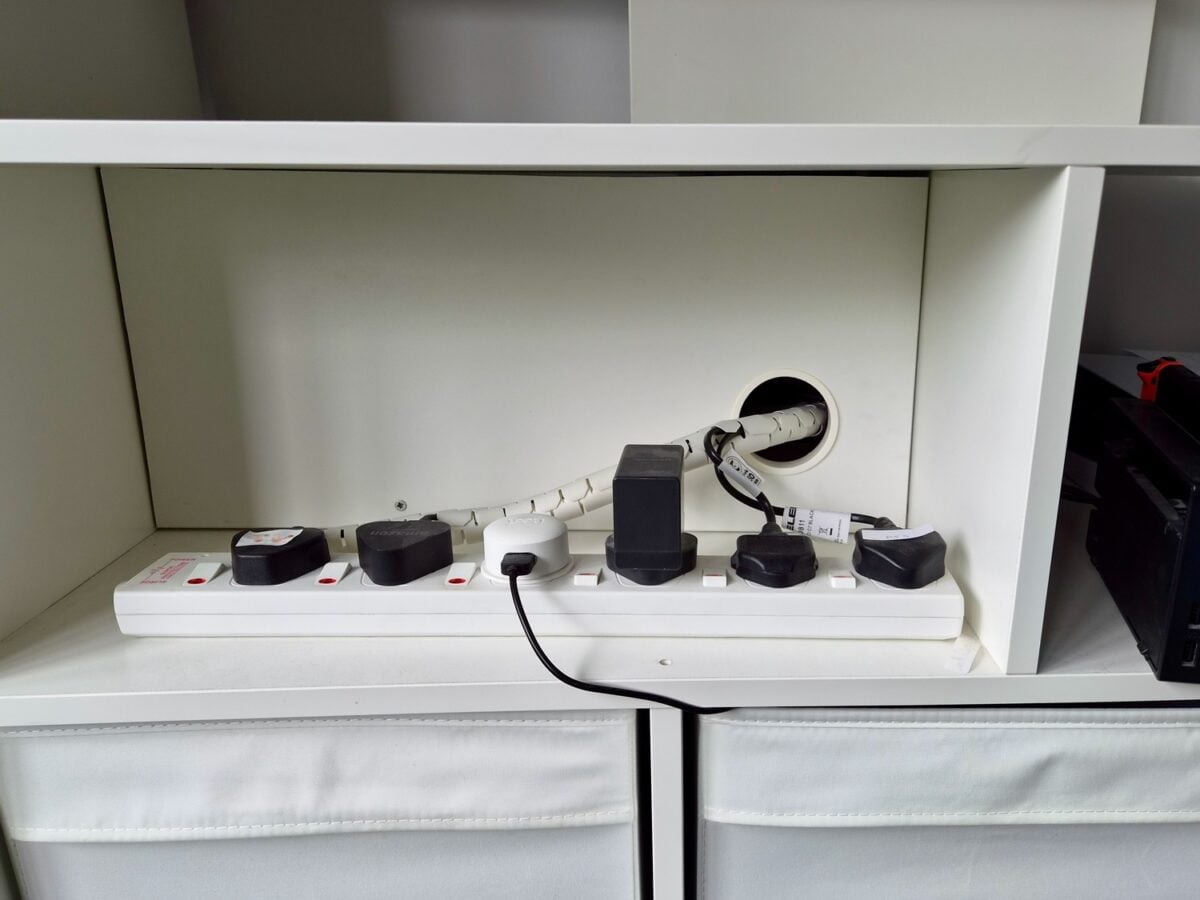
Use leftover KALLAX pieces to create a new panel for the slots under the TV, making them taller. Adjust the slots to house whatever you plan to store there, lifting the TV as needed to accommodate the storage.
For example, Rob raised them so they would fit the charging dock for a Nintendo Switch, along with a few other components on one side and a power strip for all the cords on the other.
How long did this hack take? About half a day
How much did this hack cost? The price of the two IKEA pieces. The KALLAX piece is $249.99. The LAPPLAND isn’t currently available at IKEA, so you might need to check online marketplaces for a secondhand one if you want this exact hack.
DIY Tips on Building the KALLAX LAPPLAND TV Unit
Make sure your cuts are at right angles. Rob said that, looking back, he would have invested in a fixed circular saw table with guides so he could get the angles precise.
If you’re not an avid DIYer, investing in a large tool might not be in your budget, but you could rent or borrow one if you think it would help the project go more smoothly.
Rob also cautioned to pay attention to which pieces you put where, since many of the components only have cardboard reinforcements. Use stronger, solid pieces where you need the most stability.
He also gave a heads-up that the finished shelving system isn’t coming out of the room in one piece. However, the top is relatively easy to remove if you need to relocate the unit.
Could You Hide the Cords?
I like the idea of having the power strip easily accessible in the lower slot, but it would be great to hide it. What do you think about using another leftover KALLAX piece to create a door that could come down on soft-close hinges?
You could even use some UTRUSTA push openers to keep the face smooth. Then, drill a hole in the back of the unit to fish the power strip cord through to the outlet.
How would you make this hack your own? Would you make it bigger? Add different inserts? Or would you keep it just as it is? Share your hack and ideas with us so we can keep the IKEA inspiration going strong!