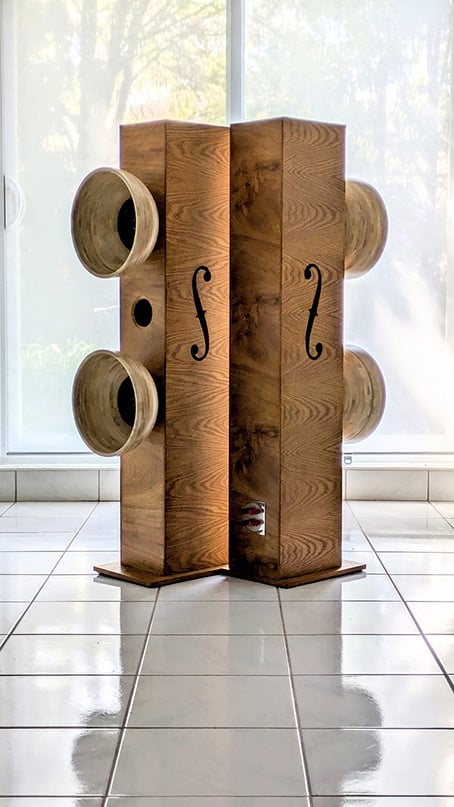
David Kan is no stranger to IKEA Hackers. This audiophile has delivered some amazingly clever ideas, like these speakers out of monitor stands and how to create a sleek speaker support.
Today, we’re showing off another one of his beautiful designs, which, like many of his ideas, began with a question.
He thought about how gorgeous the acoustics are in domed cathedrals, which made him question why the horn of a horn speaker always has to be flared and curved outward. Couldn’t it be dome-shaped to achieve the same heavenly sound?
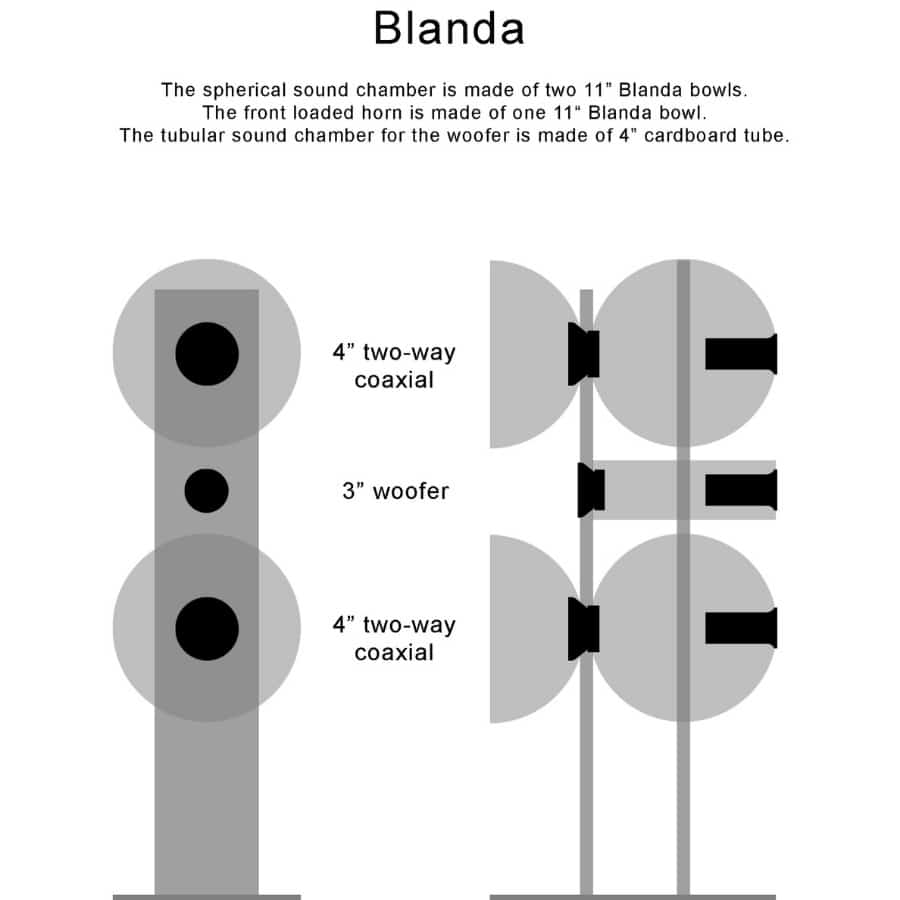
These questions started whirring around his head as he looked at IKEA’s BLANDA bowls.
“I know, I know,” he laughed, “Most people would think of spherical speakers when they see the BLANDA bowls. I actually drafted a design for that.” (Of course, you did, David.) “But,” he continued, “I have already made two pairs of spherical speakers, one with plastic bowls and the other with stainless steel, so I didn’t want to repeat myself.”
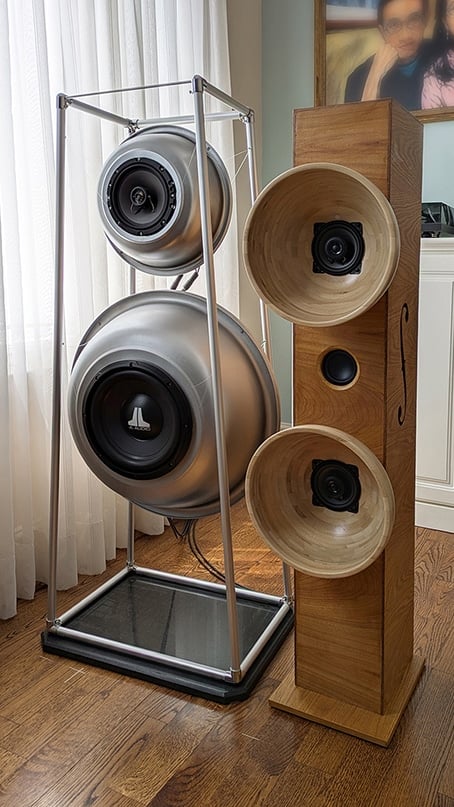
Therefore, David combined his bowl horn idea with another project that’s been hanging out on his drawing board for a while, deciding to make the BLANDA bowl the star of the show.
Pull up David’s playlist to hear his Cremona Alfa speakers in action; it’s the perfect inspiration for making your own.
What You’ll Need
- 4 IKEA BLANDA bowls (11”)
- 2 GROGGY stainless steel coasters (discontinued, so you may need to source secondhand or purchase a similar set of square coasters (8 cm x 8 cm)
- ¾” plywood for front and rear panels and bottom plinth
- ³/₁₆” plywood for the side and top panels
- Four 4” coaxial 2-way car speakers
- Four 3” sub-woofers
- Two 5” bass reflex tubes
- Speaker cables for internal connection to the drivers
- Four speaker binding posts
- Circular saw
- Jigsaw
- Power sander
- Sandpaper
- Hole cutter
- Wood glue
- Wood stain
- Small nails
- Clamps
- Basics — drill, hand saw, screws and screwdrivers
How To Make Horn Speakers Using BLANDA Bowls
1. Draft Your Design
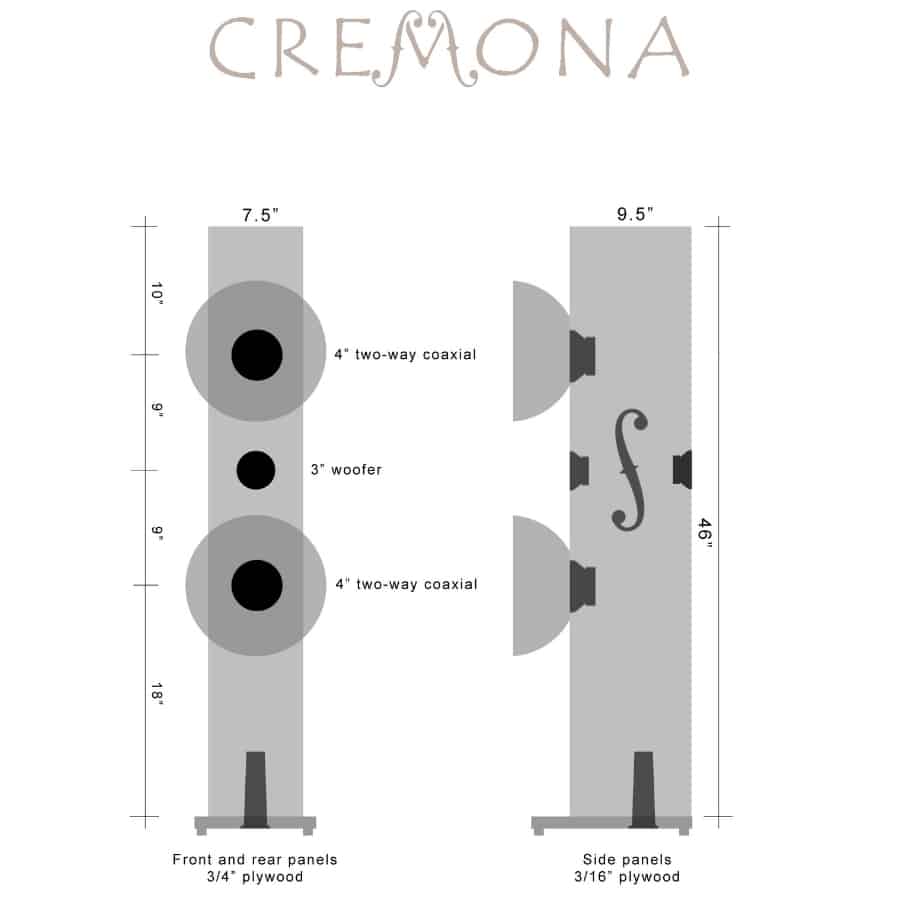
All great hacks start with a plan. David drafted his design using Photoshop. This helps make adjustments and confirm dimensions.
2. Make the Panels
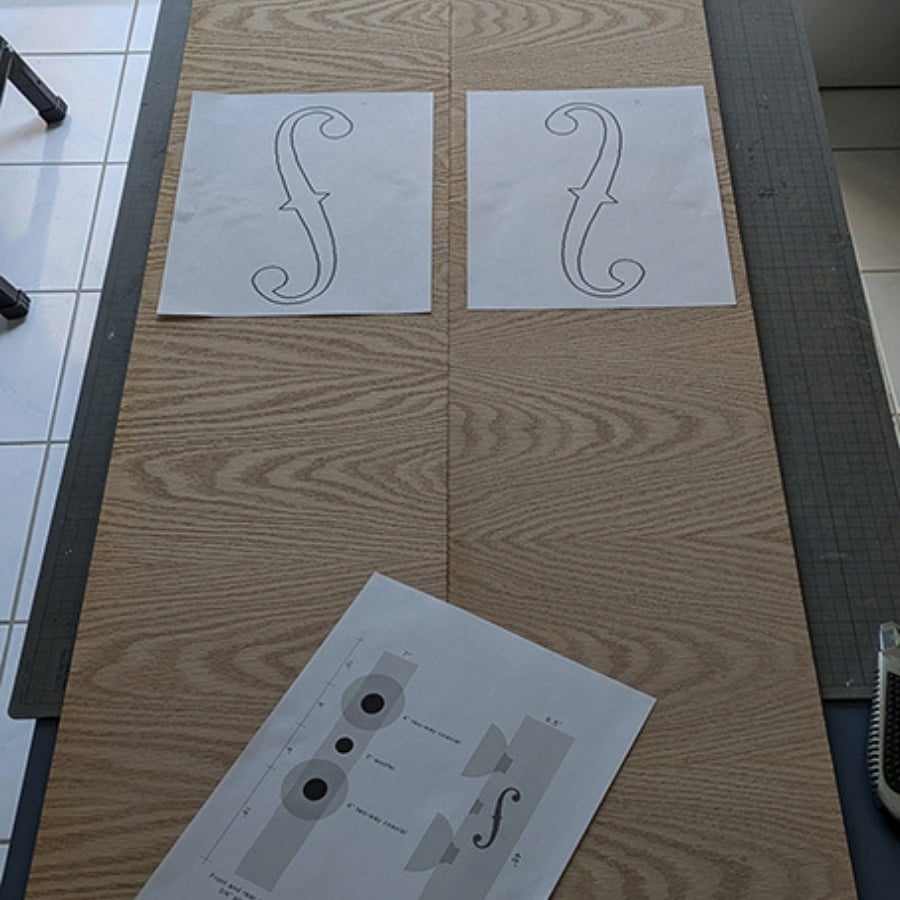
Map out the various panels on the appropriate thicknesses of plywood using the precise measurements from your drafted design. Cut each panel out with a circular saw.
3. Create the Holes
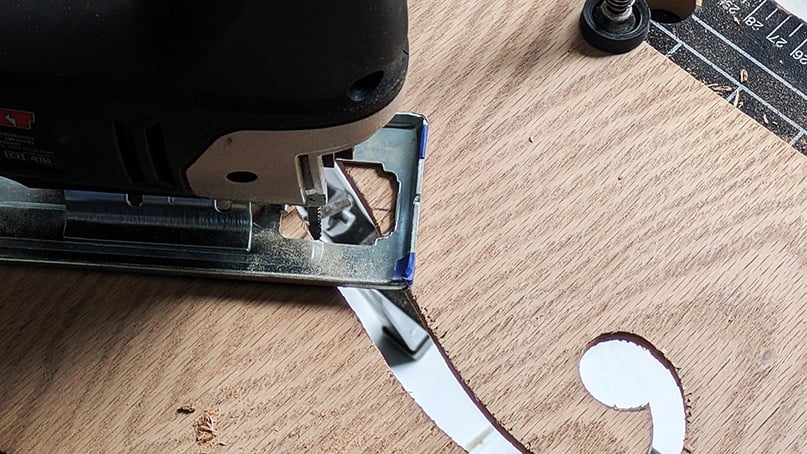
Cut out the f-hole on the inside panels using the jigsaw. Polish the edges with sandpaper. Create the round holes on the front panels, making two for the 4” coaxial drivers and one for the 3” bass driver.
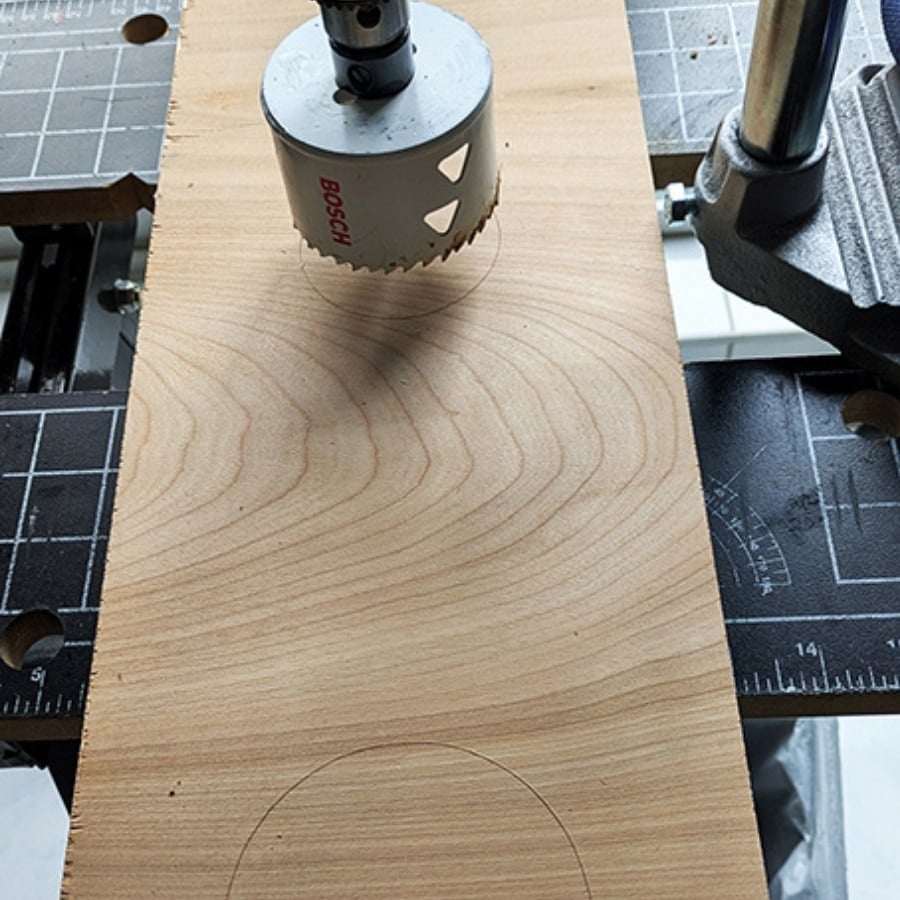
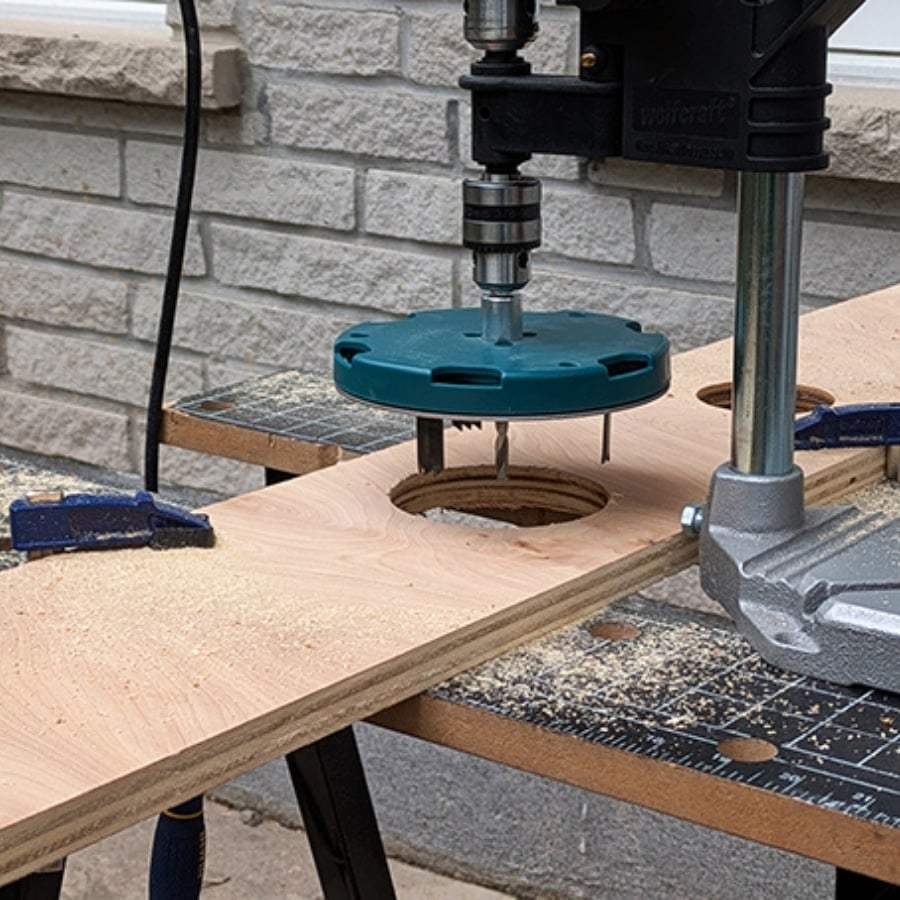
Make the round hole on the rear panel for the 3” bass driver, and cut out one more round hole at the lower part for the speaker binding posts. Cut holes on the bottom plinths for mounting the bass reflex tubes.
4. Prep the Coasters
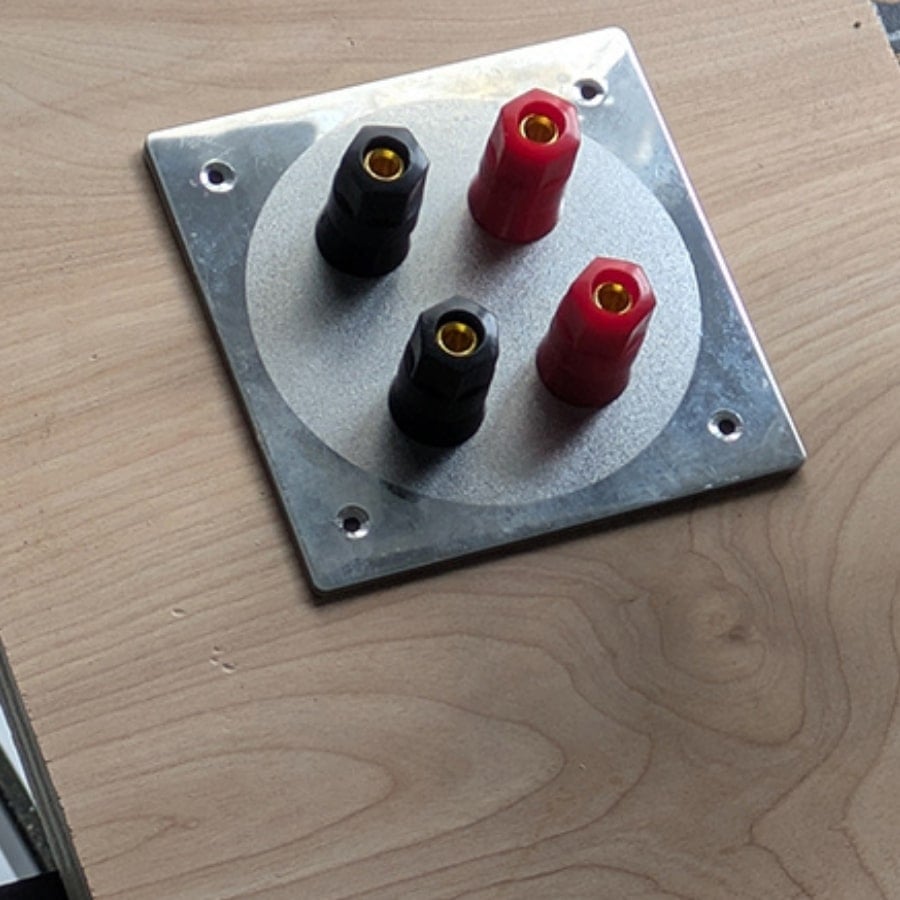
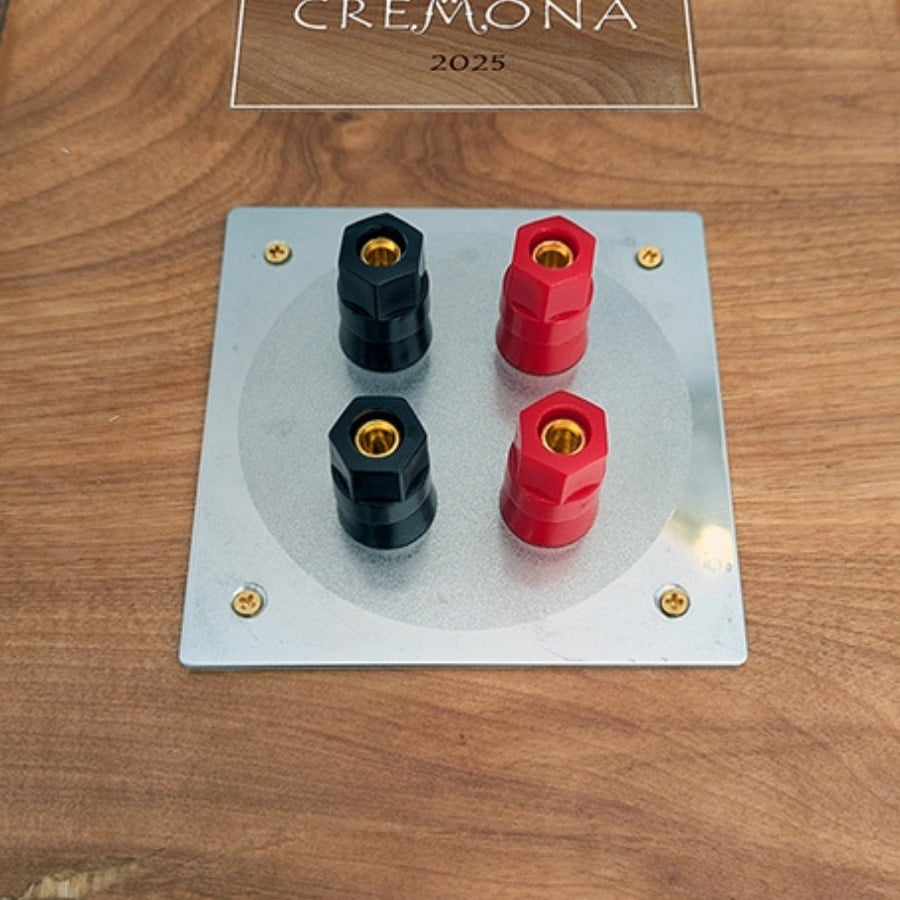
Drill holes on the GROGGY (or similar) coasters, and install the speaker binding posts. Each coaster should have two pairs of posts for bi-wire or bi-amp.
Make sure to include good insulation between the binding posts’ brass shafts and the stainless steel coaster. Drill four mounting holes into each coaster, one in each corner.
5. Make the Enclosure
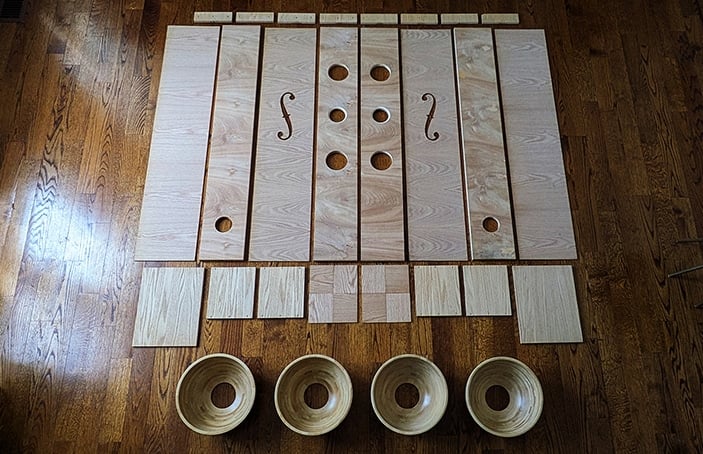
Assemble the speaker enclosure by gluing all of the panels. Nail down the side panels, and clamp to dry.
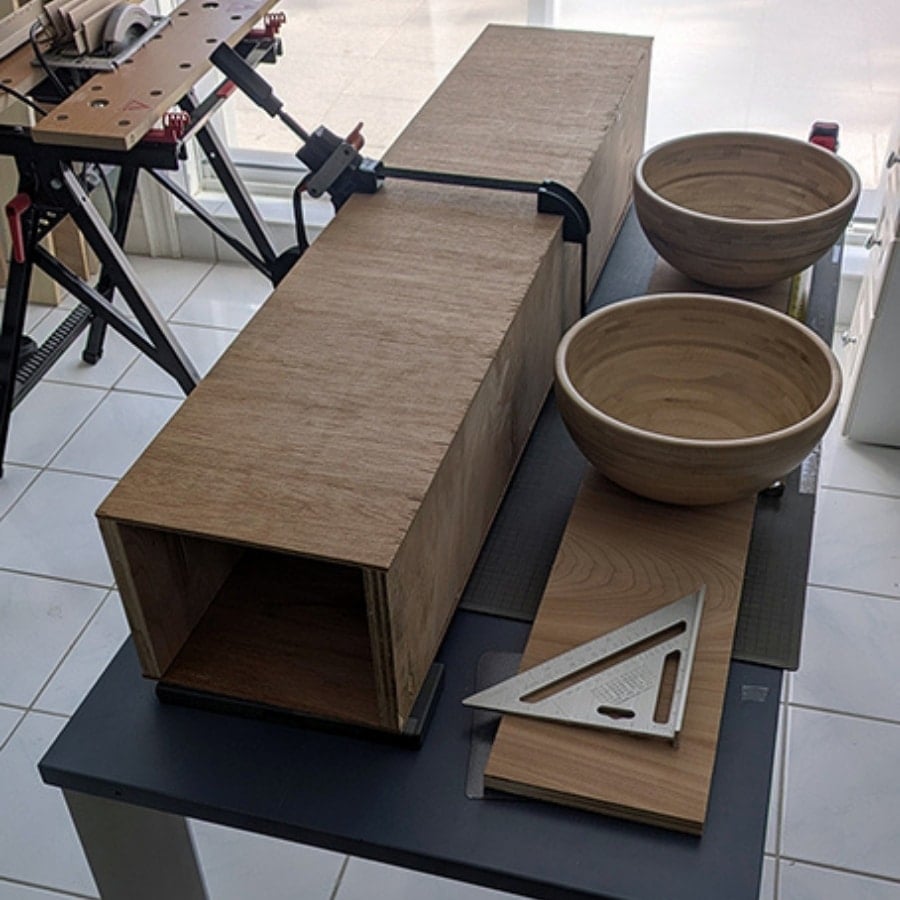
Polish the enclosure with a power sander and paint the cabinet with wood stain. David suggests Winmax PolyShades satin honey pine, and he used three coats.
6. Put It All Together
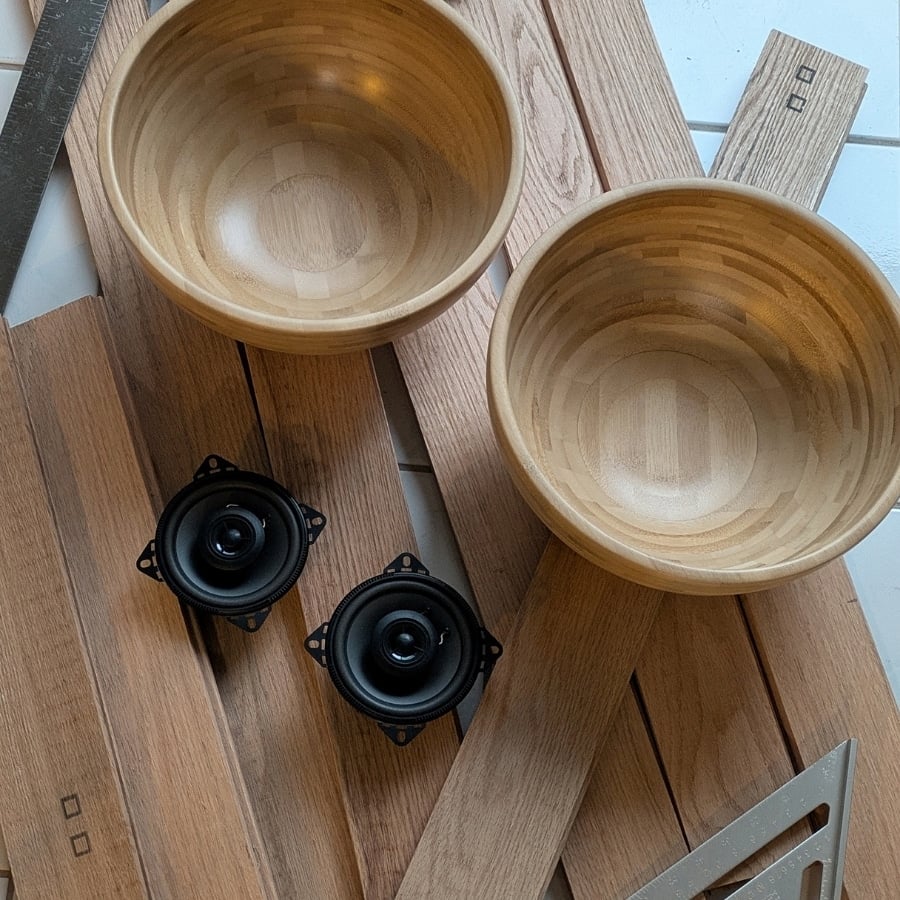
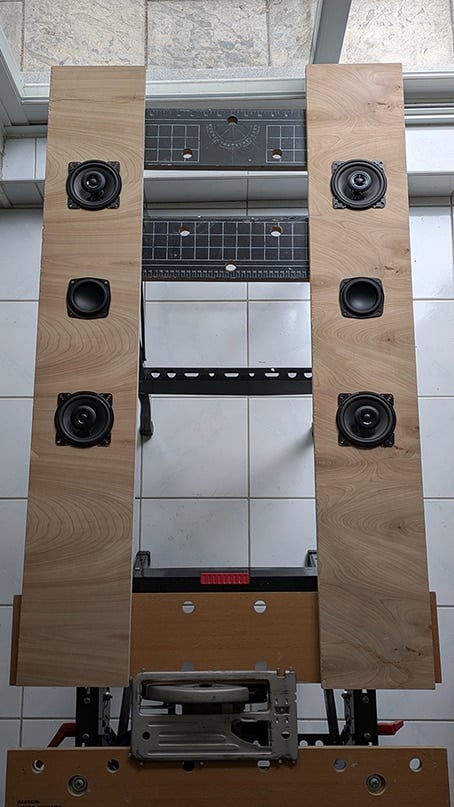
Drill holes into the BLANDA bowls and position the bowls on the driver mounting holes to mark the mounting position. Connect the speaker cables to the drivers, allowing enough length for each pair of cables to thread through the binding post hole on the rear panel.
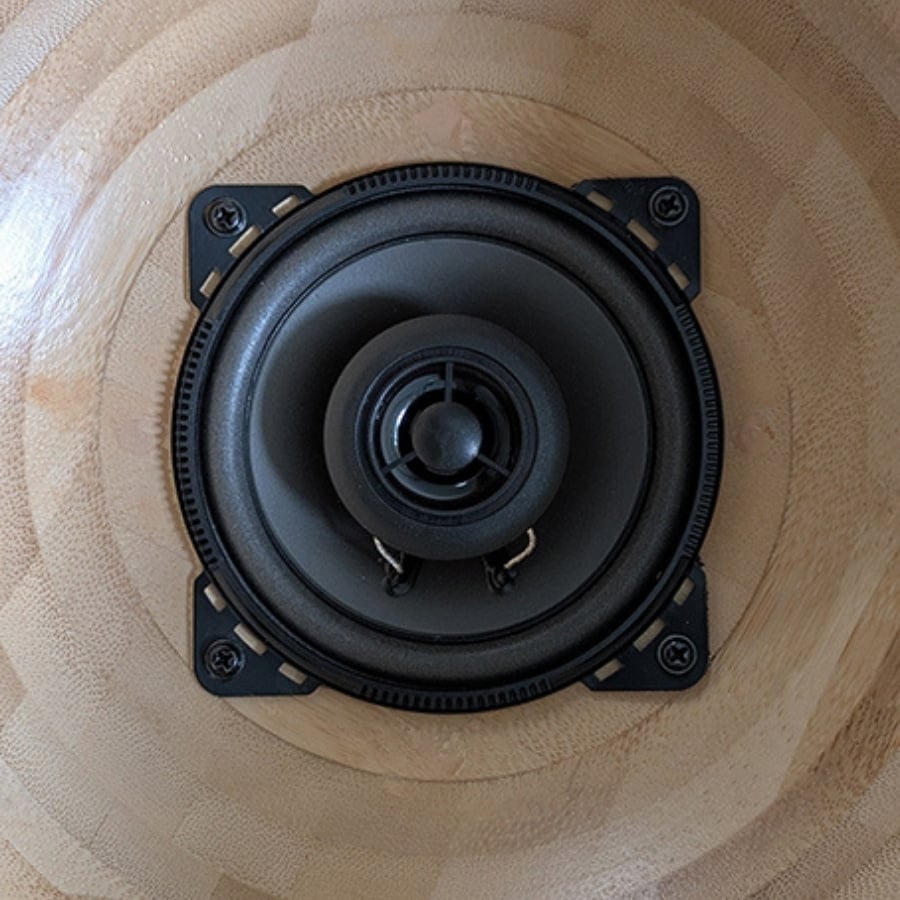
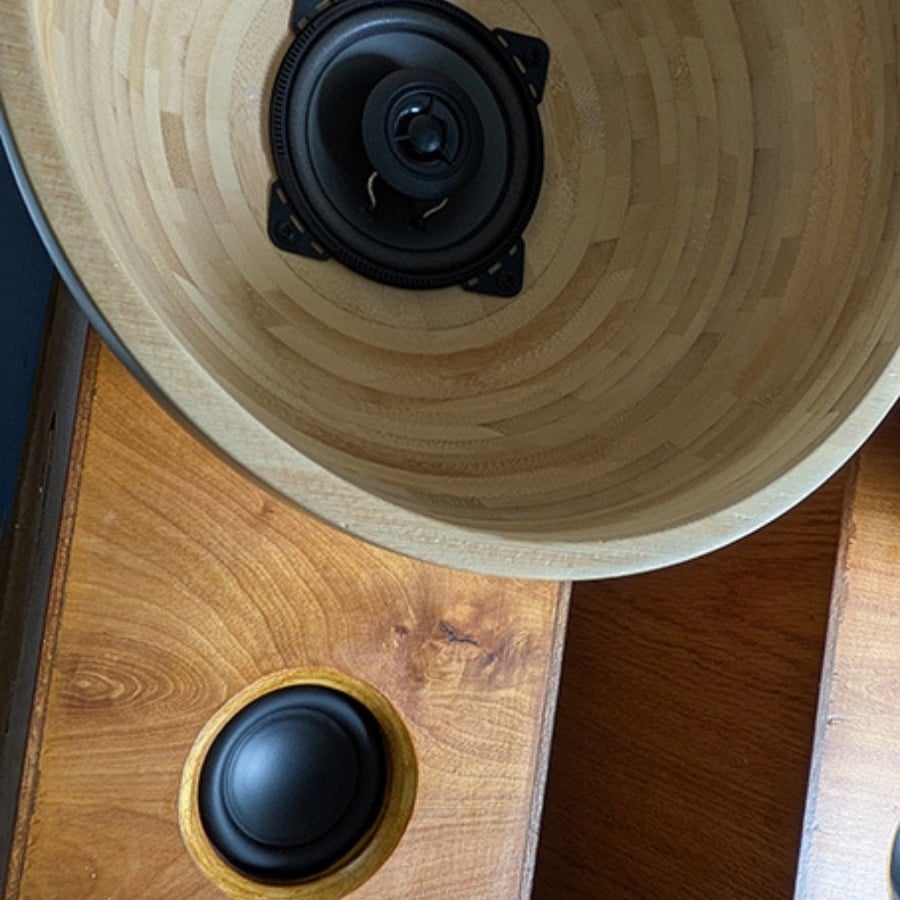
Secure all of the drivers with mounting screws. Connect the speaker cables to the bi-wire/bi-amp mounting posts, placing one 4” coaxial 2-way driver parallel with one 3” subwoofer.
Interesting Tips and Insights from the Hacker
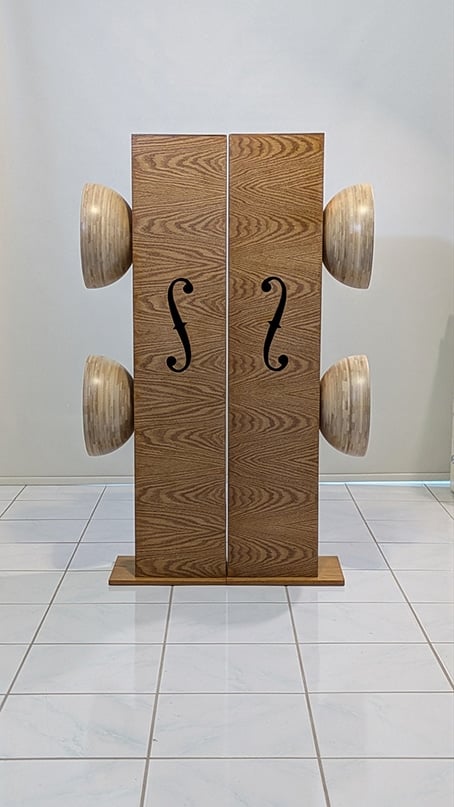
David used very cheap car speaker drivers for this project. However, in previous designs and projects, he’s used very high-quality German-made drivers. What he found was something that proved his long-held theory — “That the enclosure design is the single most critical element in DIY speakers, more important than the drivers themselves.”
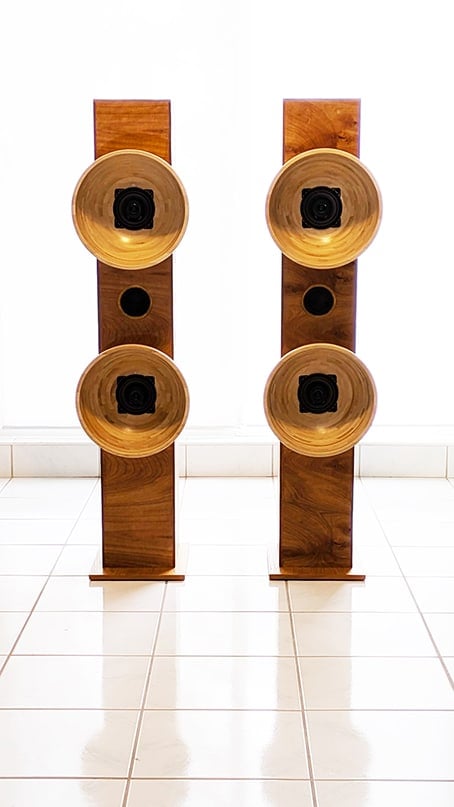
Therefore, this is definitely something to keep in mind if you decide to mimic this hack and want to keep your budget in check.
David notes how placing the speakers side-by-side makes them look like a rectangular double bass.
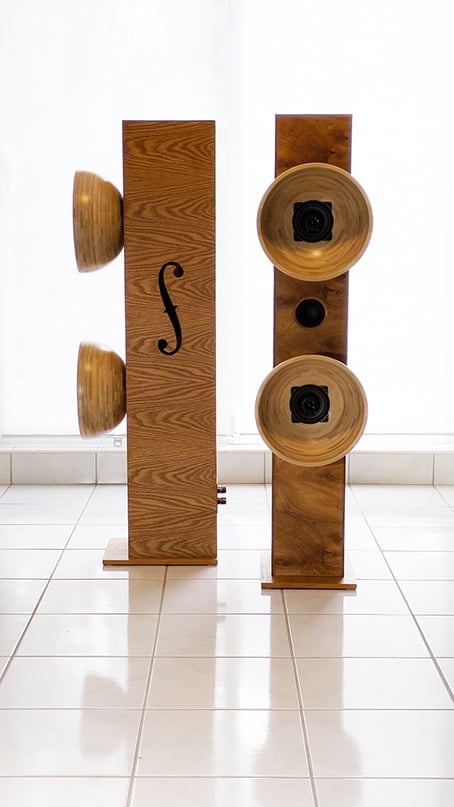
The bowl horns really enhanced the sound, creating a rich, warm tone that you wouldn’t normally get from a pair of tiny 4-inch drivers.
It’s “more like listening to live musical instruments than hi-fi speakers,” David shares, continuing, “These speakers deserve to be honored with the name Cremona, the cradle of legendary string instrument makers like Stradivari and Amati.”