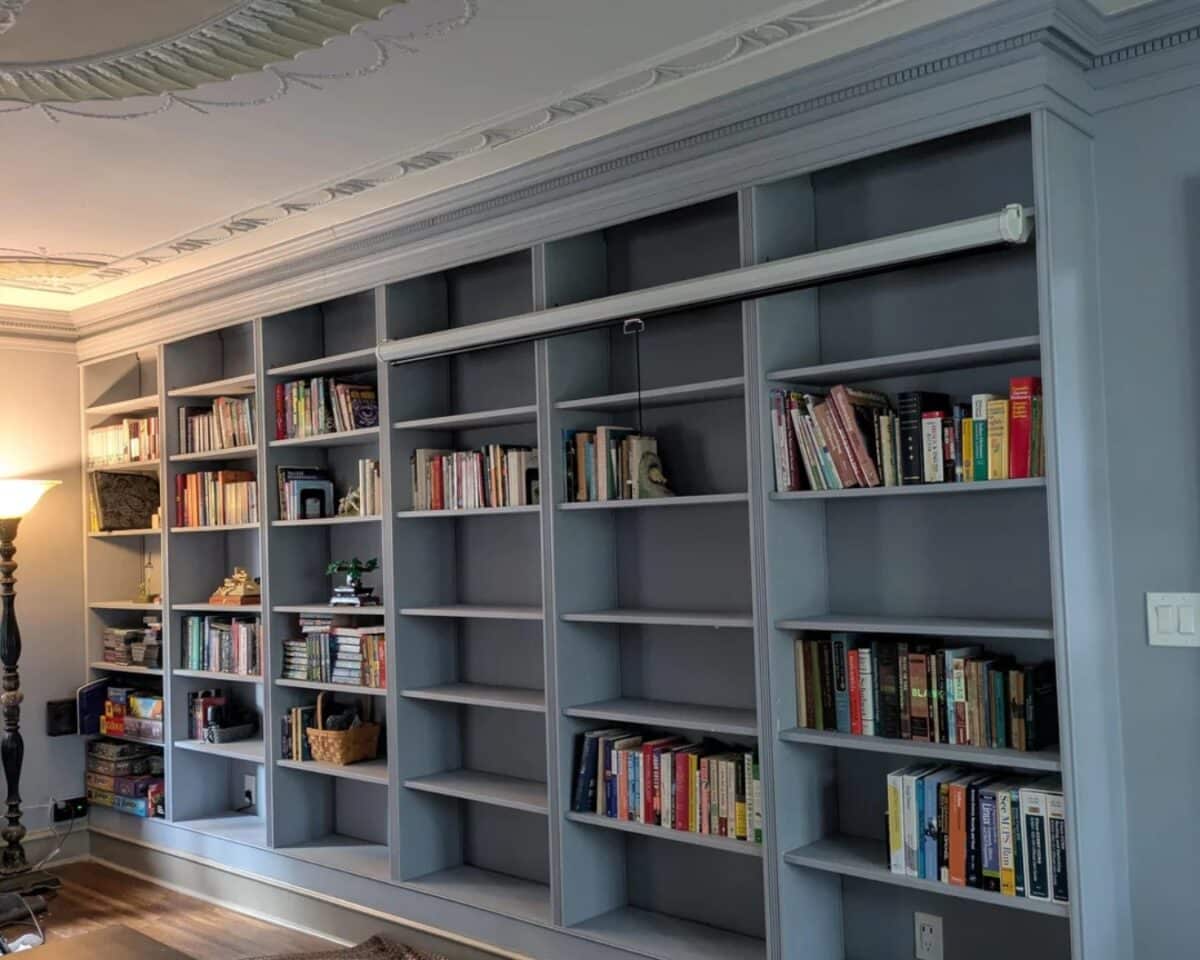
I’m always on the lookout for how to hide a TV so it doesn’t become the default focal point in the room. We’ve looked into the artwork televisions, and there are some cool hacks for hiding TVs, but this particular project caught my eye since it’s a screen.
We love doing movie nights, and one of the ways we enjoy making it special is using a projector and screen. I recently asked my husband what he thought about making the setup a bit more permanent, but of course, we don’t want a giant screen becoming a focal point either.
This hack from Auditoryeden on Reddit delivers a great and simple solution that creates built-in storage and a retractable projector screen combo.
It’s definitely one I’m filing away for the future. I think it’s an excellent way to work a retractable projector screen into a room where we don’t necessarily want another TV.
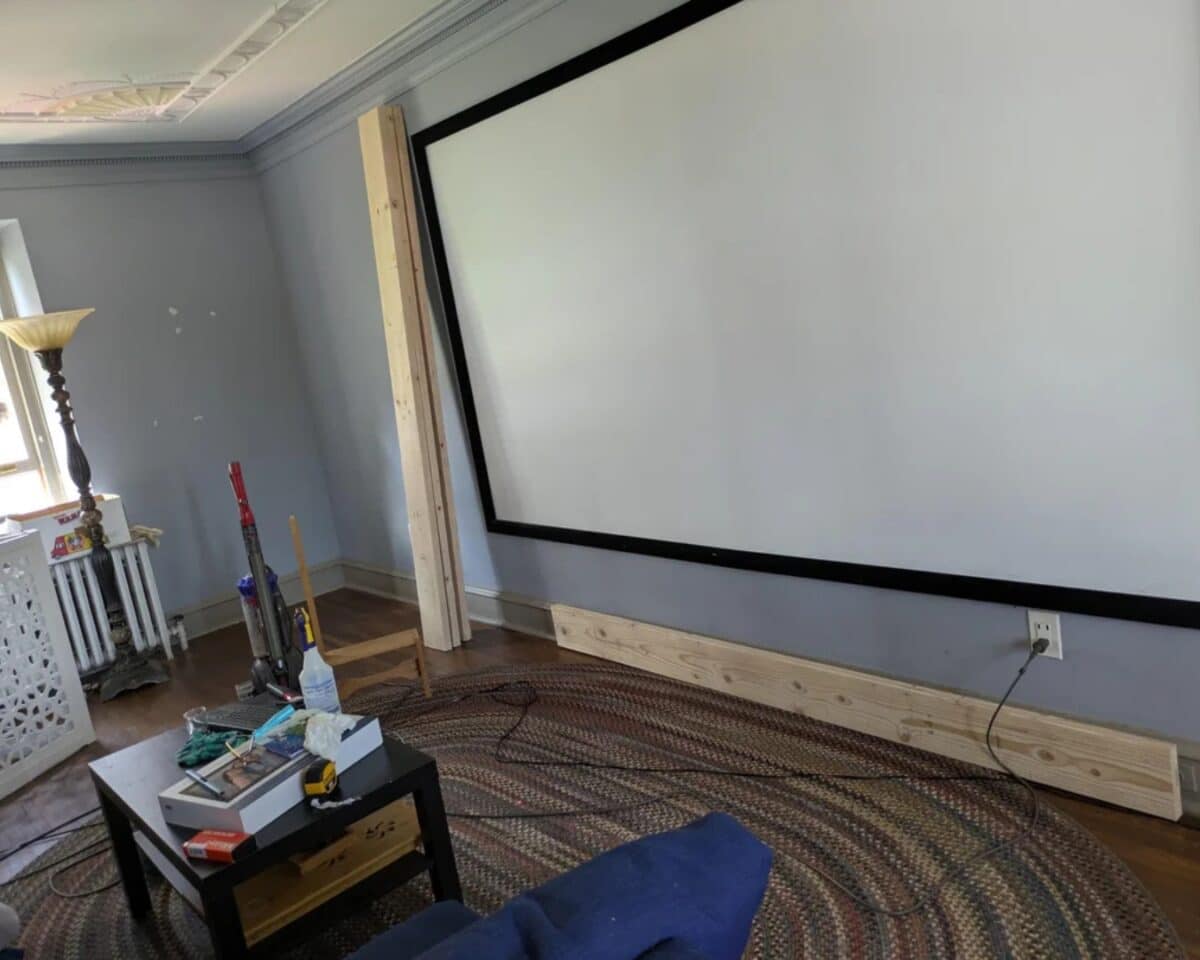
What You’ll Need
- 6 IKEA BILLY shelves (31 ½” x 11” x 79 ½”)
- 6 IKEA BILLY height extenders
- Timber for framing
- Earthquake brackets (if you plan to leave the backs off the shelves)
- Dentil molding to go with existing crown molding
- Primer
- Paint
- Nail gun
- Paint sprayer
- Shims
- Miter saw or miter box
- Caulk
- Screen and mounting hardware
- Basics — Drill, screw gun, tape measure, saw, pencil
Recreate These BILLY Built-ins With a Pull-Down Screen
1. Assemble the IKEA Pieces
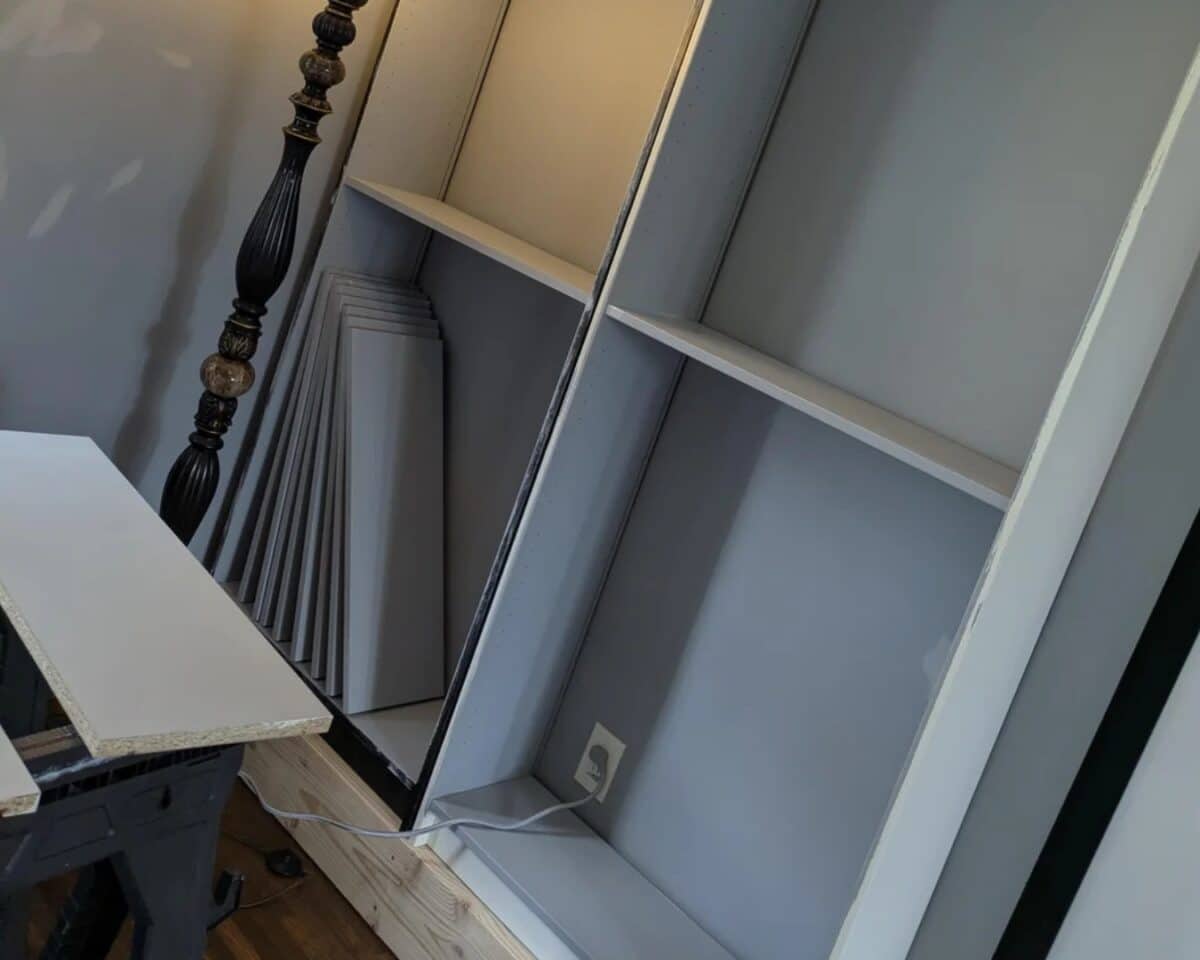
Get ready for a building party and assemble all six shelves and toppers. The hacker decided to leave off the backing to save time on painting since they planned to paint everything the wall color. If you decide to do the same, keep in mind that they used extra earthquake brackets about halfway up to add extra support.
2. Build the Base and Topper
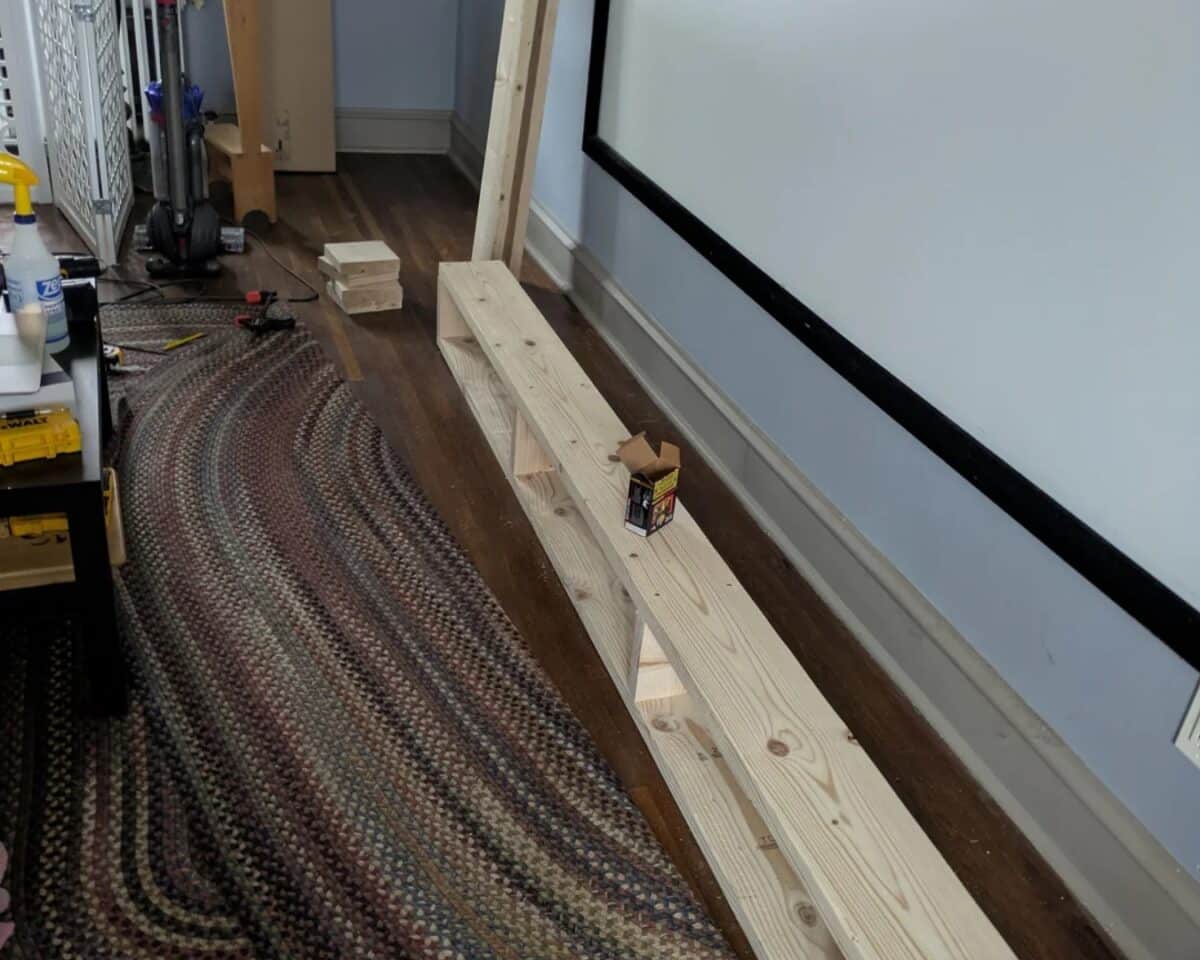
Use the timber to build a bottom base, 11” x 8” x 16’0”. Once you have all of the shelves and toppers in place, you’ll need another box up top to support trim and crown molding.
3. Secure Everything
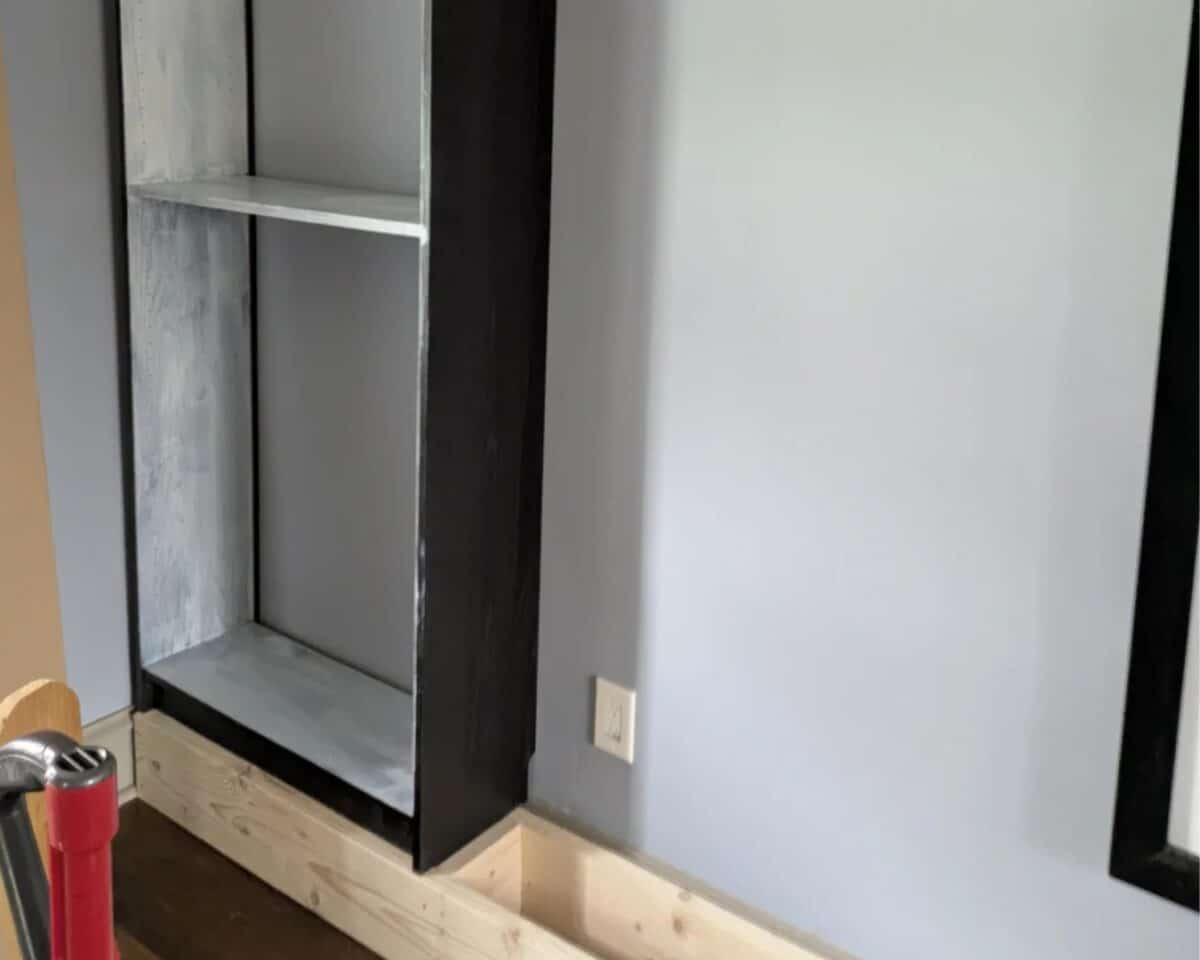
Secure the bottom base to the wall, secure the shelves to the base and each other, and attach each shelf to the wall in three places. Then attach the toppers to the shelves and the wall. Seeing a pattern? Install the top box, then you’re ready to add trim.
4. Trim Everything
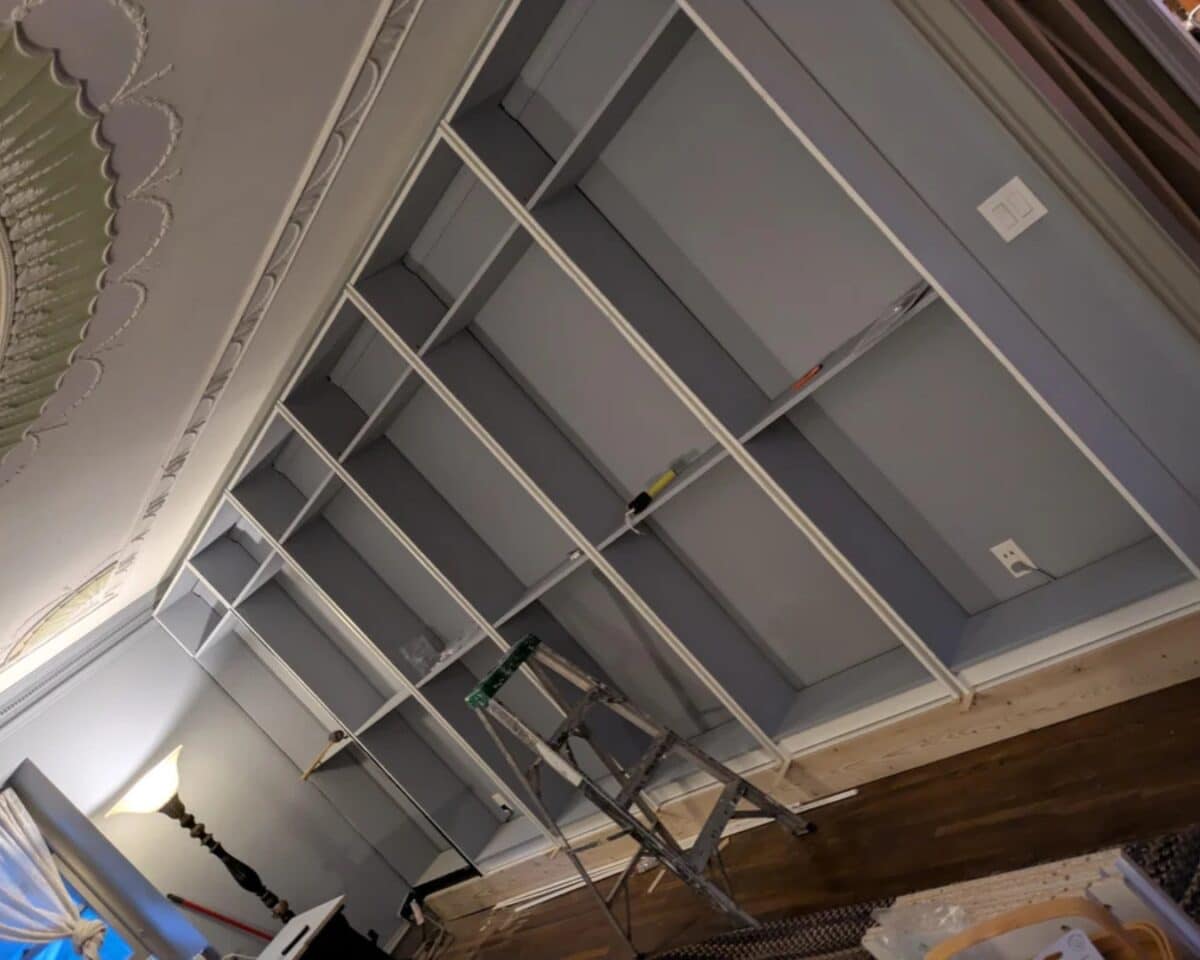
The hacker custom-cut dentil molding, coping eight fancy inside corners at the walls, and they hand-mitered four outside corners. They had to shim and brace a lot to get everything just right, primarily because their house is from the 1920s and still had its original molding. Therefore, even though the creator found the right profiles, things weren’t quite the right size.
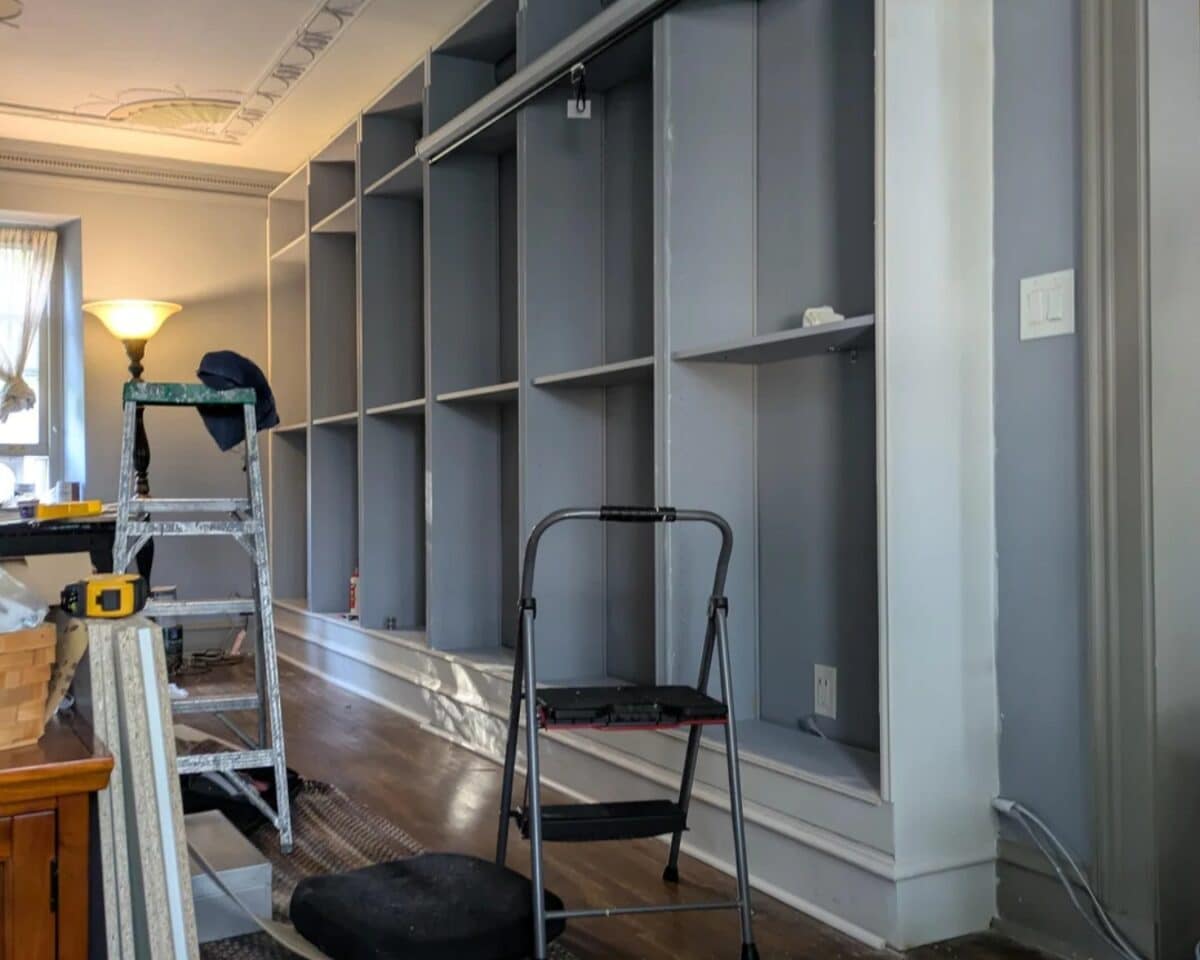
Add panels or thin plywood to the bottom to cover the BILLY bases and blend nicely with the baseboards. The hacker used the shelf backing that they had left over since they kept their units backless. However, in hindsight, they advise using thin plywood, which would be less flimsy.
5. Caulk, Prime and Paint
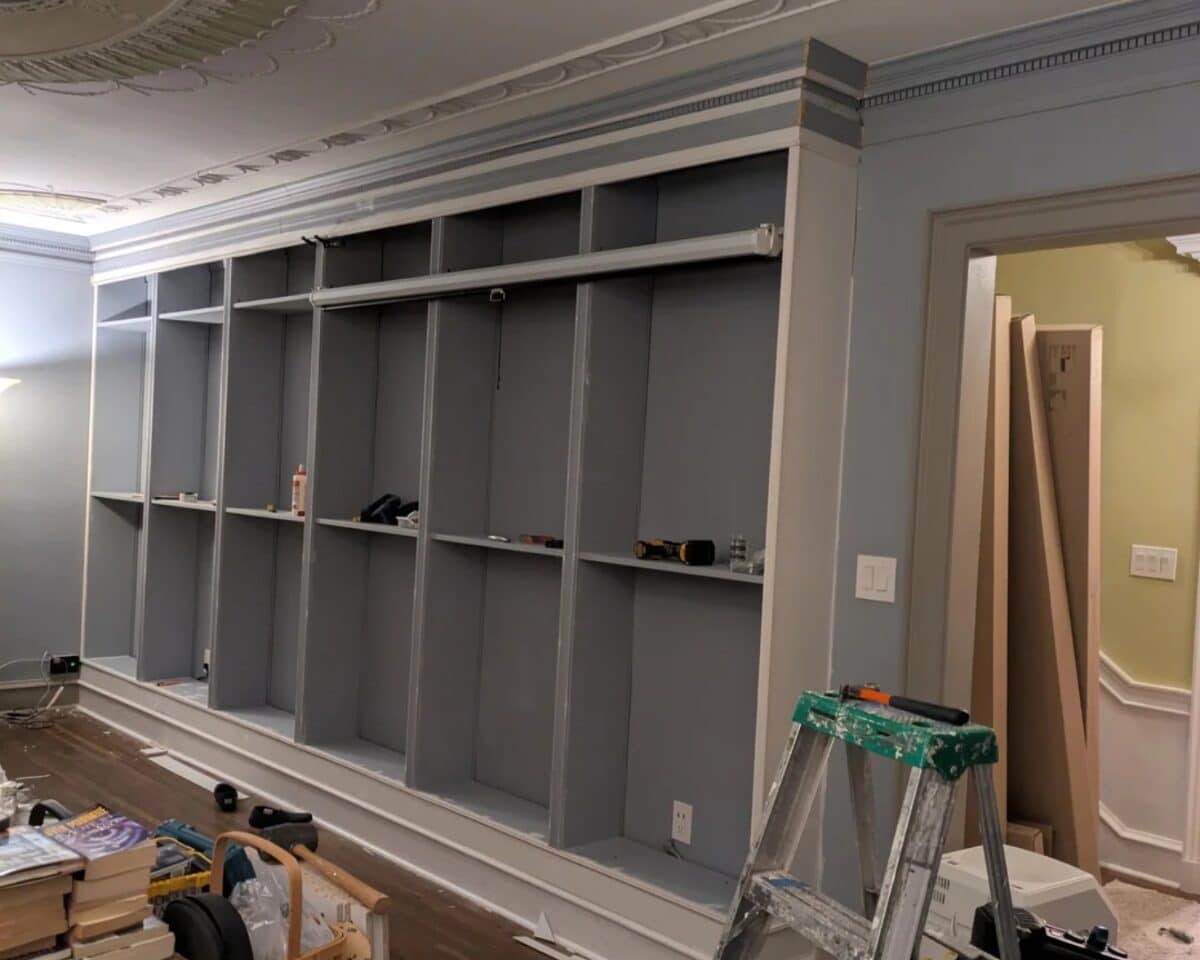
Fill any seams and gaps with caulk and let it dry, then prime and paint everything.
6. Add the Screen
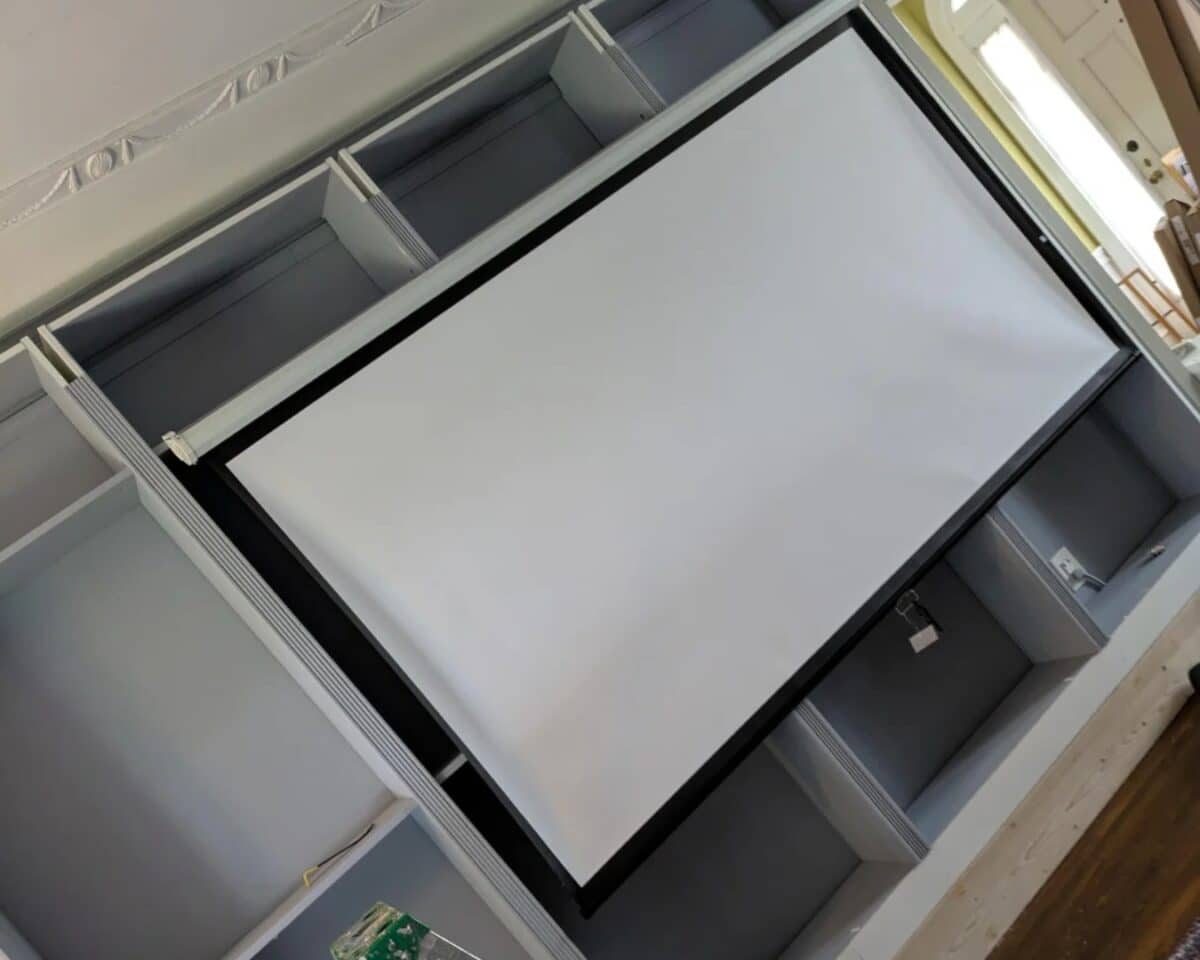
Once the paint dries, attach the screen using the necessary hardware (options often come with the screen, depending on the type you purchase). Finally, it’s time to grab some popcorn and start the movie!
Q & A With the Hacker
How much did this hack cost? Approximately $2,000 for all the units (not counting one BILLY shelf they already had), toppers, trim, and supplies. (But this also takes into account that the hacker had to purchase a paint sprayer and nail gun. Plus, they had to buy additional molding because a few of their initial pieces had the wrong profile.)
How long did this hack take? The hacker mentions the project taking several weeks, but of course, it all depends on your schedule and how much time you can personally devote each day.
Is there anything you would do differently?
Aside from using thin plywood instead of the shelf backing at the bottom and top of the units, the hacker had this to say, “Honestly, not a ton. There’s a very small gap over by the far wall that I thought would end up covered by trim, but of course the walls are a hundred years old and not perfectly plumb, so ideally I should have put some kind of gap fill in there before I installed trim over it.”
The hacker’s husband wants to add a sliding ladder, but that doesn’t seem to be a realistic vision. According to the hacker, “He didn’t figure out he wanted to structure that beforehand, and we don’t have the space for it.”
Did you have to remove the original molding?
The hacker did not want to ruin the integrity of the 1920s molding in case they ever sold the house. Therefore, all the existing, original molding is still alive and well behind the new built-ins.
Overall, this hack solved the problem of having a big, ugly screen in the middle of the wall without sacrificing movie nights! I’d say it’s a win!