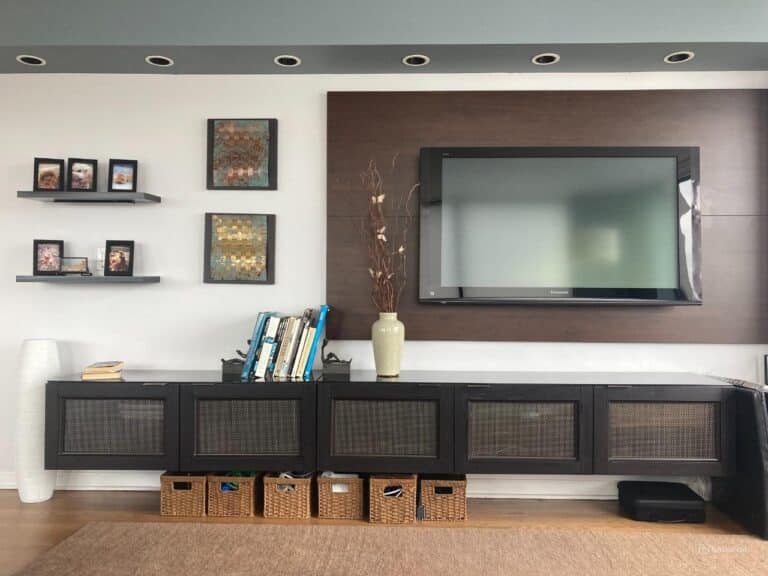
Doug wanted a media center that not only provided ample storage but also hid all the unsightly wires that typically clutter an entertainment area. Additionally, he needed cabinets that would allow remote control signals to pass through without any hindrance.
By cleverly designing a conduit path for the wiring and integrating it seamlessly into the BESTÅ cabinets and TV wall panels, Doug ensures that all the cables are hidden from view.
In this tutorial, he walks us through the step-by-step process he used to achieve a clean, organized, and stylish entertainment setup, making sure that unsightly wires are completely out of sight while maintaining full functionality of his remote controls.
BESTÅ Cabinet Doors With Wire Mesh
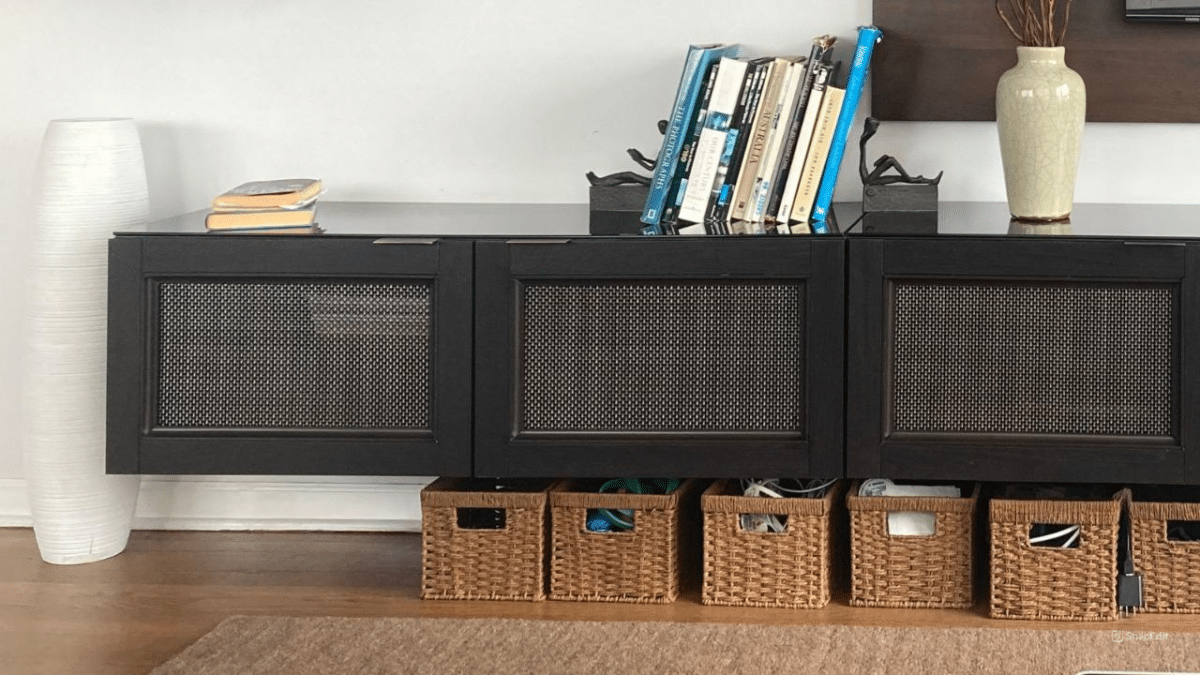
1. Knock out the glass in the BESTÅ doors with a hammer while they are still in their closed boxes. This prevents the glass from scattering everywhere. I had previously tried to remove the centers of a solid door but was unsuccessful, so I bought the glass doors and broke the glass. Vacuum up the glass and use a screwdriver to remove any remaining pieces from the edges of the door insert ridges.
2. Measure the trim and cut it at 45-degree angles so it fits perfectly inside the door openings. I made mine ever so slightly longer so that the pieces had to be wedged into the openings. Cut from front to back to avoid chipping. My trim was MDF. Because they were slightly oversized, I didn’t need to use glue, but you can if you prefer. The screw attachment of the mesh will keep them in place. If your cuts aren’t exact, you can use matching wood putty to fill in the gaps.
3. Take a wire mesh sheet and measure it to get five pieces out of it. Use tape to mark where you need to cut. There should be some margin on all sides, but not so much that it interferes with the hinges or box edges when closed. Aim for about a 1″ margin. After adding the wood trim, the openings will be smaller, which may allow you to use one mesh sheet and save on the cost of the material.
4. You can cut the wire mesh easily with a grinder. Screw the mesh into the backside of the openings using wide-head screws or washers. The screw heads need to secure the wire mesh firmly and not fall through the holes.
Connect Wiring
5. Create a conduit path for TV wiring in the wall from the TV mount to and through one of the BESTÅ cabinets. Ensure you can easily drop the wiring down the conduit toward the cabinets.
6. Cut a hole in the back of one cabinet to align with the wall conduit hole. I used a 1 3/4″ drill so I could insert the wire holders into the hole. Mount the BESTÅ cabinets according to the instructions, ensuring the hole at the back of one cabinet lines up with the wall conduit.
I centered the cabinets on the wall and then offset the SEKTION panels against the side wall. Since I have an older stereo system with many units, I cut side holes from one cabinet to another to wire my stereo units together. You will also need a hole in the bottom of one cabinet to reach an outlet.
TV Wall Panel With IKEA SEKTION
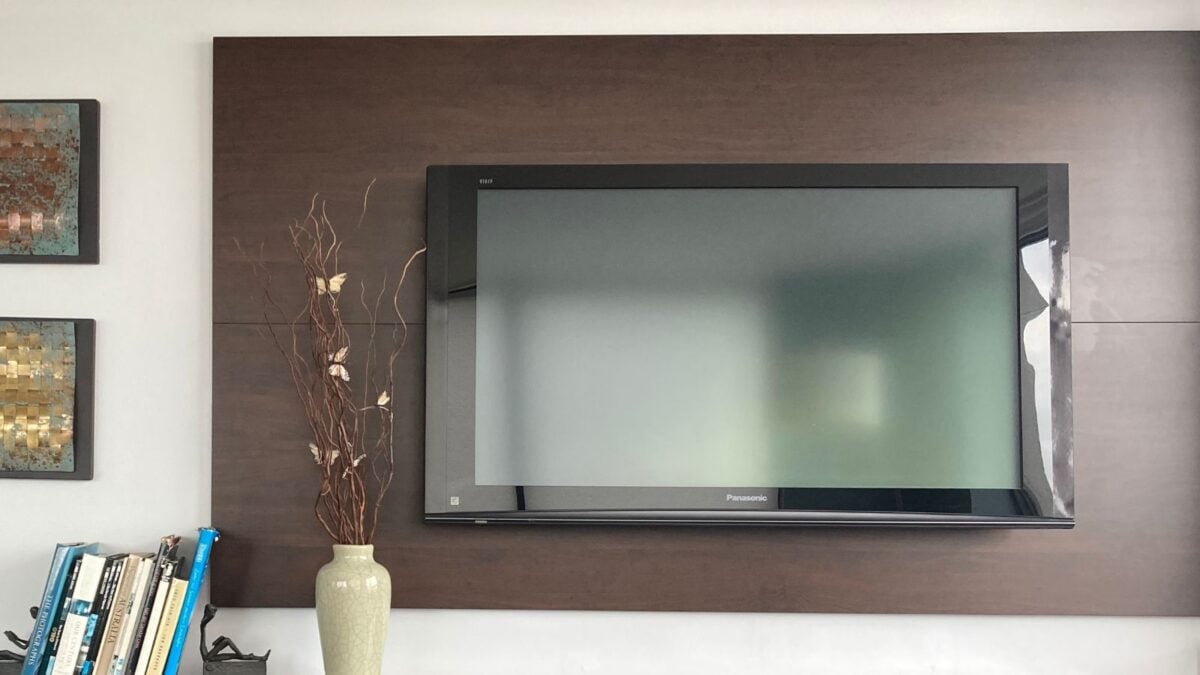
7. Cut the 1×2 wood boards to at least 80% of the length of the SEKTION cover panels (the long side is horizontal). Set the saw to cut a 45-degree angle lengthwise along the entire length of 2 of the 4 boards. The purpose is to allow one board, when attached to the SEKTION panels, to rest on the other board (with the upward 45-degree angle of the one attached to the wall).
The 45-degree angle of the wall piece (bottom panel) should face up and out from the wall, while the 45-degree angle of the board attached to the SEKTION panel (upper panel) should face down and out from the panel. This allows the upper panel to slide over the TV when ready. These will interlock to hang the panels. I had them cut at Home Depot.
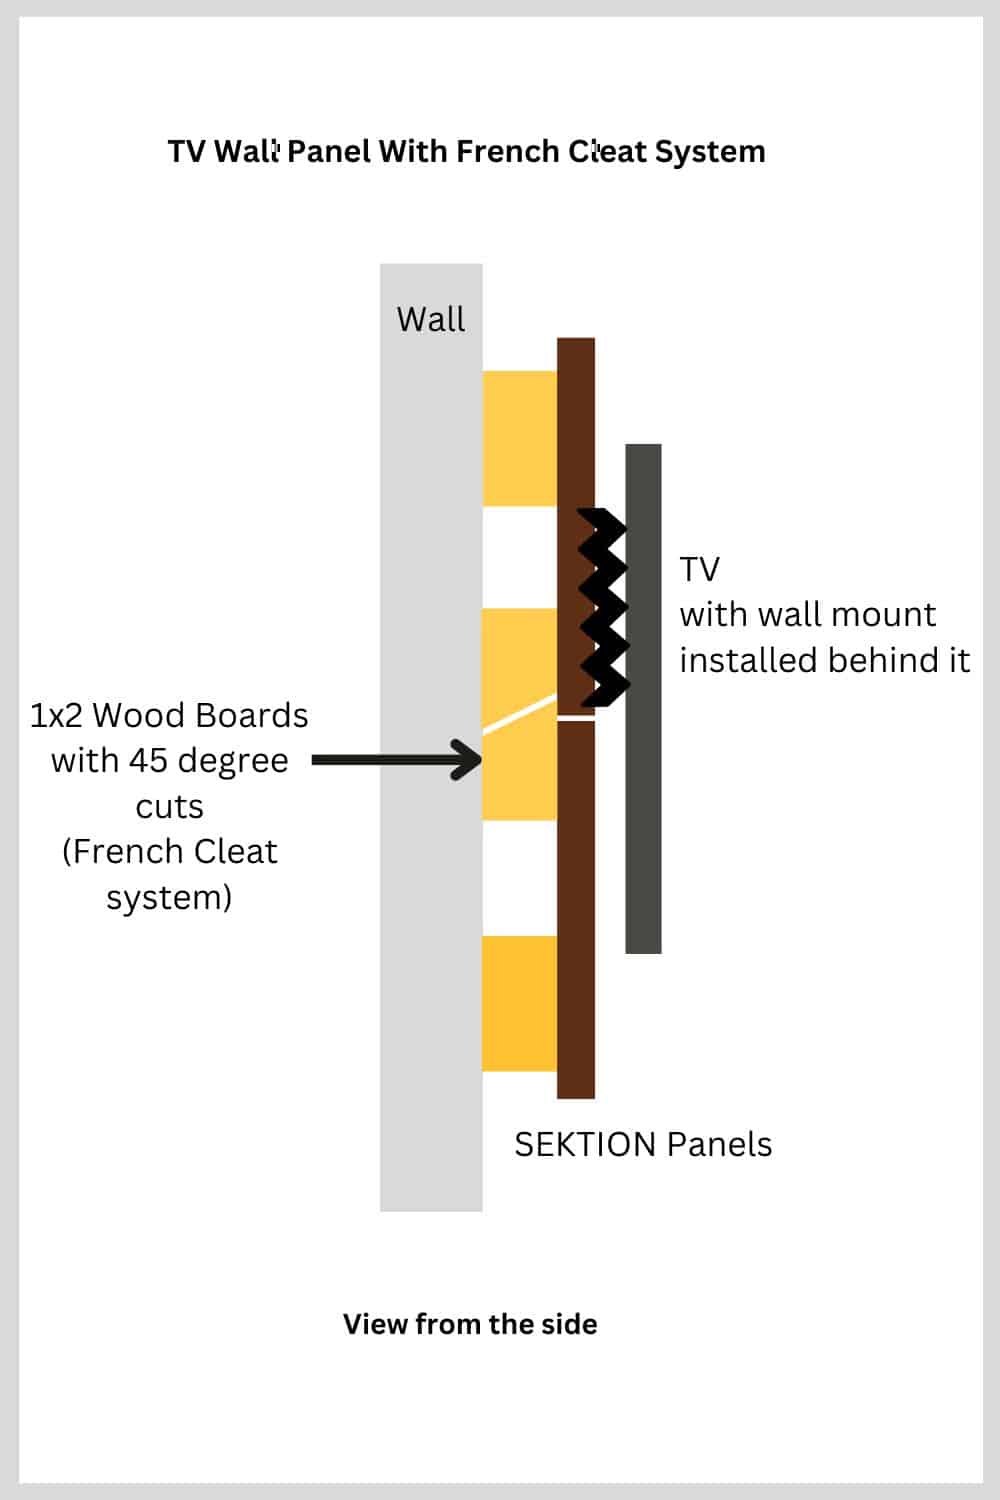
8. Measure and attach the angled wall board to wall studs near the top, allowing enough room for the top panel to slide on. Ensuring it is perfectly horizontal is very important here. Attach the two non-angled boards to the wall into studs, and then attach the lower panel to the boards using color-matching screws. The upper board of the lower SEKTION panel should extend up from the bottom cover panel about an inch or so to keep the upper cover panel in line. The upper SEKTION cover panel will be screwed here with color-matching screws when ready.
9. Attach the lower panel first using matching color screws (antique brass). Place the panel’s 45-degree angle board into the 45-degree board on the wall. Do not attach it yet. Now, sit the upper panel on top of the lower panel. Measure where you need to screw in the upper panel’s 45-degree board. You can do this by sliding the panel sideways, thereby exposing the boards and marking your panel. Remove the top panel and then attach the 45-degree board to the upper panel in the appropriate position. Set it aside for now.
Install TV Wall Mount
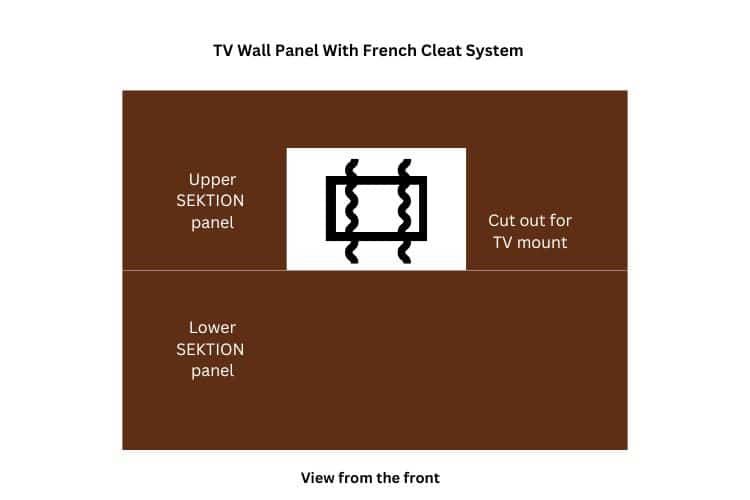
10. Attach the TV mount as per the instructions, positioning it above the lower panel. Use your remaining 1×2 pieces to create a horizontal support if the studs don’t align with the mount.
11. Measure the TV mount placement against the lower panel. Cut out the appropriate section in the upper panel for the mount. Leave some room to work around the mount and attach TV cords, but not too much—this will depend on the cutout. Cut from the front side of the panels to avoid chipping, although this will be behind the TV.
12. Wire up the TV according to the instructions, letting the cords drop through the conduit.
13. Slide the upper panel over the TV and down onto the wall’s 45-degree board. There should be no gap between the two panels. If there is, readjust the 45-degree board on the upper panel. Once properly aligned, screw the upper panel to the board extending above the lower panel using color-matching screws.
Have fun and happy hacking.
Scroll down for the material list.
~ by Doug Holmes

IKEA items used:
- SEKTION Panels – 2
- BESTÅ cabinets – 5
- BESTÅ Glass Doors and Hinges – 5
- BESTÅ Top Panels – 2
- TV wall mount with the ability to angle down
Project time: 1 day
Other materials:
- Wire Mesh from TWP Inc. 24X60 Fandango
- Mocha 1/4 concave trim pieces.
- 1×2 wood – 4 (need four pieces, each covering a min of 60% of the width of panels (80″))
- Screws with washers to hold wire mesh in door openings, yet not poke through BESTÅ door
- Color matching screws to hold 1×2 to panels
- Conduit capability for behind wall
- Hole inserts to keep wires in place
Tools:
- Grinder
- Table saw or have Home Depot cut the 1×2 boards
- Miter saw
- Drill with 1 3/4″ drill bit
