

Materials: Stolmen poles and brackets, whitewood shelves, and a very helpful husband
Description: My house resembles the aftermath of an explosion in a bookstore, toy store, and antique shop, and so, I decided Something Needed To Be Done.
More precisely, I wanted more shelves. But not just *any* shelves, pipe shelves. And then I started looking at the actual pipe shelving units and went…yeah no.
Enter Stolmen.
We have soaring ceilings in our great room, and most bookshelves leave a lot to be desired when it comes to filling up the space. Stolmen, with its adjustable height, seemed to be the answer to our dilemma.
We bought four poles, to span an 11 foot wall, and enough brackets for 25 shelves. The poles were offset to allow a Besta Burs entertainment center, and that gave us 20 shorter shelves on each side, and five long shelves over the TV.


In order to reduce the depth of the shelves, we decided to put the poles five inches or so from the wall. That allowed us to plan for eight inch deep shelves, although the shelves are closer to seven and a quarter inches, when it’s all said and done.
Since we were loading the Stolmen up with books, we weren’t sure we were comfortable with only two brackets per pole, and I certainly didn’t want the shelves to stand out from the wall the full 10 or so inches by using the little steel brackets supplied with Stolmen.
In order to fix that, we used four inch “L” brackets, anchored to the wall with 300 pound anchors, four per pole. Each bracket has two anchors in order to keep the shelves stable. We made extra collars to attach the poles to the brackets with pipe strapping. I chose to use the plastic strapping, but the metal strapping in an option.
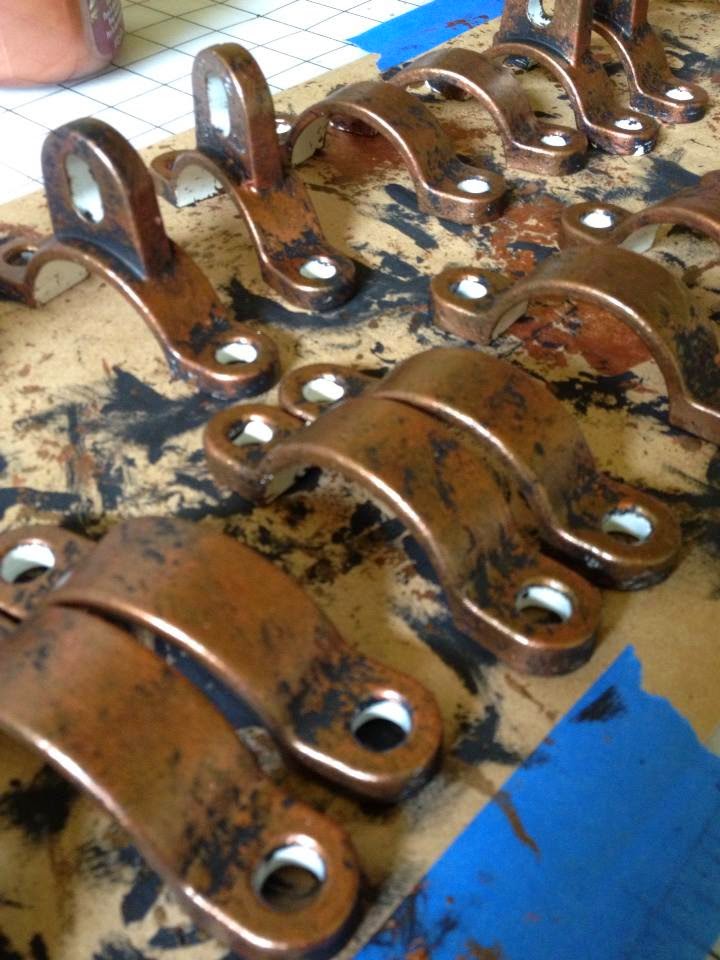
Since I didn’t want the off white poles, I took the time to paint the poles and brackets with black, copper and bronze paint and glaze to make it look more like weathered pipe. That step was probably a bigger pain than it needed to be, but I like the look.

After we installed the poles and I finished painting them, we measured for the brackets themselves. We put the bottom two shelves on either side at about 12″ apart, to accommodate hardbacks, and the rest are sized to fit standard hardbacks. The shelves over the TV section are supported by six inch “L” brackets so they don’t sag in the middle. All the “L” brackets are painted the same color as the wall to blend in better.
Because I am lazy and impatient, I covered the shelves in heavy wrapping paper so we could mount them ASAP. They’re mounted with slightly longer 1/4″ machine screws. Washers are on the top and bottom of each shelf, and locking nylon nuts were used to secure it all.
Overall, a time-intensive hack, at least for us. There were some issues with stud finding, and hardware, but now that we know what we’re doing, I think there will be more Stolmen hacks in our house.
Over all, the shelves are 10′ tall, and stand out from the wall about nine inches.
~ Jennifer Atkinson, Austin, Texas