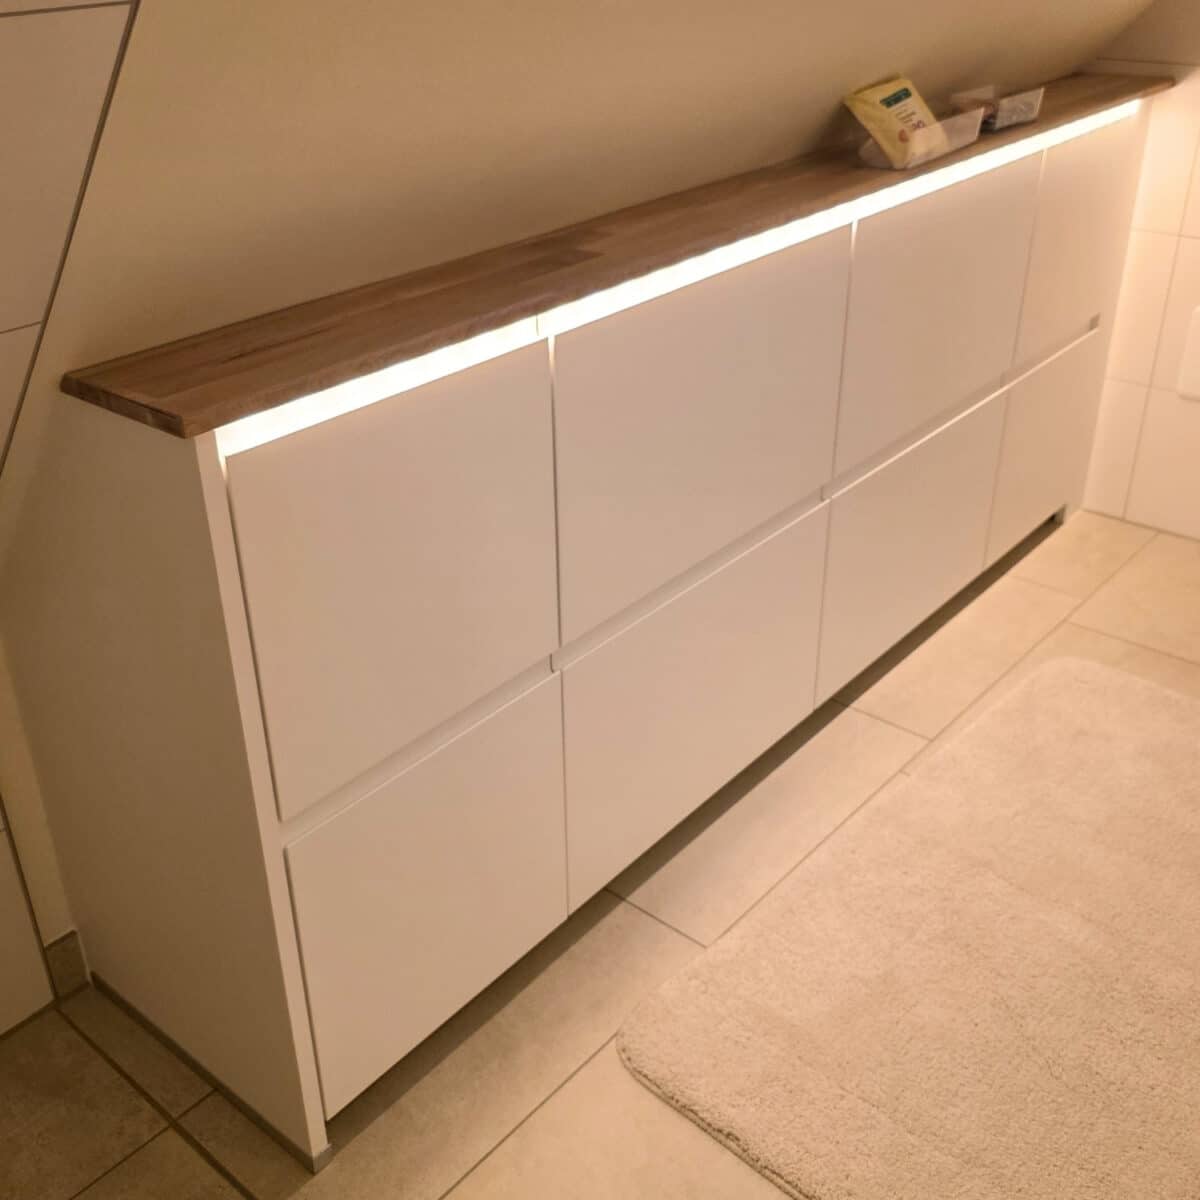
Ooh, those pesky sloped ceilings. They sure do make it tricky to fit storage, don’t they? But when you’re a clever IKEA hacker like Marie, you meet the challenge head-on and end up with a sweet, custom-built-in solution.
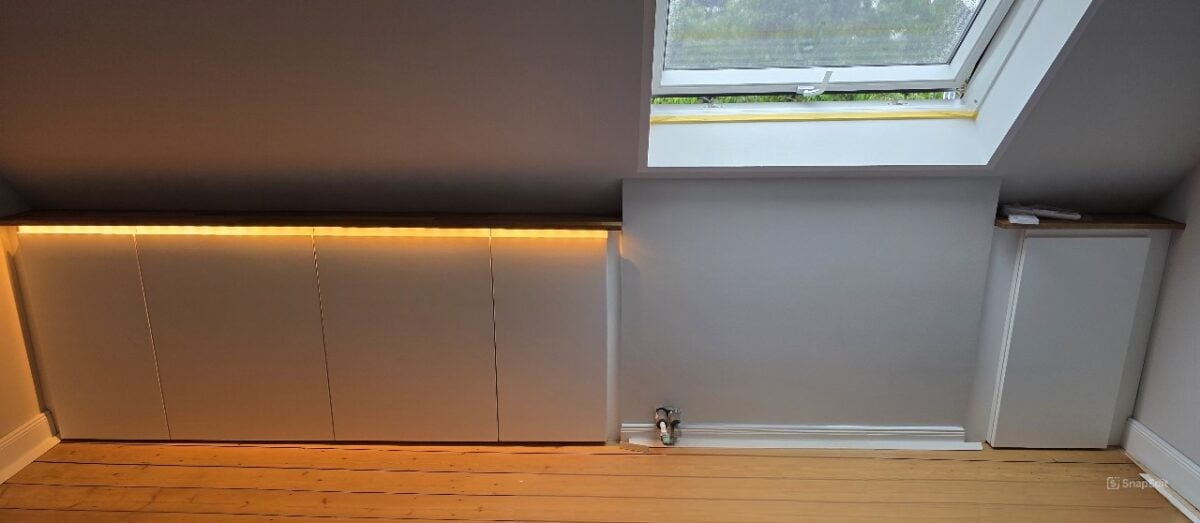
If you’re dealing with an angled roof and trying to figure out your storage options, then you need to check out this hack. The IKEA METOD kitchen cabinets formed the foundation of two banks of built-ins for a bathroom and a guest room, both with sloped ceilings. (The SEKTION will work equally well for this hack.)
You’ll need a few tools beyond the basic drill and screw gun for this one, along with some handy skills to go with them. However, if you’re up for the challenge, Marie thinks the endgame is worth the effort. So keep reading to see how to recreate these sleek cabinets, and conquer your sloping ceiling.
What You’ll Need
- IKEA METOD cabinets (37 cm depth, 80 cm height); how many depends on your specific space
- IKEA VOXTORP doors (your preferred design), however many you need based on your design layout and the size that matches your frames
- 1 IKEA VOXTORP door (100 cm) for the exposed side of the finished unit — if you have more than one exposed side, get another door, etc.
- IKEA MAXIMERA drawers (Marie used mid-sized for top drawers and high drawers for the bottom–make sure to order the sizes that match your cabinet frames); how many you need simply depends on how many cabinet frames you plan to use drawers in
- IKEA VOXTORP drawer fronts (to match doors), one for each drawer
- IKEA FÖRBÄTTRA cover panels (matching design to doors for a streamlined look)
- Oak wood panel (for the tops)
- LED light strips
- Aluminum profile
- 5cm metal legs (if you want to use legs)
- Plunge circular saw
- Router
- Silicone
- Hammer
- Drill driver
- Wood stain, oil, varnish (your choice)
- Basics — screw gun, tape measure, pencil, drill
Creating Custom Cabinets for Sloped Ceilings
1. Measure the Slope and Take Notes
The whole reason for this hack is an angled ceiling, so you need to start there. Measure the slope, take careful notes, measure again, and double-check.
Measure the angle and the height of the wall at the point where the angle begins. Also, make notes of how far out your cabinets will extend from the wall and where the fronts will line up in relation to the ceiling.
You want to get your measurements correct before you start making any cuts (Or purchases). It might help to sketch things out, use design planning software, or try an app to test your dimensions.
2. Get Ready to Cut the Cabinets
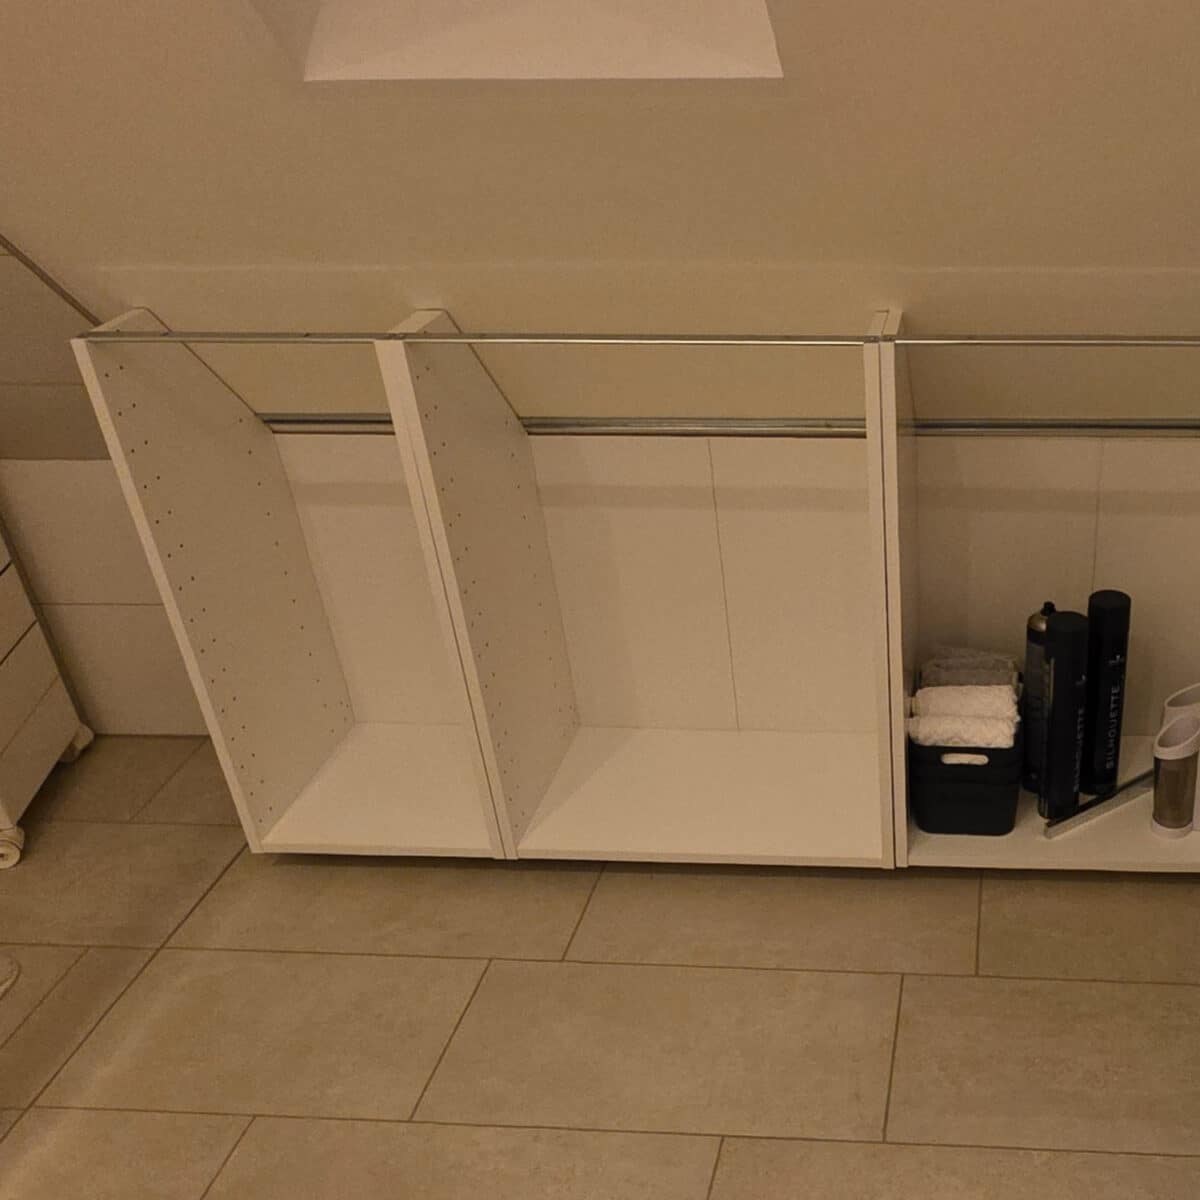
Before you cut down the cabinets, decide whether you plan to use any legs underneath them. If so, you also need to know the exact height of the legs you plan to use. This number will affect the overall height of your cabinets and how they line up with the wall and ceiling.
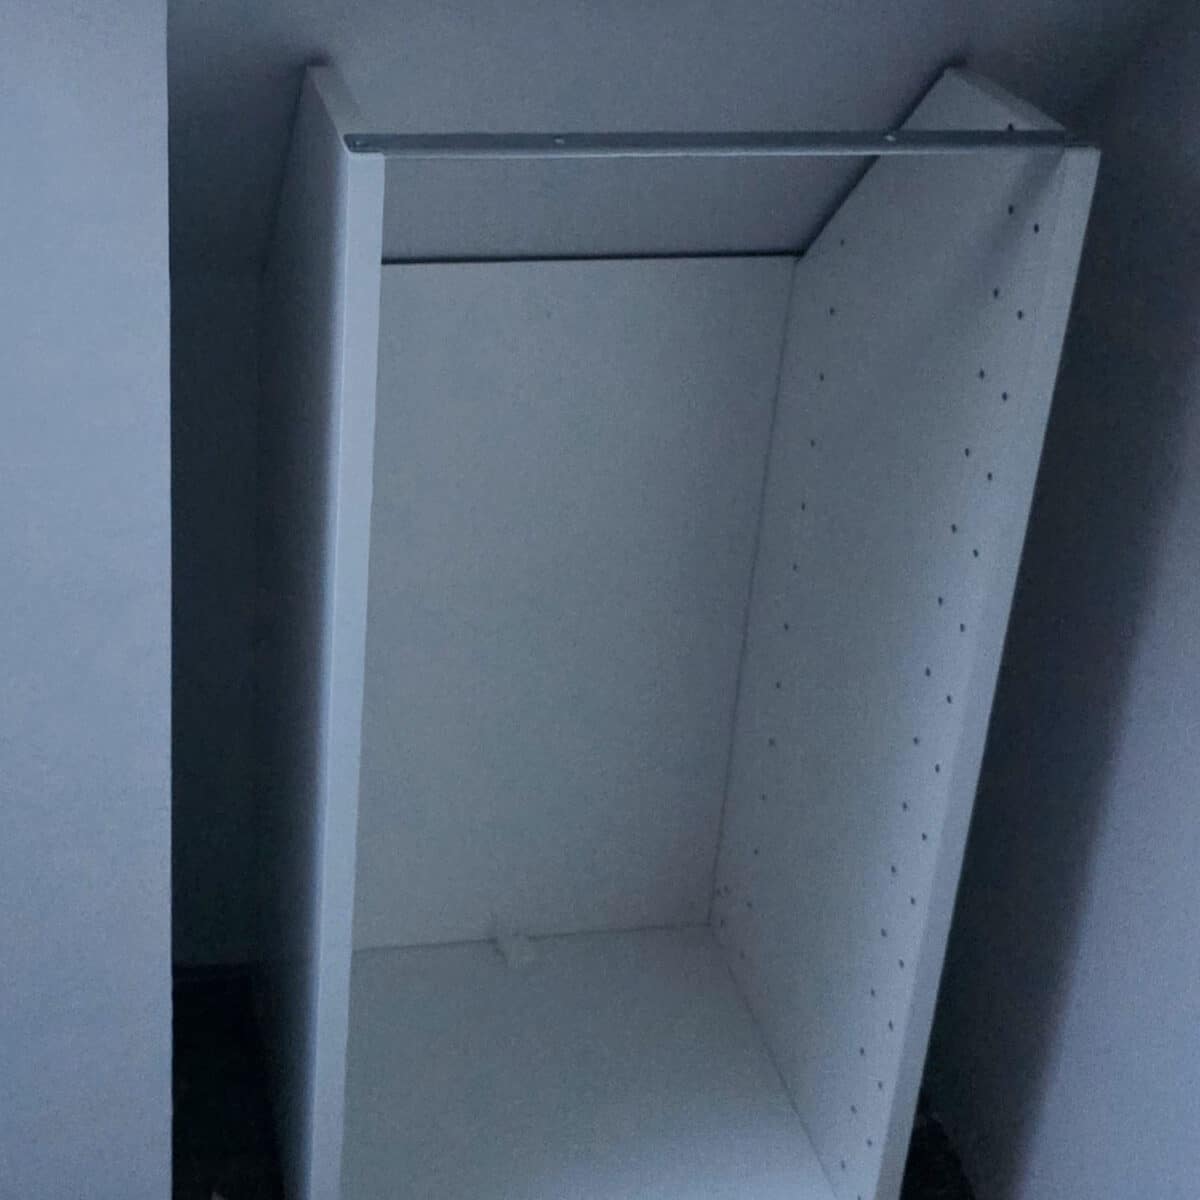
Make any necessary adjustments to your measurements and cut the cabinets. You’ll need to cut down the backs and possibly the sides so they fit into your designated space.
To wedge them against the slope, cut the top back corner of the cabinets at a matching angle. Marie does mention that getting this part absolutely perfect isn’t necessary since you’re going to cover everything later.
3. Install Supports and Cabinets
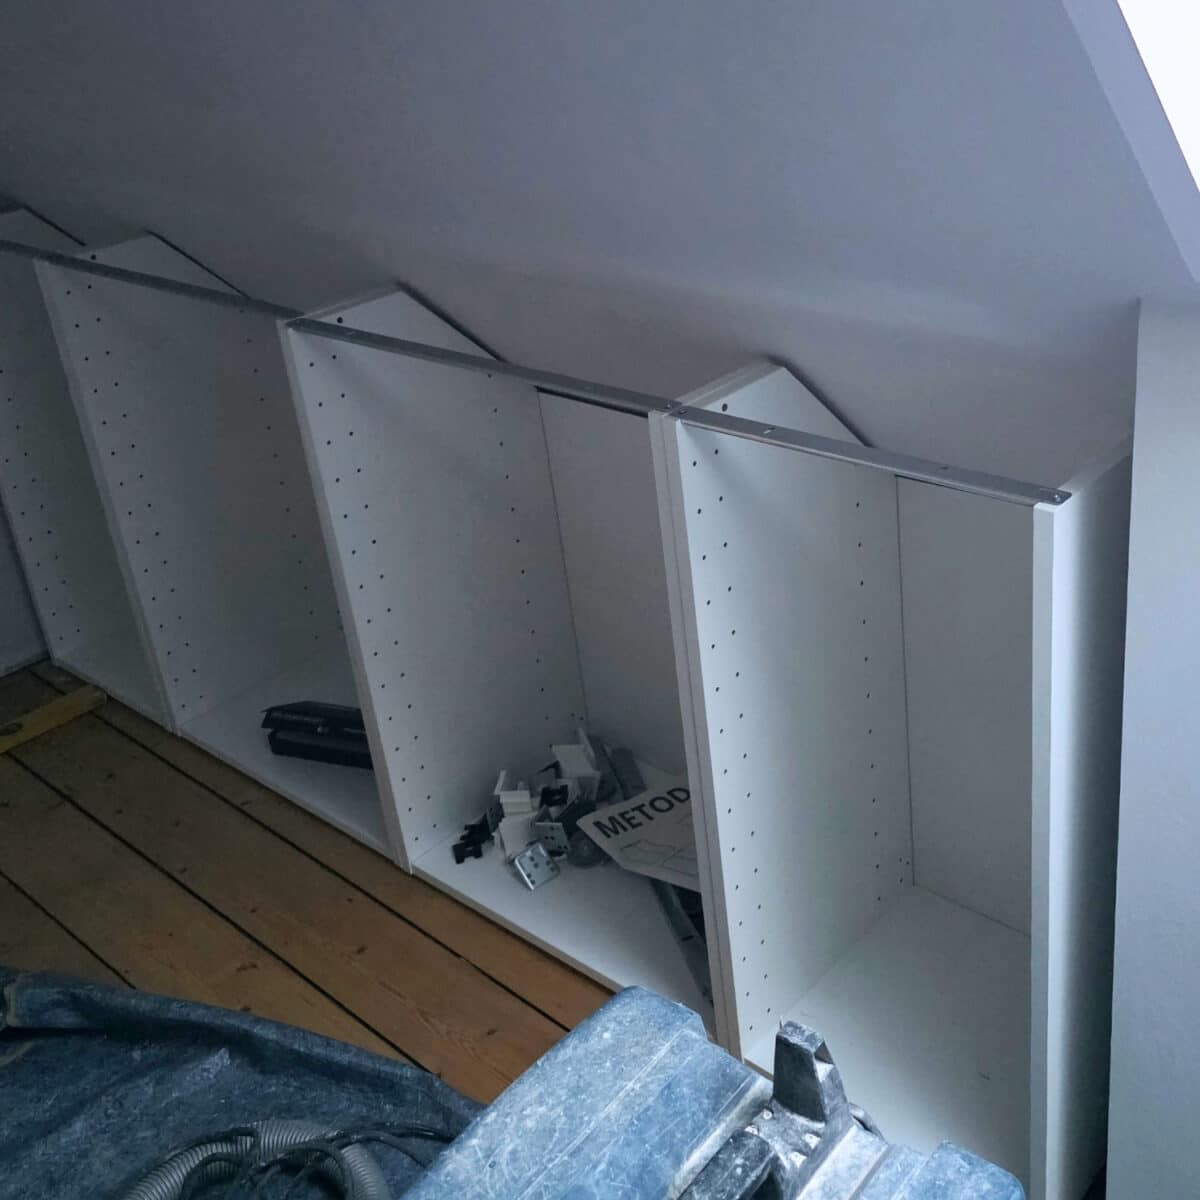
Screw one of the metal support rods to the front of the frames and the other along the back at the slope for stabilization. Attach the cabinets to the wall using the brackets.
4. Add Cover Panels
Cut the FÖRBÄTTRA kitchen cover panels to size and fit them over the front edges as needed to create a built-in look. To give the cabinet a more solid look, Marie added a 100cm VOXTORP door to the exposed side. She offers the following heads-up, “This was the fiddliest part of the project, and we had to build a template first.”
5. Fill, Seal, and Reinforce
If one of your units is for a bathroom or similar room with lots of moisture, use the aluminum profile for reinforcement. Marie said they ordered a fitted profile for the bottom of their bathroom cabinets, securing it into place with silicone. They also sealed all of the joints in their bathroom unit with silicone.
If you attached a door to any side, you’ll need to fill the hinge holes and paint them. This is also a great time to prime and paint the entire unit if you want it to be a different color.
6. Add the Drawers and Doors
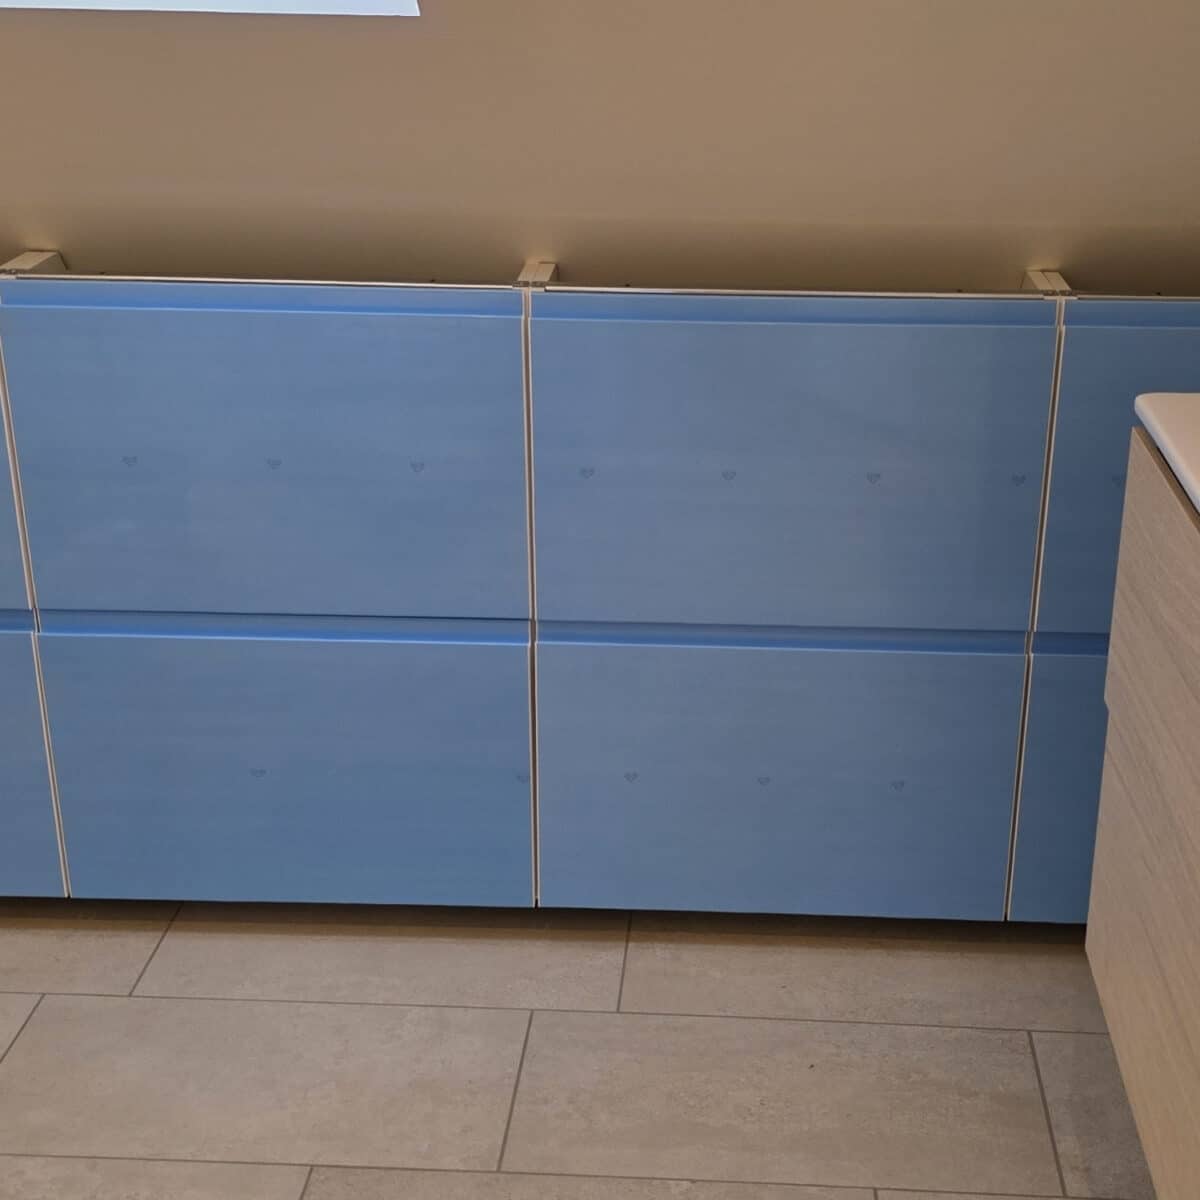
Install the doors and drawers according to your preferred layout. Again, can’t stress this enough—make sure to double- and triple-check all your measurements and dimensions before you order anything. You want to make sure the drawers and drawer and door fronts match your cabinet frames, are appropriately sized, and fit together correctly.
7. Light It Up
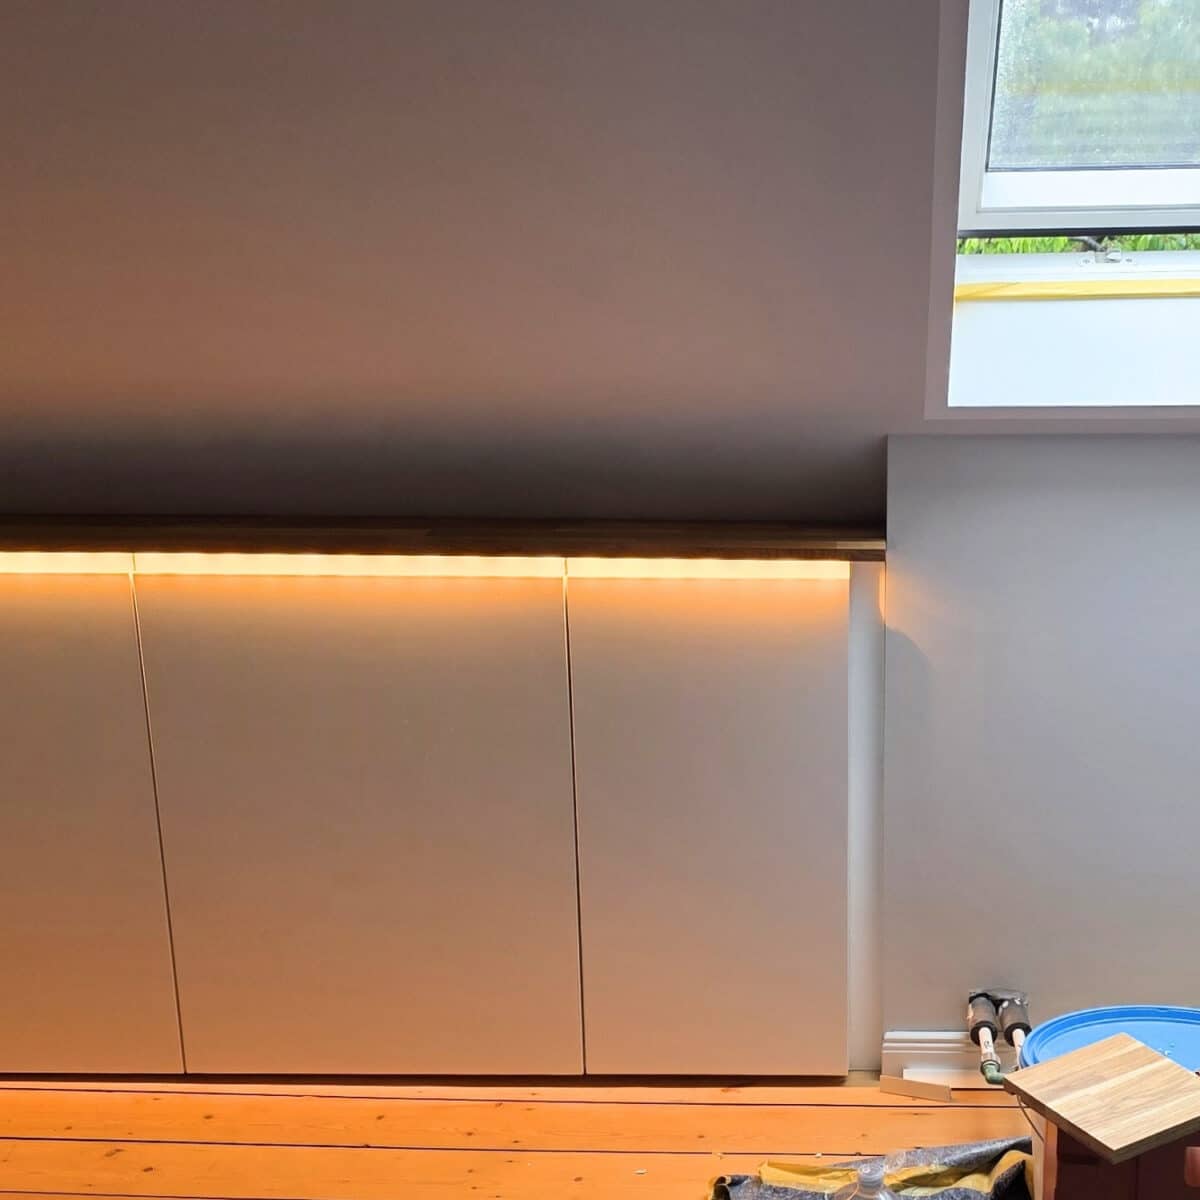
Use the router to add a groove along the front upper cover panel. Glue the LED strip into the groove to add indirect lighting to your unit. It really adds a nice touch.
8. Finish Up With Top Panels
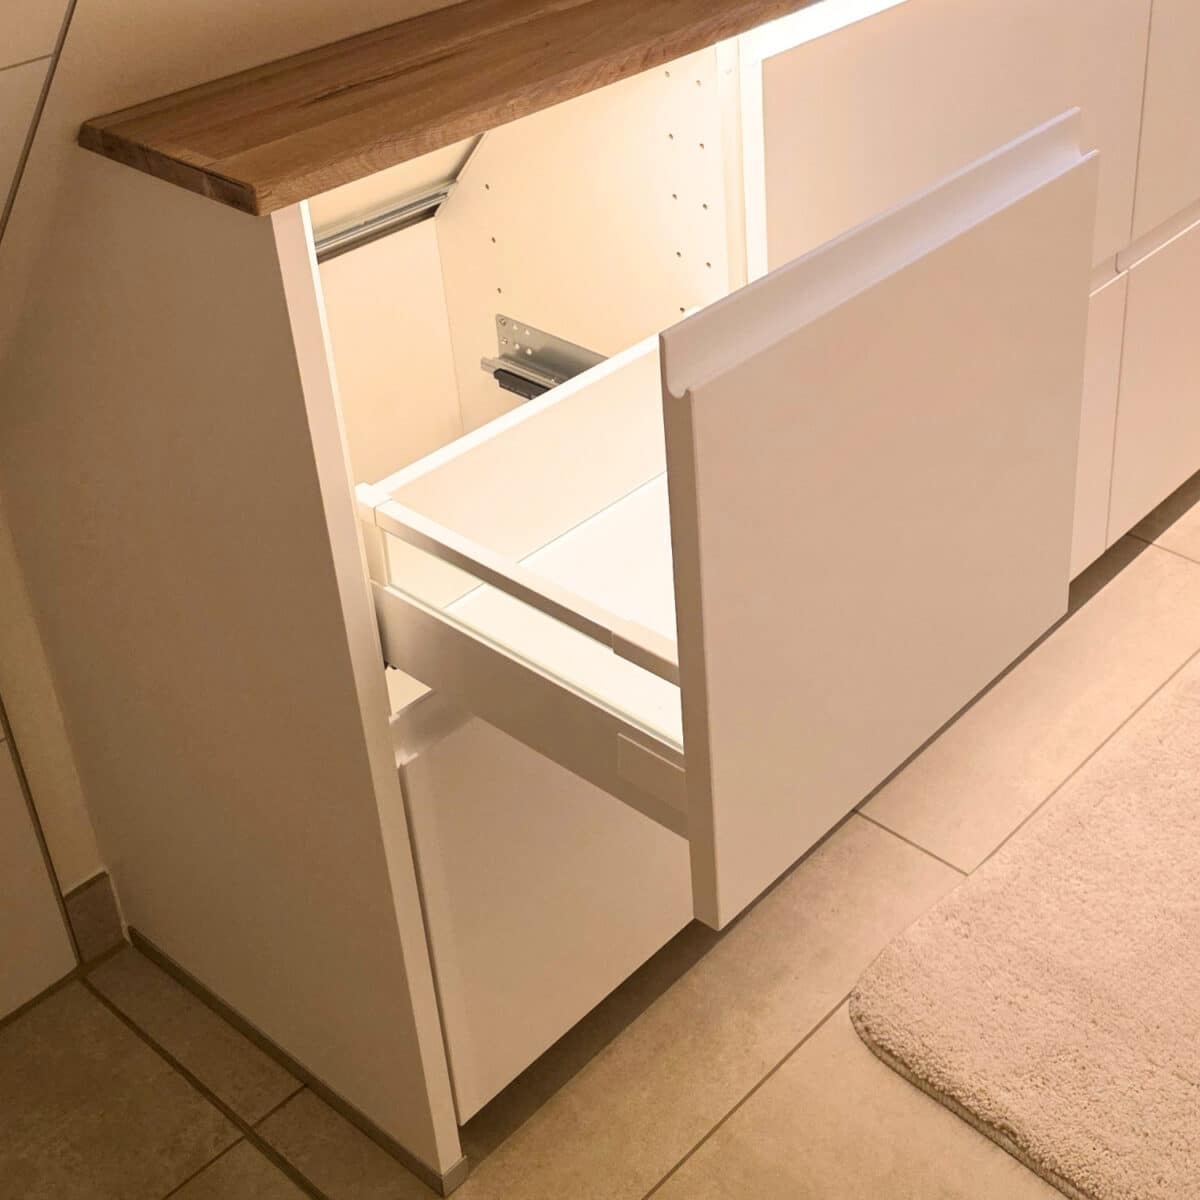
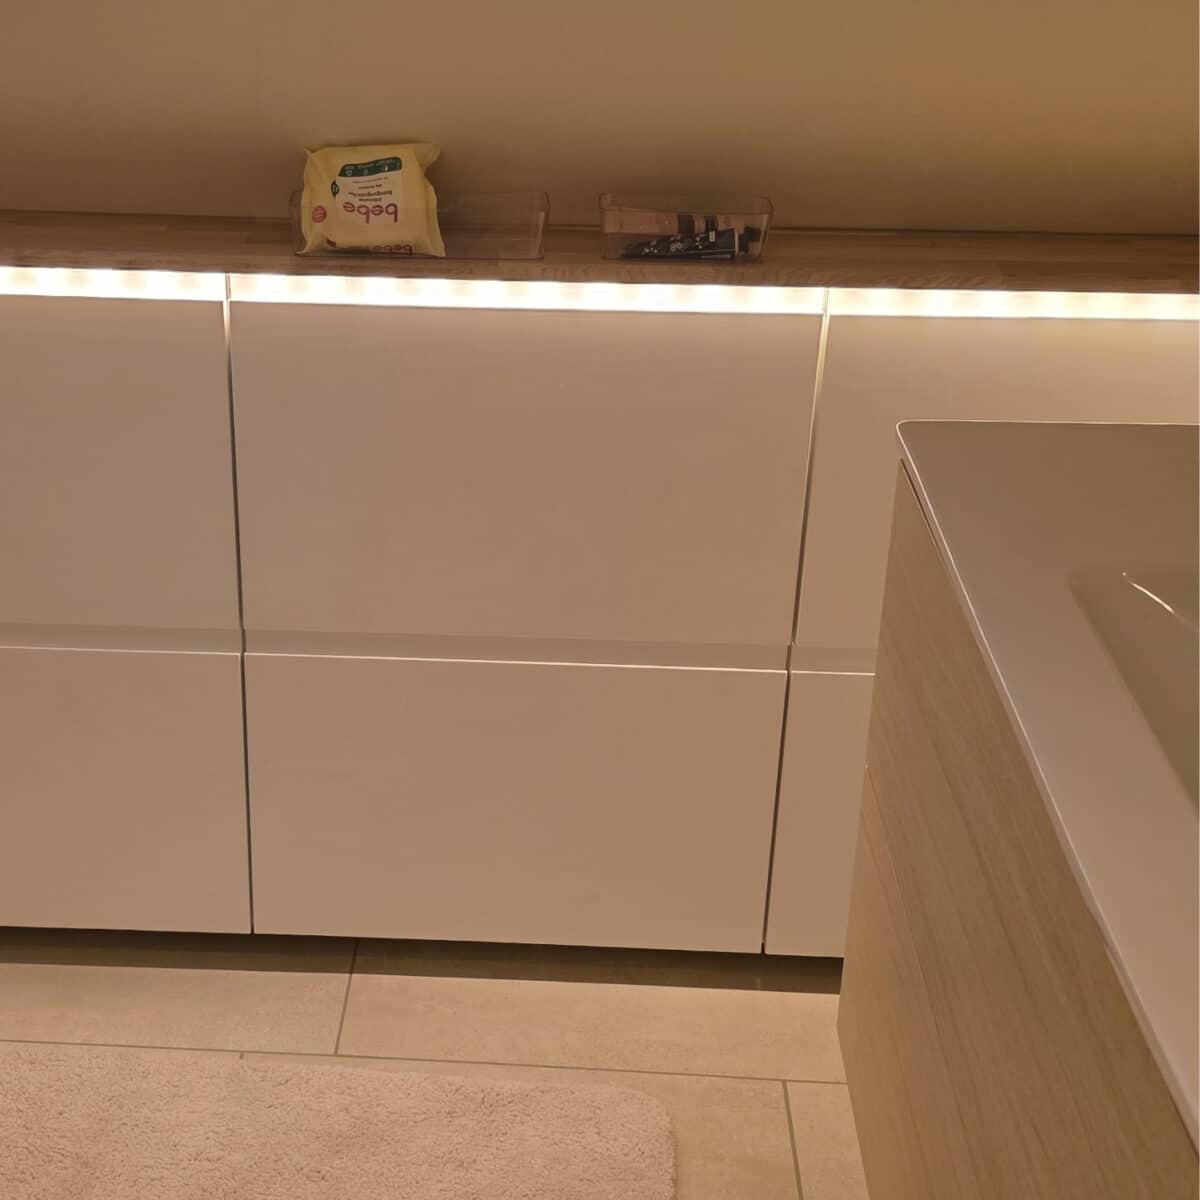
Cut and install the top panels. It’s up to you if you want to stain them, paint them, etc. Marie oiled the one in the guest room and applied a clear varnish to the one in the bathroom.
Overall, Marie said she’s really happy and proud of how everything turned out, but it takes a lot of measuring, planning, and trying things out. What do you think? If you decide to give this one a try, or you’ve already tackled a sloped ceiling of your own, share your hack with us!