
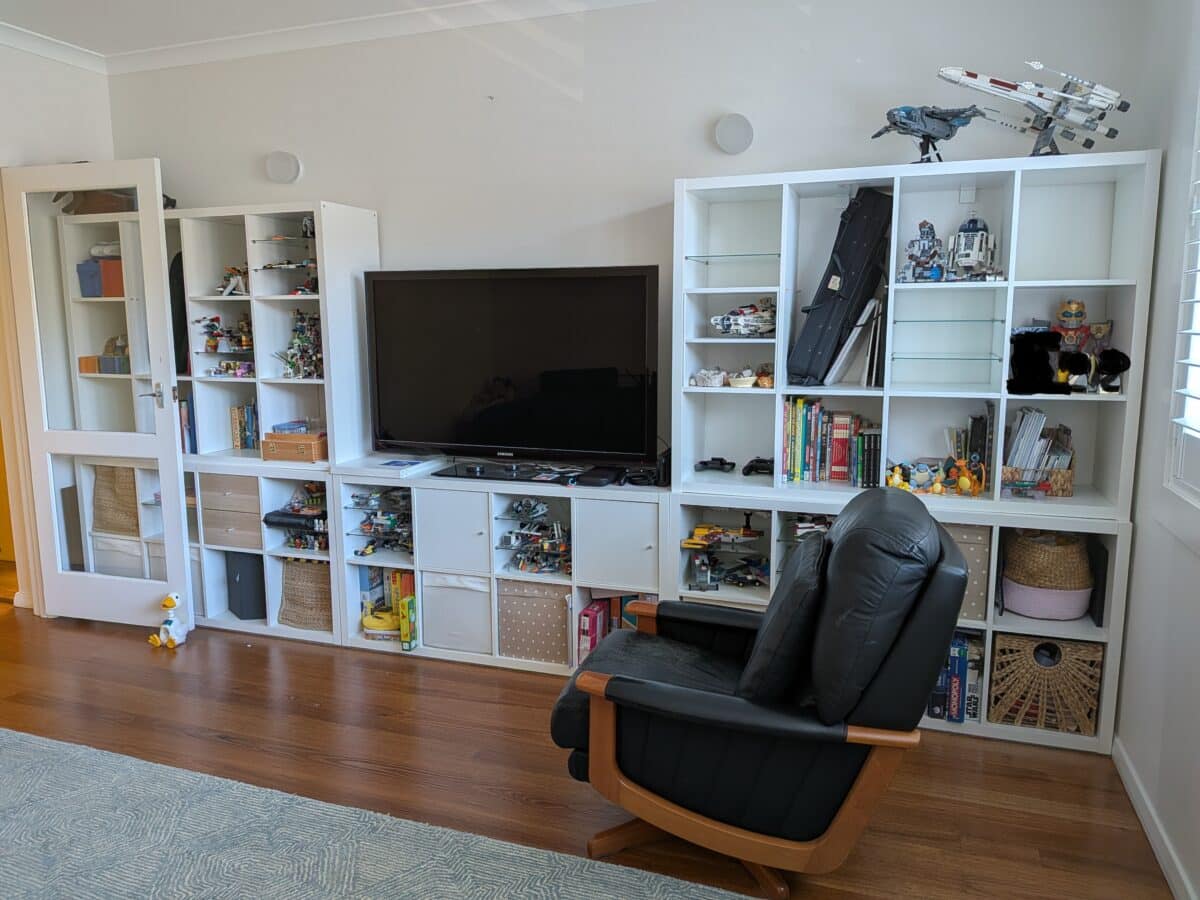
Angela specifically asked how she could add a top beam to make her wall of IKEA KALLAX shelves look like one built-in unit. Since there’s a space above the TV, she wants to add something along the top that spans the unit to create a more custom look.
This is a shot of her current KALLAX setup.
Let’s help her out, hackers!
Angela mentioned that she considered purchasing some extra units for the top space, but only assembling the frame. However, her hesitation stemmed from only having the side of the KALLAX to screw a top beam into. She also does not want to remove any of the existing KALLAX shelves because they are anchored into the wall.
Okay, let’s dive in!
Creating a Custom KALLAX Built-In
Here are some thoughts since you mentioned purchasing more units. Why not go big and really make this whole unit look like one cohesive wall of built-ins, from top to bottom?
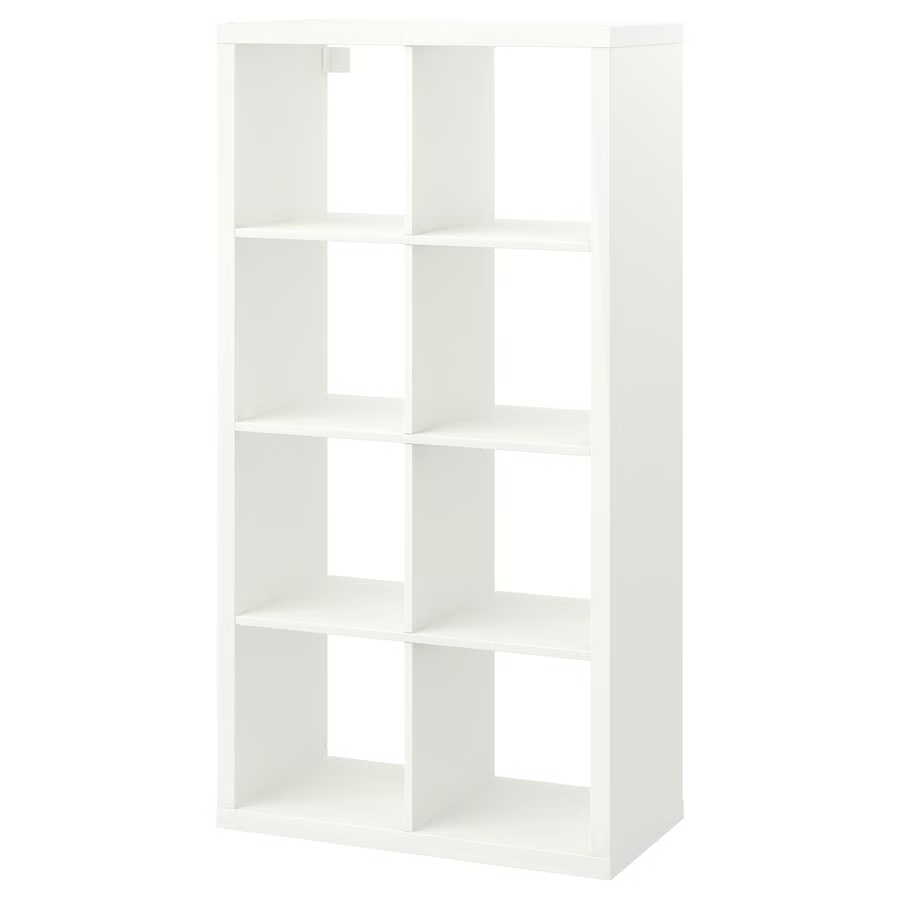
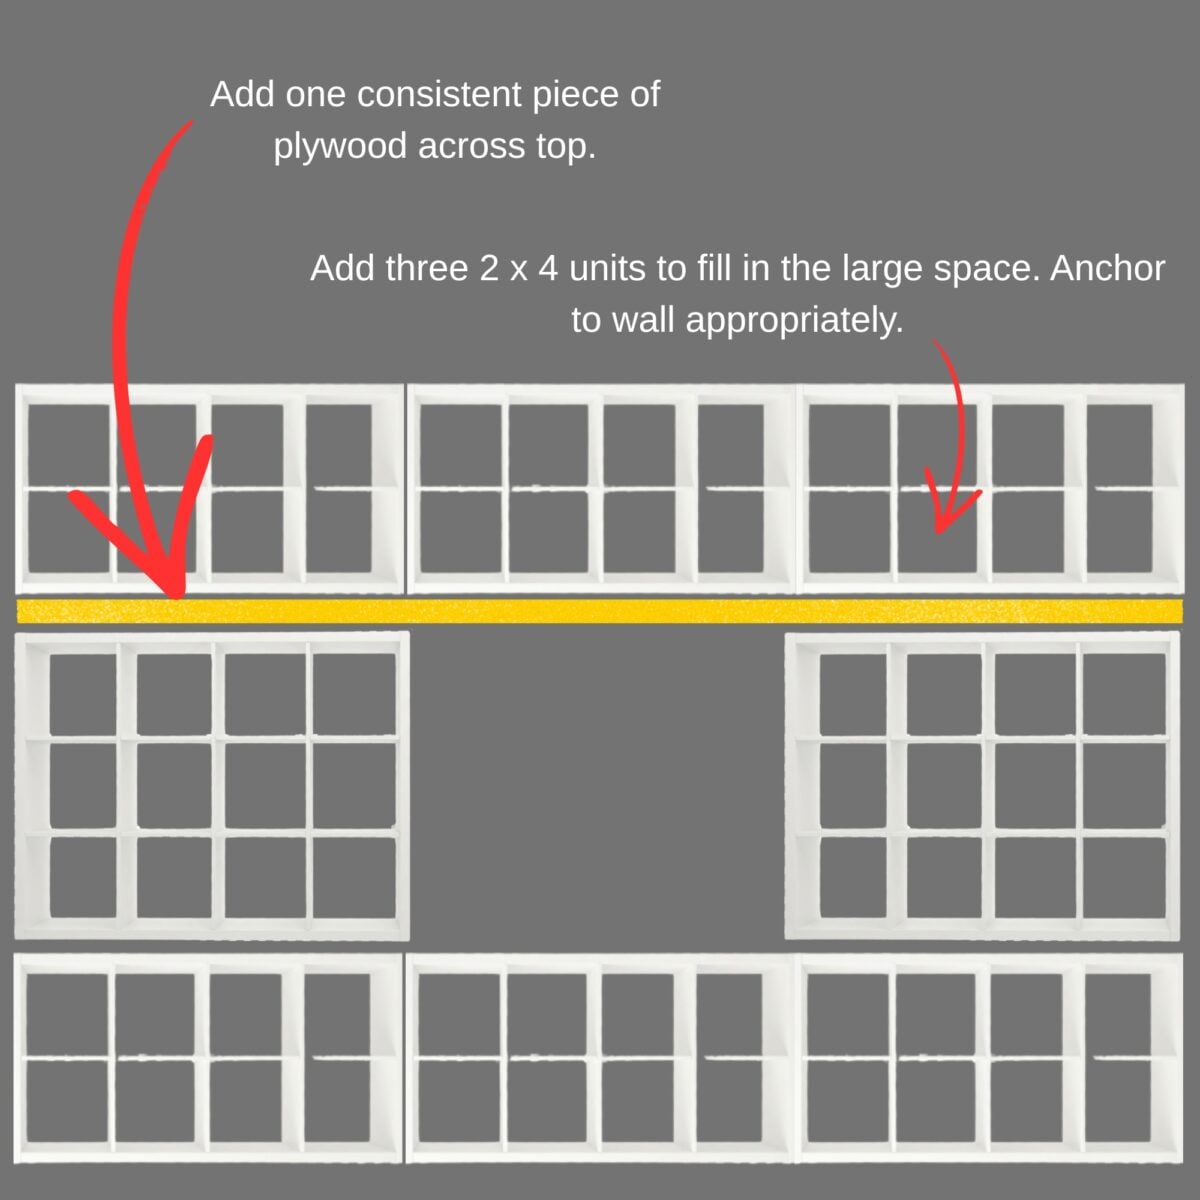
If you purchased three 2 x 4 cubby units (roughly $65 each), they could become your top shelves. But, of course, you need some support.
Add a Plywood Base
Get a thick piece of plywood cut to size to run across the top of the entire unit, wall to wall. Screw it into the tops of the existing KALLAX units from underneath. For extra stability, you could use braces under the section above the TV.
Attach the New Units
Next, assemble your new shelves, but what about using pieces of timber on the sides facing the ceiling?
Essentially, just create a frame up top, then screw your crown molding into it. (There are also heavy-duty construction adhesives you could use to attach trim pieces to the wood and units, but don’t use them on your walls.)
You could also fully assemble the units and build a singular timber frame for the top, but I wasn’t sure how much clearance you would have, so you’d need to measure first to decide which option is best for you.
Position your three new units across the top, screwing them into the plywood base and each other. Also, secure them to the wall using appropriate anchors.
Trim It All Out
To finish things off, now it’s all about the trim. Add some crown along the top to match the rest of your room, and some thin molding along the sides and bottom to complete the look.
You could even go a step further and attach trim over all the seams where one unit meets another, including your existing pieces. This HEMNES shelf hack shows off what a difference trim makes!
Paint
Caulk the seams and fill any nail holes, prime, and paint to really enhance the custom look.
A Few Notes
It appears that you have a couple of lights or speakers above the unit. You could cut the backing out of the cubbies that line up with these elements. (Alternatively, you could leave the backing off completely if you plan to paint everything the same color as the wall.)
Close up the front of the cubby with smooth plywood, and essentially pull the lights forward and mount them to the front. Alternatively, there are some great battery-operated wall sconces you could get for the front if you don’t want to deal with wires, etc. This BILLY built-in hack is a good example of how to add lighting on the front of your built-in.
Option Two: Simpler and Shorter
If you’re not ready or wanting to take on quite such a large project, you could instead use timber to create a top frame for the whole piece. It would span the entire area, wall to wall. You can see how one hacker creates a timber base and sides for their KALLAX built-in. Basically, apply this same concept to your top.
Then trim everything out, and you would have a more built-in look. The unit would be its current height. However, it would be continuous along the top, essentially giving you one long shelf that you could use to display taller decorative pieces, plants, etc. (I see some pretty sweet-looking LEGO creations up there currently. Nice!)
This option would be significantly less expensive and take much less time, so it’s all about deciding what you ultimately want the overall look to be.
Make sure to check out some of the other IKEA KALLAX hacks to find even more ideas and inspiration. There are so many ways you can make this exactly how you want it.
Share Your Ideas
These are not the only two options to hack a KALLAX built-in. So, all you clever hackers out there, share your inspiration and ideas with Angela!
Tell her in the comments what you would do, or perhaps what you’ve already done, to turn these KALLAX shelves into a more cohesive unit.
And, Angela, once you finish your project, make sure to share it with us here at IKEAHackers! Happy hacking!