
When room dividers cost hundreds and still don’t quite fit the space, what’s a budget-conscious design lover to do?
Paloma had a high-ceilinged entryway that needed a bit of privacy, but every store-bought solution was either too short, too generic, or way too expensive.
Instead of settling, she got creative. Using a handful of IKEA KOMPLEMENT multi-use hangers, she crafted a striking, sculptural divider that looks like a designer installation, for a fraction of the price.
Paloma’s cousin, Inés, who submitted her hack to IKEAhackers, says that people are always amazed by the piece, saying:
Everyone comments on it upon entering the house and can’t believe it’s made with IKEA pieces. It makes us smile every day.”
Whether you’re looking to carve out a bit of extra privacy in your living room or section off a corner of your den for a home office, this hanging room divider created by Paloma offers an easy, fun way to do it.
What You’ll Need
- Multiple IKEA KOMPLEMENT multi-use hangers (Paloma used 50, but it depends on how large you want the screen)
- Yarn, premade doilies, or fabric circles
- Crochet hook
- Scissors
- Transparent zip ties
DIY Crochet Room Divider Curtain Using IKEA Hangers

1. Determine How Many KOMPLEMENT Hangers You Need
Measure where you want to hang your finished screen to determine how many KOMPLEMENT hangers you need. Each multi-use hanger is approximately 12 ½” x 25 ¼” (without the hook), so approximately 2.2 square feet. So, as an example, if the space is 10 feet wide by 10 feet tall (100 square feet), you’d need about 46 hangers.
2. Create Your Pattern and Add the Discs
Decide what circles you want covered and which to leave empty. It all depends on how much privacy you want, and the pattern can be as random or rigid as you like.
Attach the crochet discs to the desired circles. Paloma recommends crocheting them into place for the best result. The second-best way is to sew them in with a needle and thread, or lastly, you can use glue, but it gets messy and doesn’t look as good.
3. Connect the KOMPLEMENT Hangers

After adding the discs, use the zip ties to connect the hangers and snip off the extra ends of the zip ties. Leave the hooks on the top row so you can hang your screen, but remove them from the rest using scissors.
To Crochet or Not to Crochet? That Is the Question

Inés said crocheting the discs was time-consuming but not hard to do. For anyone familiar with crochet, doilies are quite basic — even beginners could give this a try.
“Luckily, I have a wonderful, skilled mother who was willing to crochet dozens of little doilies and attach them to the structure. It took some hours, but it was mainly done while watching TV,” Inés explains.
“What we love most about this hack is that it’s unique and personal, as we picked out the colors. It’s very sculptural, and a beautiful piece made with love by my mother, so now we have a little part of her in our house.”
Don’t know the difference between a crochet hook and a stick? You can always watch crochet tutorials if you want to create the panels yourself. Alternatively, use premade doilies. If you want different colors, use dye to create the patterns and shades you want.
You could also use fabric, just make sure to finish the edges to avoid pesky fraying and shaggy strands. (I’ve used Aleene’s Stop Fraying and Dritz Fray Check on other projects.)
However, if you want the cleanest, most finished look you can get, it would be worth hemming the edges. If your sewing skills are nil, choose a fabric that doesn’t fray.
What Should People Be Aware of When Trying This Hack?
The most challenging part of the hack was the sheer amount of crocheting involved; it definitely calls for some patience and perseverance.
Other than that, you may need extra help and a very tall ladder to hang the screen, if you’re making a tall divider like Paloma.
The other thing to think about before you start making this room divider hack is how much privacy you want. Darker fabric, tighter crocheting, filling all the circles, etc., are all ways you can make the screen more opaque.
Finally, the piece is very white, so as you’re working on it, make sure your hands and the surface you’re working on are clean.
A Bespoke Hanging Screen That Adds Privacy and Style
Overall, the finished project looks amazing, and it certainly provides a show-stopping conversation piece to Paloma’s home. If you have extra-high ceilings, this is a cost-effective way to create a unique privacy screen. But would you crochet the discs or try something else?
Check out some more IKEA room divider hacks if you’re looking for something with storage, lights, or simply a different style.
Have a hack of your own to share? We want to hear about it.
NEXT: You’ll also love these Room Divider Ideas and Hacks.
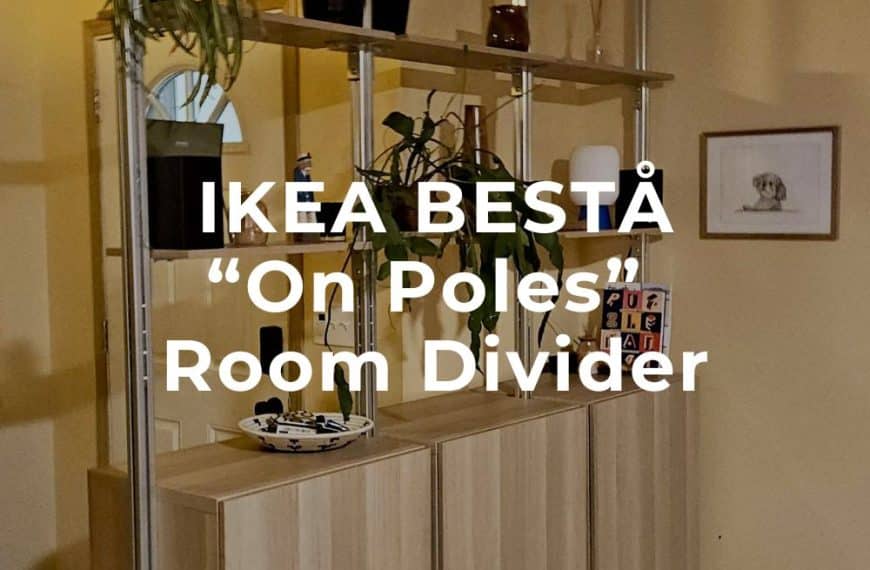
No Foyer? This IKEA BESTÅ Hack Creates an Instant Entryway
A proper foyer or an alternative like a mudroom makes coming and going much easier. Just kick off your shoes, hang your coat, or drop your bag without cluttering your…

Is Your Fridge Putting a Damper on Your Design? (Try This!)
A refrigerator is great at keeping things cool, but it’s not exactly cool to look at, especially when its side ends up front and center in your living room. Awkward,…

How A Room Divider Transformed This DIYer’s Tiny Apartment Overnight
Living in a small house with my husband and son has taught me the art of carving out privacy wherever I can. At least we have a couple of rooms…

This See Through Room Divider provides subtle separation
See Through Room Divider that doesn’t block the view. In our 1960s house, the Dining Area and Lounge are one open space that seemed to beg for some separation. I…

8 ways to turn IVAR into a super useful folding screen
A folding screen is a quick way to divide a room and create private spaces. IKEA currently sells the RISÖR room divider and that’s it. Nothing much in this department.…

IKEA Trellis as a brilliant lighted room divider
Outdoor trellis comes indoors as a lighted room divider. As many of you do, due to COVID-19, we spend most of our time at home. We wanted to make the…