
This is the method I used to cut the IKEA LACK shelf and finish it to look as close as the original shelf as possible.
Tools used:
- Stanley knife
- Fine tooth saw
- Narrow scraper
- Hairdryer
How to cut LACK shelf
Step 1. Cut LACK shelf to required length using a fine tooth saw. Before you cut, score cut line with a Stanley knife first. Use decorators/electrical tape around score line to avoid chipping when sawing.
Step 2. Now, you’ll want to salvage the end cap of the section you cut off. The idea is to remove the end cap from the unwanted material and replace it into the shortened LACK shelf.
What you need to do is pull off the top and bottom laminate layers of the shelf end. You could use the hairdryer to soften the glue to make this easier. I personally just pulled it apart and used the scraper to pry off the last part.


Step 3. Use the hairdryer to soften the glue (about 20 seconds should do it).

Use a Stanley knife to slide between the chipboard and the laminate layer.


The chipboard should just pull away from the laminate. If it is still attached use a bit more heat and repeat sliding Stanley knife between.
Step 4. Repeat on the other side.

Step 5. Use the scraper to remove as much glue from laminated area as possible

Step 6. Replace removed end cap back into the shortened shelf. You will need to use a little force for this.


You could add glue to fix it in place but I didn’t find it necessary. There you have it, the hacked end on your cut LACK shelf should hardly look noticeable.


~ by ikeacker
Projects for custom sized LACK shelves
#1 LACK shelf for the entryway

I wanted a LACK shelf to fit a space in my hallway that was 170cm wide but the nearest size was 190cm. My plan was to remove the end cap from the shelf, cut the shelf to size and then to reattach the end cap. This is the approach that I took for my custom size LACK shelf.
#2 LACK meets Mondrian
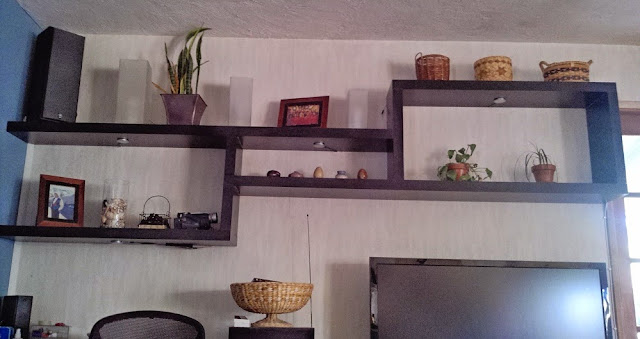
I wanted to add lighted display shelving to a wall of my family room but had some specific limits. It had to fit above the TV, low enough for the speaker, etc. I also wanted to add general room lighting in a way that would not cast glare on the TV screen. So here’s what I did.