As we increasingly integrate technology into every aspect of our lives, the need for convenient charging solutions grows. Gülcan Öztürk, a creator who works from home, found herself in a common predicament—constantly using her phone and laptop while wanting to relax on the sofa, but the power sockets are in the corner of the room and out of reach from the couch.
Her solution? A clever IKEA hack that brings power to where it’s needed most.
She mentions that she has seen this idea several times on social media, but wanted to recreate it her own way. Her solution struck a chord, with her reel on Instagram garnering over 146,000 views at the time of writing.
Supplies – IKEA Picture Ledge
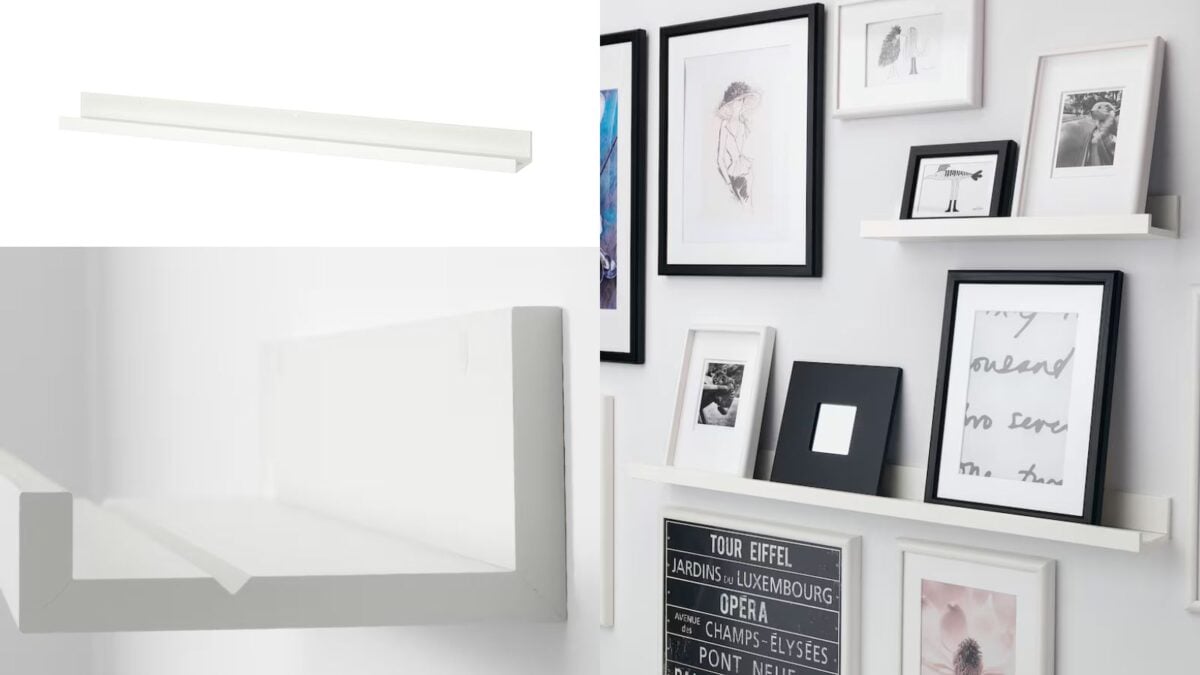
The IKEA MOSSLANDA picture ledge is a simple, unassuming piece of furniture—a narrow shelf designed to display pictures and other small items. Made from fiberboard with a foil finish, they come in lengths of 45 inches and 21 inches.
This budget-friendly shelf boasts a special groove at the front, perfect for keeping smaller picture frames angled for optimal viewing. But its uses extend far beyond picture frames, and IKEA hackers have found other uses for the nifty IKEA picture ledge as Gülcan did.
Supplies – Recessed Power Strip
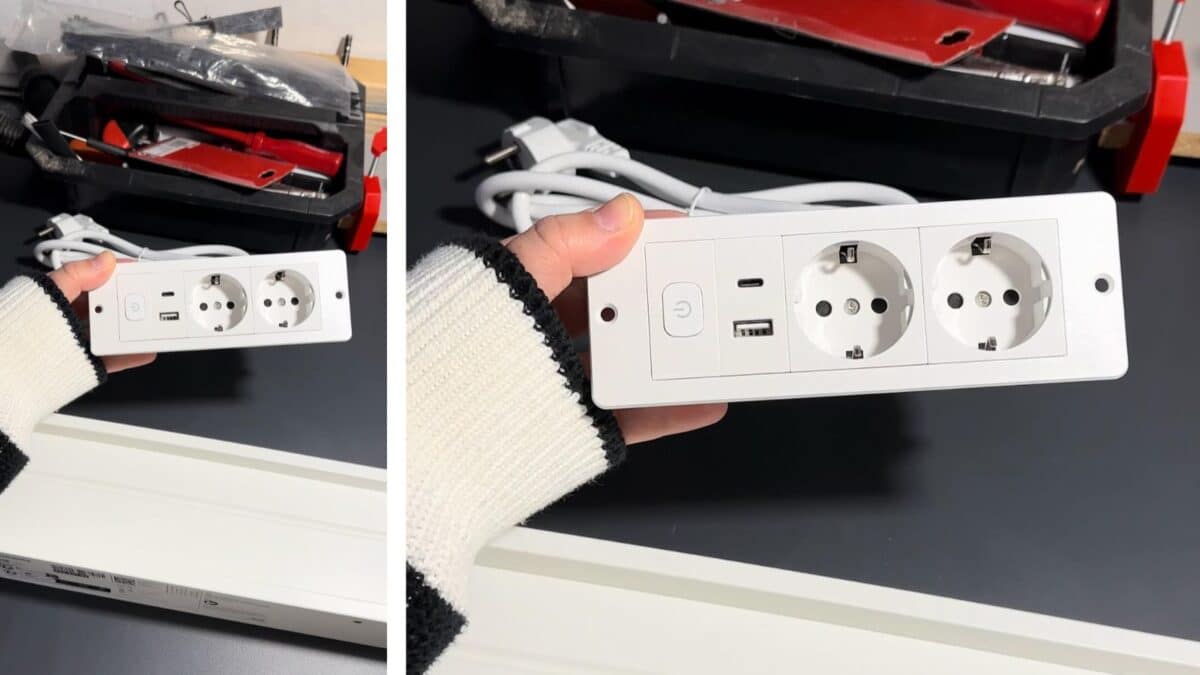
The key to this hack is a recessed power strip. Unlike standard strips, its unique design features a wider front panel than the back. This allows the strip to sit flush against the ledge for a clean and integrated look.
How to DIY a Behind-The-Couch Ledge Table With Outlet
Planning
Gülcan measured the space behind her couch and determined the length of the MOSSLANDA shelf she would need. She opted for the 45″ picture ledge. You can add a few more picture ledges if you want it to span the entire length behind the couch. The handy surface will also be perfect for drinks and snacks.
Measure
Before starting, measure the dimensions of the recessed power strip; the boxed part that juts out from the front. This section will sit inside the ledge, held up by the front panel.
Mark
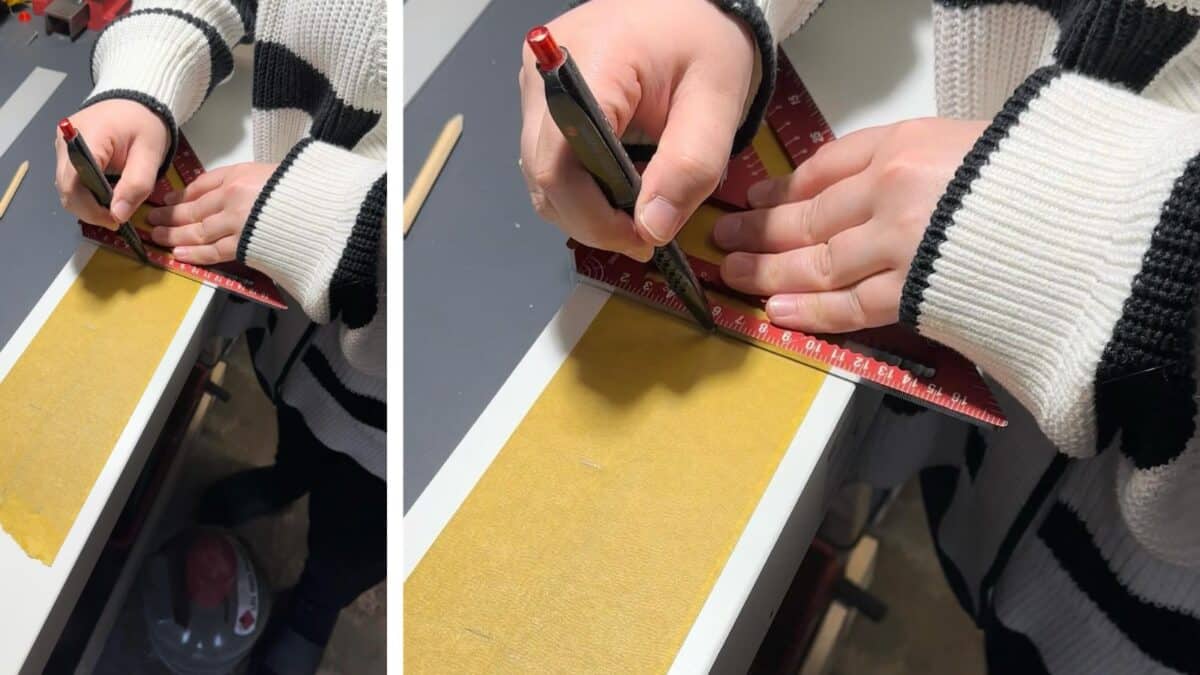
Flip the MOSSLANDA picture ledge upside down. Using a pencil, mark the cutting lines on the underside of the ledge.
Cutting
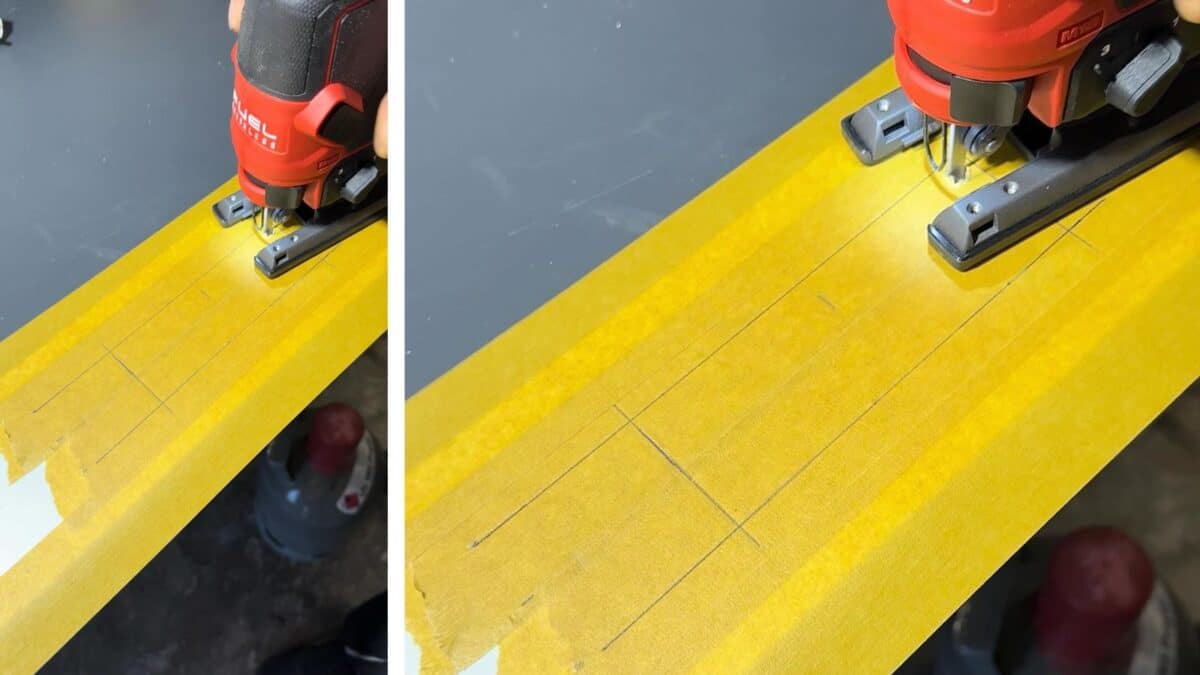
Drill a hole in the inside corner of the cutting line. Then, insert the blade of the jigsaw and cut the shelf, following the cutting lines. You can tape the ledge with masking tape first to ensure a clean cut.
Install Power Strip
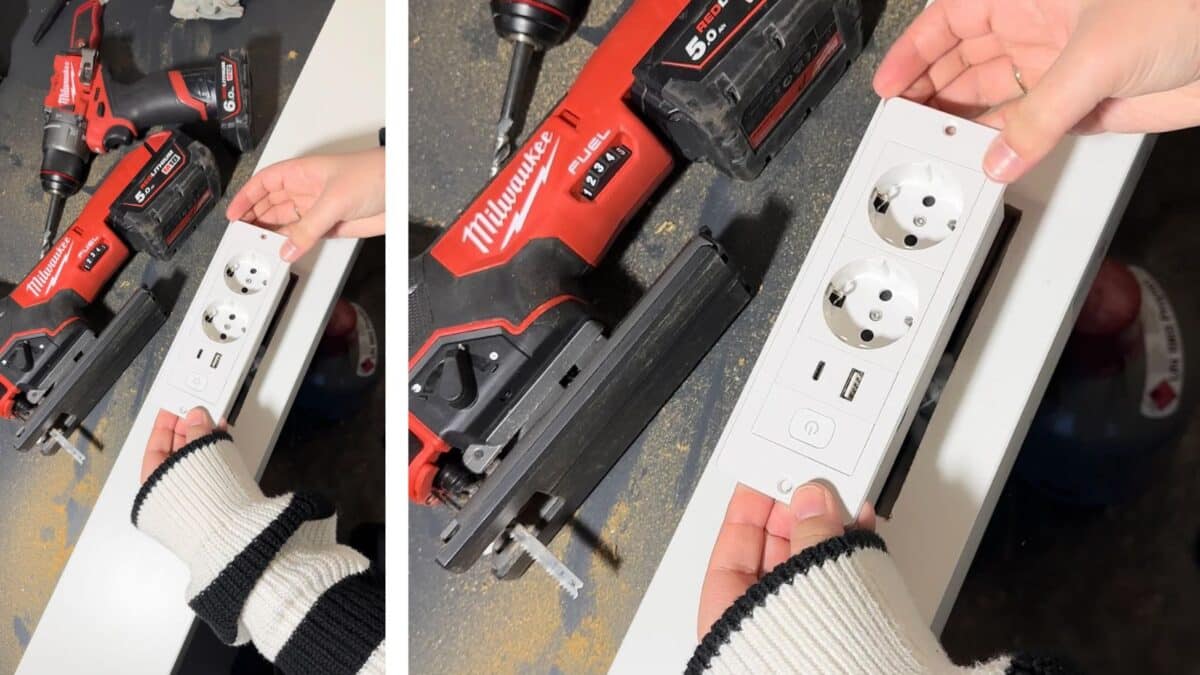
Next, clean the cut hole on the shelf of splinters, if any. Then, insert the base of the power strip and cord into the hole.
Installing
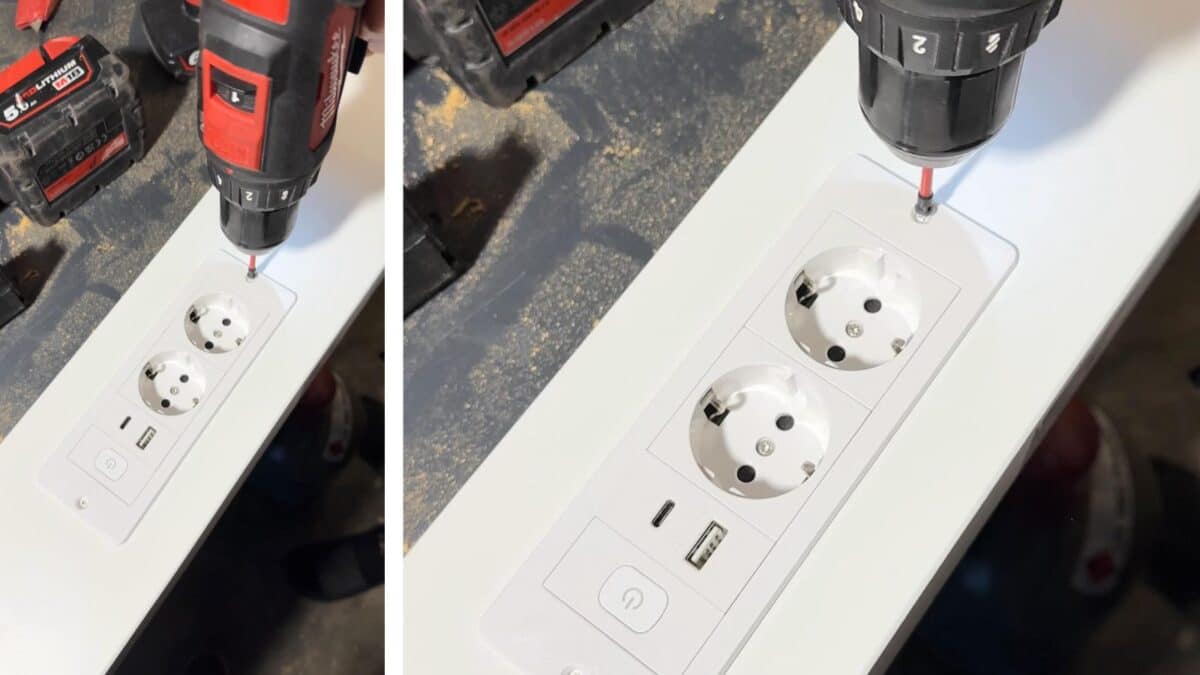
Using a cordless screwdriver, attach the power strip to the shelf with screws.
Check For Level
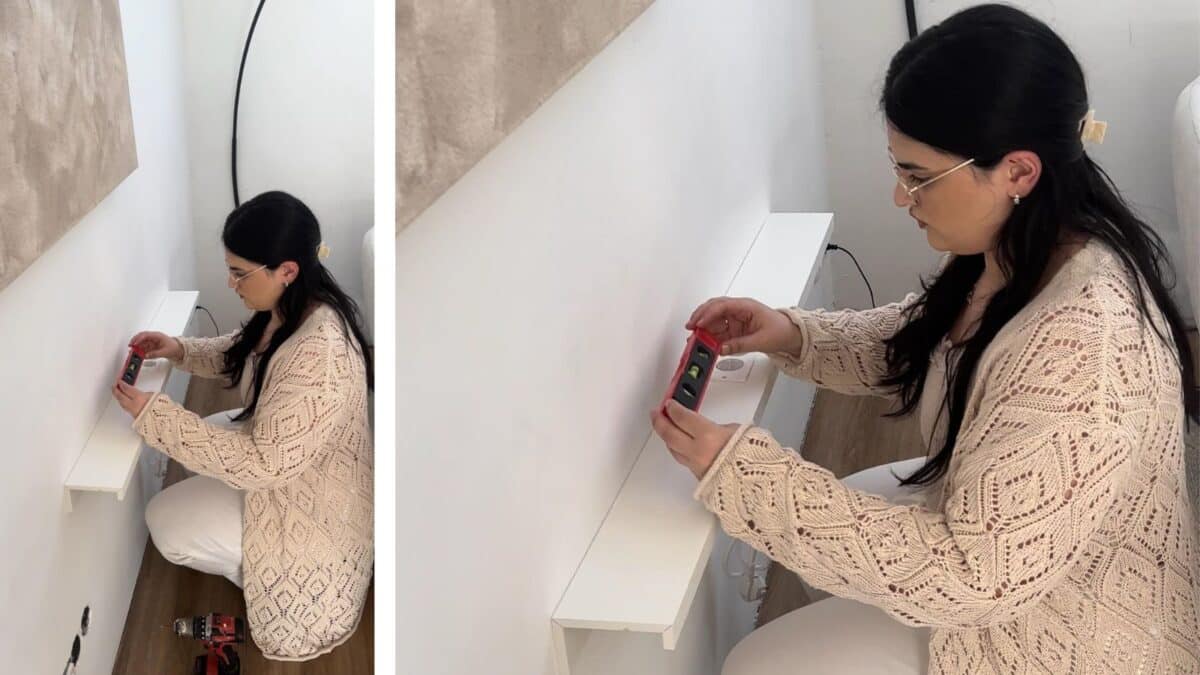
Securely mount the modified shelf to the wall behind the couch, using wall fixings suitable for your wall. It’s important to ensure that the shelf is level and firmly attached to support the weight of the devices.
Charging
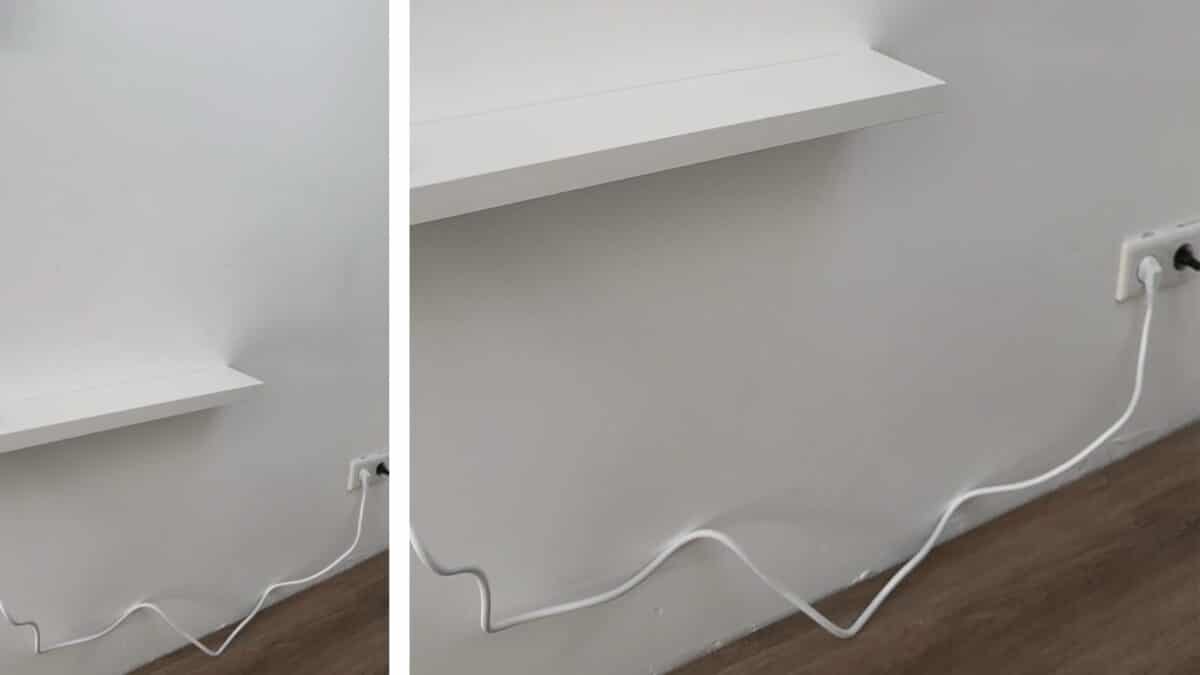
Finally, plug the power strip into the nearby socket and power up!
Power Ledge Customization Options
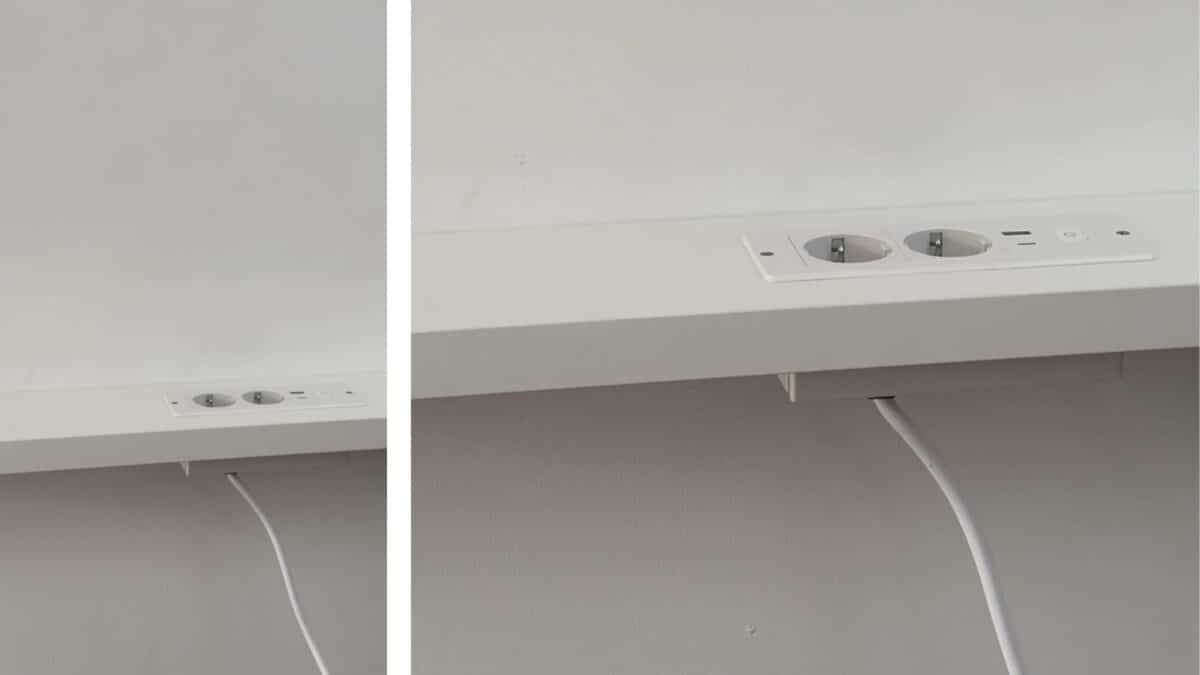
Gülcan loves her new setup. “We absolutely like it this way.” But she also acknowledges that there are customization options for those looking to replicate her hack.
- Dust Covers: For those concerned about dust collecting in the sockets or on the cables, installing outlets with covers can be a practical addition.
- Extended Shelving: If the couch spans a longer wall, using two or three MOSSLANDA shelves end-to-end could provide a continuous ledge for multiple seating areas.
- Personal Touches: The ledge can be painted or decorated to match the room’s decor, making it an even more integrated part of the home.
Cautions

Placing drinks on the ledge might lead to spills reaching the power strip. Gülcan says, “Be careful with the drinks. Our outlet bar has an on/off button” to reduce such risk.
Try This Easy DIY
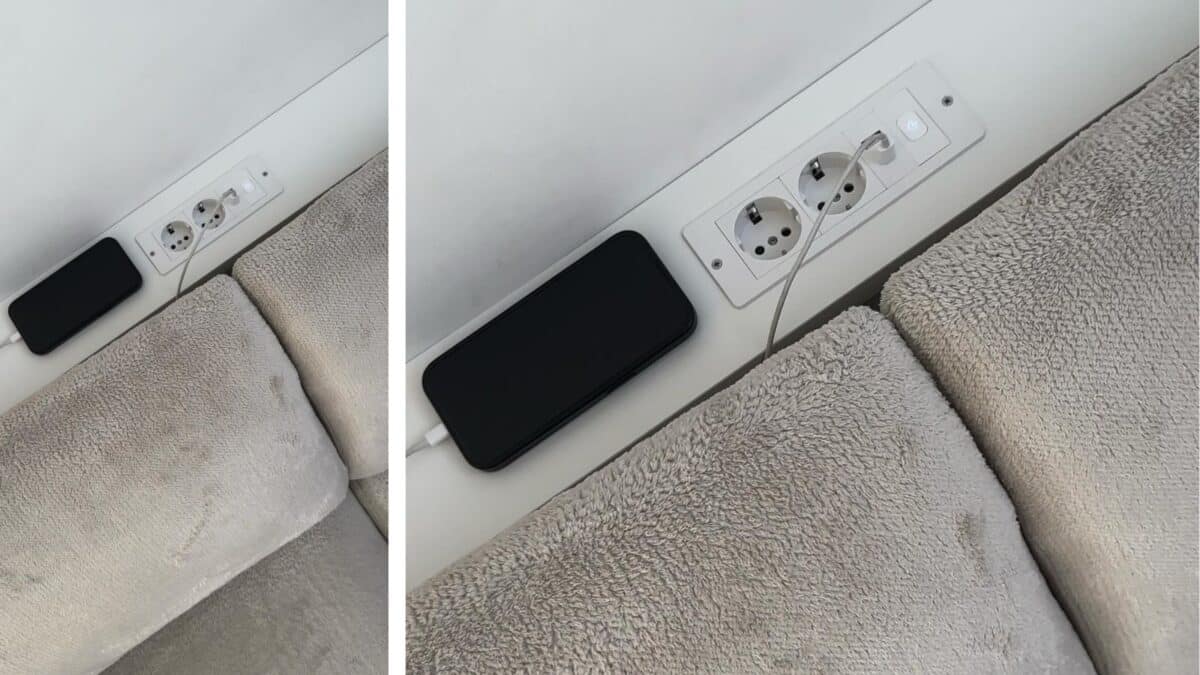
Gülcan’s clever behind-the-couch charging ledge is an easy DIY project perfect for most beginners. As long as you’re comfortable making straight cuts and installing a shelf, this IKEA hack is a breeze. Let us know if you recreate this hack.
View Gülcan’s Behind-the-Couch Table With Outlet Hack
Follow Gülcan’s Instagram for more easy, accessible DIY ideas.

