
There’s something magical about owning art that no one else has. A few years ago, my husband and I splurged on an original piece from a local New Orleans artist. The artist was a new, aspiring creator (and extremely talented), so we really got the piece for a bargain.
Since then, we decided to slowly start replacing the art in our house with more unique pieces.
However, we don’t have deep pockets, so we need to get creative. DIY art is an excellent (and affordable) option because you can make it however you want.
This textural wall art definitely sparks some ideas. Creator and IKEA hacker extraordinaire, Babette, shows off how to turn the simple IKEA HEAT trivets into custom, DIY wall art. Of course, to make it something unique to you, simply put your own personal spin on it (ideas below!)
Creating 3D Wall Art With Coasters
What You’ll Need
- 7 three-packs of IKEA HEAT trivets
- Thin multiplex board (100 cm x 120 cm)
- Wooden slats (to stabilize the back)
- Beech wood strips (to make the frame)
- Wood glue
- Paint
- Utility knife
- Nailer
- Basics — saw, tape measure, pencil
1. Make the Frame
Add slats, cut to size, to the back of the multiplex board to add stability. Then, cut beech strips to fit around the entire frame, attaching them with a nailer. Fill the nail holes with wood filler to get a nice, smooth finish.
2. Add the Coasters
Decide how you want your pattern to look. Use a utility knife to cut coasters into the desired shapes, then lay out your pattern on the board. Once you have it exactly how you want it, attach your trivets to the board with wood glue.
3. Paint and Hang
After the coasters dry in place, paint with regular wall paint. Babette chose to paint everything one color for a minimal, neutral look. After your artwork dries, hang it using simple hanging hardware.
More Affordable DIY Wall Art Ideas
Creating your own art is all about making something unique. Therefore, by all means, you don’t have to make it exactly how the hacker did her masterpiece.
One commenter even asked why Babette painted it all white. Babette mentioned she did so simply because it was the look she wanted, but the beauty of making something yourself is that you can make it however you want to.
So, that being said, what would you do to make this piece your own? Here are a few suggestions, but they certainly aren’t the only ones. Let your imagination take over, and see what you can come up with.
- Use different colors. Paint the background a contrasting color, or use various hues on the trivets.
- Change up the pattern, or cut the coasters into pieces that come together to create a picture or specific image.
- Cover the back panel with wallpaper or fabric and add the coasters on top.
- Leave the trivets unpainted.
- Layer several coasters on top of each other in certain spots to create a more three-dimensional effect.
- Change up the size of the overall piece or create several smaller pieces to make a collection.
- Use chunkier wood trim for the frame.
- You can also tack the trivets to a wall panel like how this hacker did.
These are just a few ideas to get your wheels turning, but share your own thoughts in the comments. How would you add your own personal stamp to this hack idea to make it your own?
See the full hack to check out the process in action, and follow DIY with WOOD, Babette vd Nieuwendijk @babettethebuilder for more exciting builds and inspiration!
Got an IKEA hack of your own? We want to see it! Submit your project here or tag us on Instagram @ikeahackersofficial.
NEXT: More IKEA HEAT Trivet Hacks
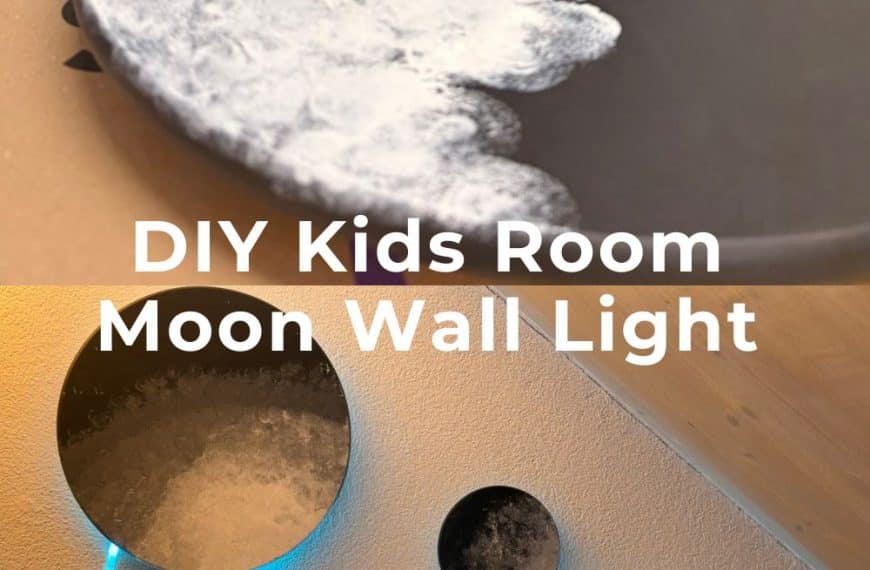
An IKEA Hack For Dreamy Moon Night Lights Perfect for Kids’ Rooms
I make a lot of props for theatre productions, and I’ve found that ideas ignite in the most unexpected of places. For example, when splashing around with pool noodles, I…

Inexpensive wall decorations
Materials: HEAT trivets, IKEA-fabric, staples, fishing line Description: I purchased a lot of HEAT trivets and fabric from IKEA, and pretty much just stapled fabric onto the trivet. I connected…

Fabric Covered Cork Board
Materials: 3 X Heat Cork Description: Place cork on fabric & trace around leaving about an inch of space. Cut the fabric. Ready the hot glue gun. Place fabric face…

Cork Mat Knife Block
Materials: Materials: 2 packages of Heat, utility knife, wood glue Description: We wanted a knife block. We only have three knives, but we keep them sharp and we like them.…

HEAT notice board
Materials: Nine HEAT trivers, thin bars of wood, two screw hooks Description: I had needed a notice board for a long time but did not like the look of the…

Cork board turtle
Materials: 5 packs of HEAT cork trivets, primer, paint, damage-free hanging stripsDescription: This is a pretty simple hack, but we were happy with it and wanted to share. We live…