
When faced with sloped ceilings and a pesky staircase bulkhead, most would just give up on fitted wardrobes and turn to free-standing closets and cabinets.
Not Vincenzo.
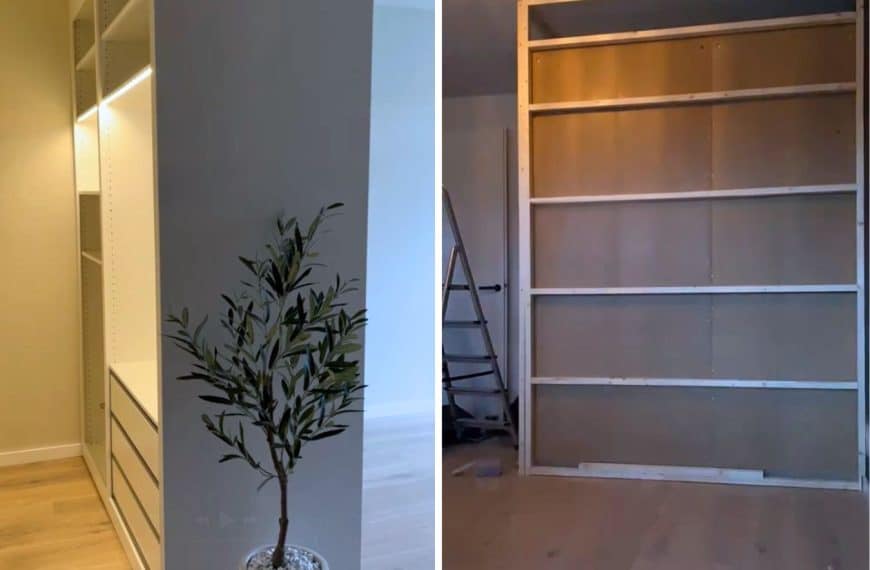
Rather than settling for less storage or a poor fit, he took on the awkward space challenge and crafted a custom wardrobe solution using a clever combo of IKEA PAX and METOD cabinets.
The result?
A beautiful built-in wardrobe that looks like it was always meant to be there.
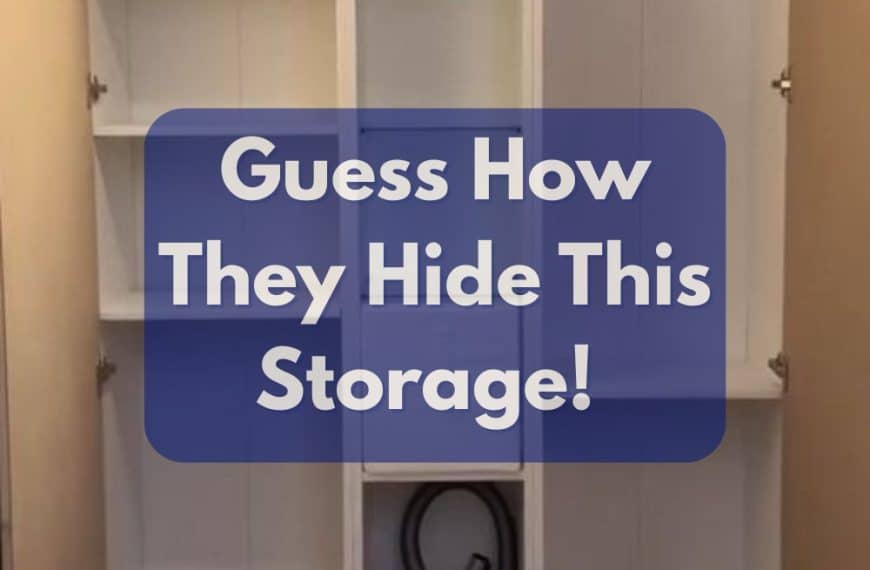
Want to see how this bulkhead wardrobe all came together? We let Vincenzo break it down below.
Materials Used
IKEA Components:
- 3 PAX Wardrobe Frames (50cm × 58cm × 201cm)
- 3 FORSAND Doors (50cm × 195cm)
- 3 packs of KOMPLEMENT Soft Close Hinges
- 3 UTRUSTA Hinges (2 per pack)
- Various KOMPLEMENT internals (shelves, mesh baskets, drawers, clothes rails, pull-out trays)
- 3 METOD Wall Cabinet Frames (20cm × 37cm × 80cm)
- 3 VALLSTENA Doors (20cm × 80cm)
- ÖVERSIDAN Lighting Strips and TRÅDFRI Driver
Additional Materials:
- 4 MDF Sheets (1830mm × 607mm × 18mm)
- 6 Satin Chrome Knobs (30mm)
- Decorators Caulk
- Paint
- Short Skirting Board
- Iron-On Edging Strip
Step-by-Step Instructions: Custom PAX Wardrobe for a Sloped Ceiling + Stairs Bulkhead
Step 1: Prep the Space

I started by pulling back the carpet to reveal the plywood subfloor beneath. Since the skirting boards were in good condition and didn’t interfere with the fit, I left them as-is. No removal required.
Step 2: Place the First PAX (Middle Unit)

I assembled the first PAX frame (50x58x201 cm) without any modifications. This was the center unit, positioned directly against the staircase box.
To bridge the small gap between the side of the PAX frame and the skirting board, I cut a strip of 18mm MDF and slotted it in.
Luckily, the floor was level, so I didn’t need to make any adjustments here.
Step 3: Modify Second PAX to Fit the Sloped Ceiling

Next, I took the second PAX frame and cut it down on one side to follow the angle of the sloping ceiling. This involved trimming the side panel to match the slope.
After the cut, I couldn’t use the original dowels for assembly on that side—but that’s no big deal. The other hardware fittings held the structure together well.
Again, no levelling needed, thanks to a flat floor.
Step 4: Modify and Install Third PAX on the Bulkhead

The third PAX frame was placed on top of the stair box. This required a bit of finagling, as the bulkhead itself wasn’t level.
I used MDF offcuts as shims to raise the left side (both front and back) until everything was aligned. Only then did I fix it in place.
Step 5: Fix the Framework in Place
With all three PAX frames in position, I began securing everything:
- First, I screwed the PAX frames to each other, checking the levels at each stage (they tended to shift slightly as I fixed them).
- I then screwed the base of the two floor-standing PAX units into the surrounding skirting boards for added stability.
- On the right-hand side (the sloped-ceiling PAX), I fixed a sheet of MDF along the unit’s exposed side. Another sheet went against the wall, resting on top of the skirting.
- Between these two MDF panels, I added noggins (short wood braces) to strengthen the structure and prevent flexing.
Step 6: Add METOD Cabinets on the Left

On the left side of the build, I had a perfect space for two METOD wall cabinet frames (20x37x80 cm). These slotted in neatly between the PAX and the wall—no modification needed.
To match the height of the PAX units, I raised the METODs slightly. They were secured in place with plenty of screws.
I had to pull the METOD cabinets out a little from the wall. Their VALLSTENA doors are thinner than the FORSAND doors on the PAX, and this adjustment was necessary to keep everything flush across the front. This nearly caught me out!
Step 7: Cap the PAX with MDF
I cut a piece of 18mm MDF to create a top panel across the three PAX units, following the slope of the ceiling. Once trimmed and test-fitted, I fixed it down.
Then, I added more bracing along the back edge of the PAX units (on top of the MDF) to lock the structure in place and prevent any flex or wobble. Screws went into everything—robust and solid was the goal.
Step 8: Add Third METOD Cabinet Horizontally

There was still a small space above the PAX units, under the sloped ceiling. I took a third METOD wall cabinet (20×80 cm), turned it horizontally, and slid it in.
It fit almost perfectly. Since the depth of METOD is less than PAX, the bracing I’d added earlier didn’t interfere—it just sat behind the unit.
One final MDF sheet was placed on top of everything to fully enclose the structure and visually finish it.
Step 9: Prep Electricals
I ran electrical wiring and installed the necessary sockets for future lighting. I didn’t install the ÖVERSIDAN light strips or the TRÅDFRI driver just yet—this step was just about ensuring the wiring was in place and accessible.
Step 10: Build Out the Interior

With the main frame complete, I turned my attention inside:
- Installed KOMPLEMENT drawers, shelves, pull-out trays, mesh baskets, and clothes rails across the three PAX units.
- The TRÅDFRI driver fit snugly in the upper sloped gap between the last METOD cabinet and the ceiling, almost like it was designed for that spot.
Step 11: Custom-Fit the Doors

Time for doors:
- One FORSAND door was trimmed at an angle to match the sloped ceiling.
- Another was shortened in height to suit the PAX sitting on the bulkhead.
- The raw cut edge under the slope was filled in with a strip of 12mm MDF, glued into place.
- I then applied iron-on edging tape over the cut MDF, trimmed it neatly, and painted it to match, making the modification nearly invisible.
Step 12: Install VALLSTENA Doors on METOD
The VALLSTENA doors on the METOD cabinets went on without a hitch. No cutting or hacking needed.
Step 13: Final Trims for the Bulkhead Wardrobe
I used the remaining MDF to add final trim pieces:
- One piece filled the vertical gap on the right side.
- Another filled the small triangular gap above the top METOD cabinet and the sloping ceiling.
- I also crafted a false back panel for the newly created shelf area where the cut-down PAX ends.
Step 14: Decorative Touches

With a bit of MDF left over, I got creative. I cut out a heart shape and used it to conceal a small awkward space, and it doubles as a sweet decorative feature for my daughter’s wardrobe.
Step 15: Finishing Touches
Applied decorator’s caulk wherever needed to close gaps and seams. Then I painted all exposed MDF to match the room’s walls.

The final step? Installing those satin chrome knobs for a polished finish.
DIY Stairbox Wardrobe Tips & Takeaways
- Hardest Part: Repositioning the hinge on the shortened door to accommodate internal components.
- Top Tip: Keep everything level. Constant checks and bracing are key to a clean, stable result.
- No Base Needed: Thanks to a perfectly level floor, there was no need to build a raised platform.
- What He’d Change: Nothing! Vincenzo was happy with the outcome.
- Cost & Time: Around £600 and 3 full DIY days.
Now that you’ve seen what IKEA’s modular systems can achieve, are you feeling inspired to take on that awkward nook, sloped ceiling, or stubborn bulkhead? Vincenzo’s hack shows you don’t have to fight the space; you just hack to fit!
Tackled a tricky space of your own with an IKEA hack? We’d love to hear about it—drop your ideas or tell us more in the comments below.
Subscribe to our newsletter and never miss a hack again.
NEXT: Explore more IKEA PAX Hacks

The New IKEA PAX Piece That Finally Breaks Up All Those Boring Doors
Just when you think IKEA’s PAX series has everything you need to create a stellar wardrobe, they come out with a new addition to prove you wrong. Last year, they…
Wait Until You See How They Hide This PAX Built-In!
Hallways often become swirling vortexes that suck in random items, leaving a jumble of clutter and chaos in their wake. Since hallways are typically tucked out of sight, it’s all…

This Hidden TV IKEA Hack Keeps Your Bedroom Looking Calm and Clutter-Free
The easiest hidden TV idea yet—perfect for small spaces and minimalist bedrooms. Apparently, you’re supposed to keep TV out of the bedroom because the bedroom is just for sleeping and,…
How A Genius IKEA Wardrobe Hack Made a Walk-In Closet Possible
I dream about a walk-in closet. I really do. There’s something luxe about it, as long as you can organize it well. Alas, I have no space for a walk-in…

He Turned a PAX Wardrobe Into a Secret Door—Wait Till You See What’s Behind It
If you could create a secret wardrobe door with a hidden room, wouldn’t you jump at the chance? Besides being super cool, it’s also a great way to add a…

This Clever PAX Wardrobe Hack Solves a Classic Small Bedroom Dilemma
When you’re tight on bedroom space, squeezing in extra storage often means sacrificing something else, like your bedside table. But what if you didn’t have to choose? That’s what Mathilda…