If your morning doesn’t officially start until coffee hits your system, the last thing you need is a caffeine crisis every time you open the cabinet.
Between tumbling Tassimo pods, unruly K-cups, and stacked boxes, it’s enough to test anyone’s pre-coffee patience.
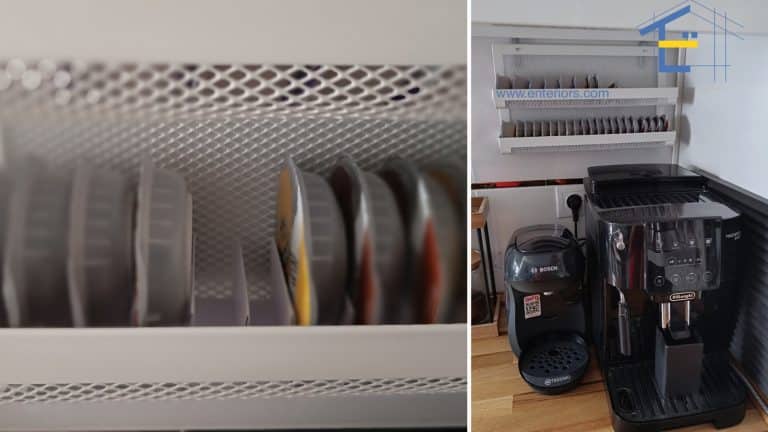
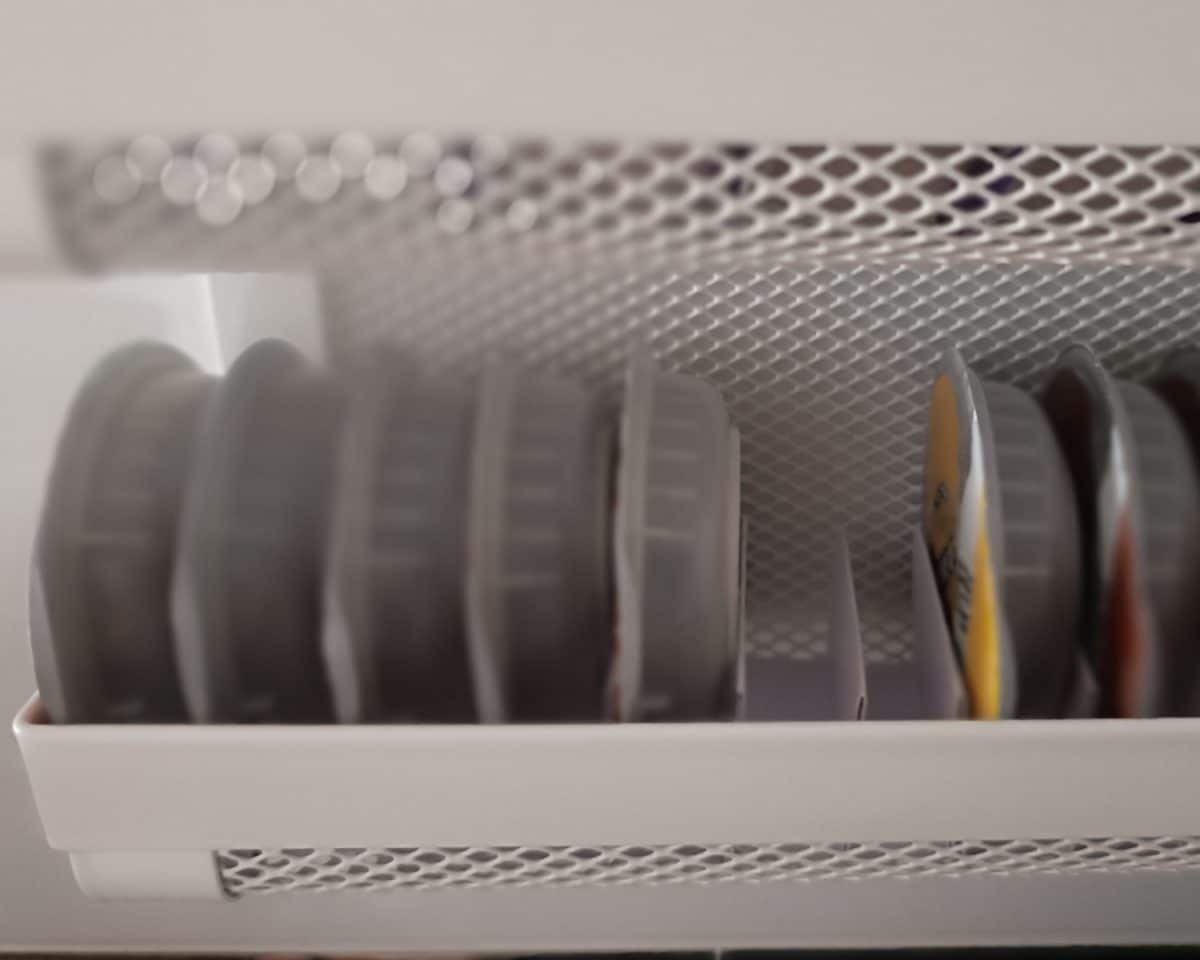
IKEA hacker Evi decided to ease her morning coffee routine and created a handy coffee pod storage system from FÖRSÄSONG cable organizers.
Now, the discs stay nice and tidy, contained on the back of a cabinet door and always within easy reach.
If you’re trying to solve a similar coffee conundrum, then check out Evi’s coffee capsule hack. You’ll spend less time digging through the pods and more time enjoying your coffee. Talk about a boost!
Turning Cable Organizers Into Tassimo Coffee Pod Storage Holder
What You’ll Need
- IKEA FÖRSÄSONG cable organizers (get as many as you need to organize your Tassimo discs)
- 2 L-shaped brackets (per organizer)
- Screws to attach brackets to the cabinet
- 2 level screws (small but long enough to fit the nut — slightly longer than the ones that come with the FÖRSÄSONG –and nuts (per organizer)
- Cable ties (to connect two FÖRSÄSONG together — if you’re only using one organizer, you don’t need cable ties)
- Paper
- Scissors
- Glue
- Screwdriver
1. Connect the Organizers
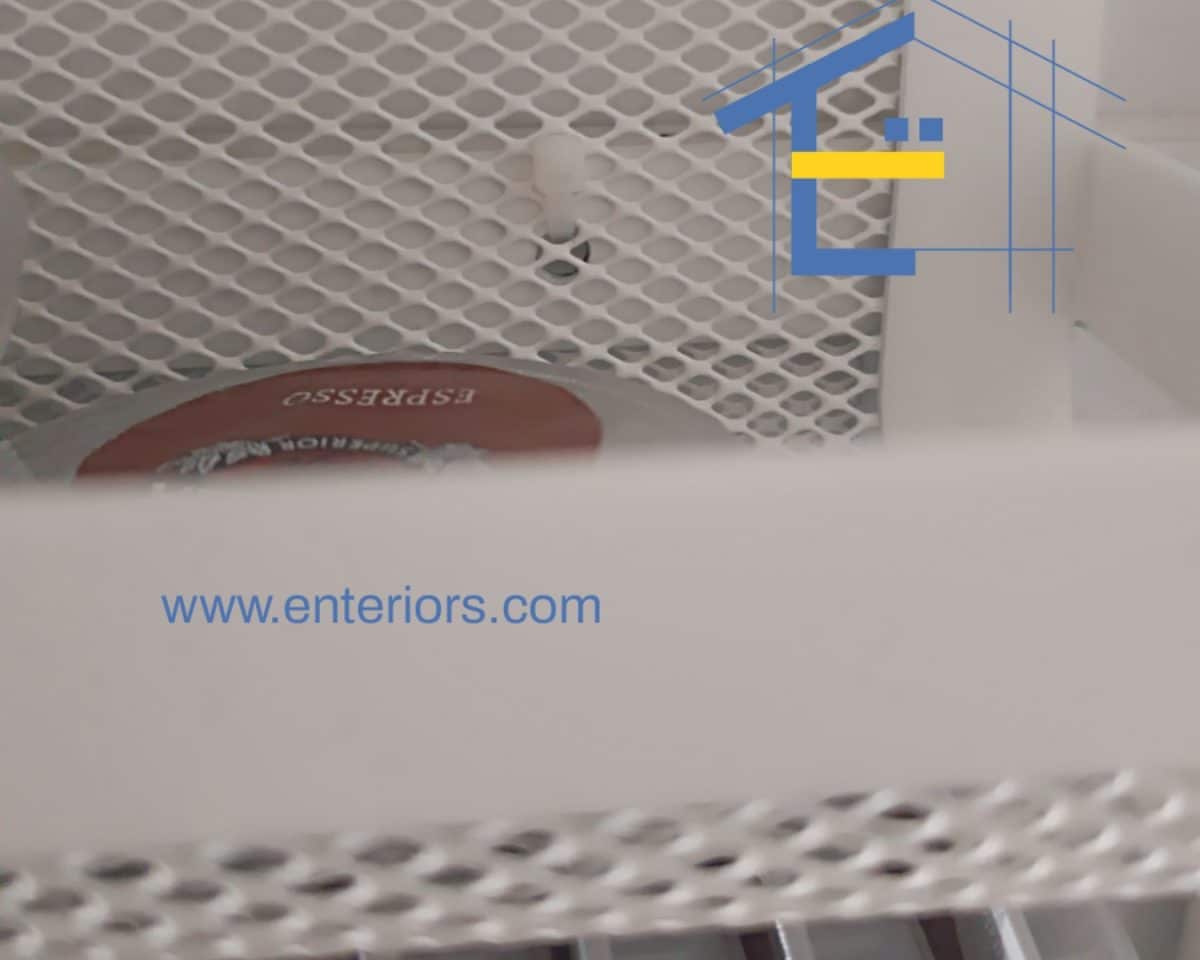
If you’re using more than one cable organizer, connect them using two cable ties. Leave about 6 centimeters between the organizers to make it easy to access the discs.
2. Mount the Top Organizer to the Cabinet
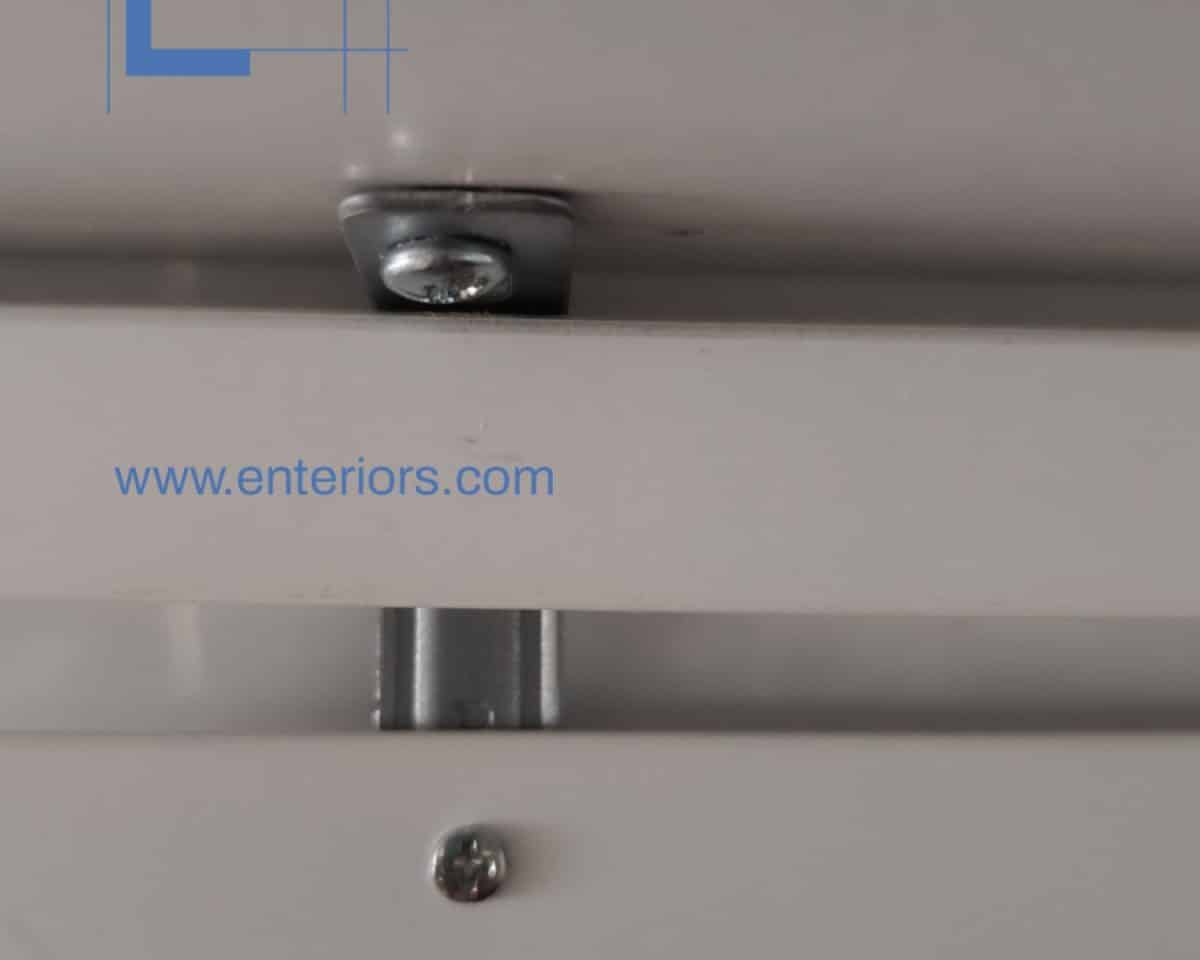
The mounting hardware that comes with the FÖRSÄSONG won’t work for mounting the unit to a cabinet door. Therefore, you need the small screws and nuts to attach the metal brackets to the top organizer. (Keep the original hardware in case you can use it elsewhere, or if you decide to mount the organizers to the side of a desk or table, etc.)
Attach the brackets to the cabinet using the wood screws (or appropriate screws for your cabinet material). Before you install anything, make sure your organizers will fit on the cabinet, especially if you’re connecting more than two.
3. Create Paper Inserts
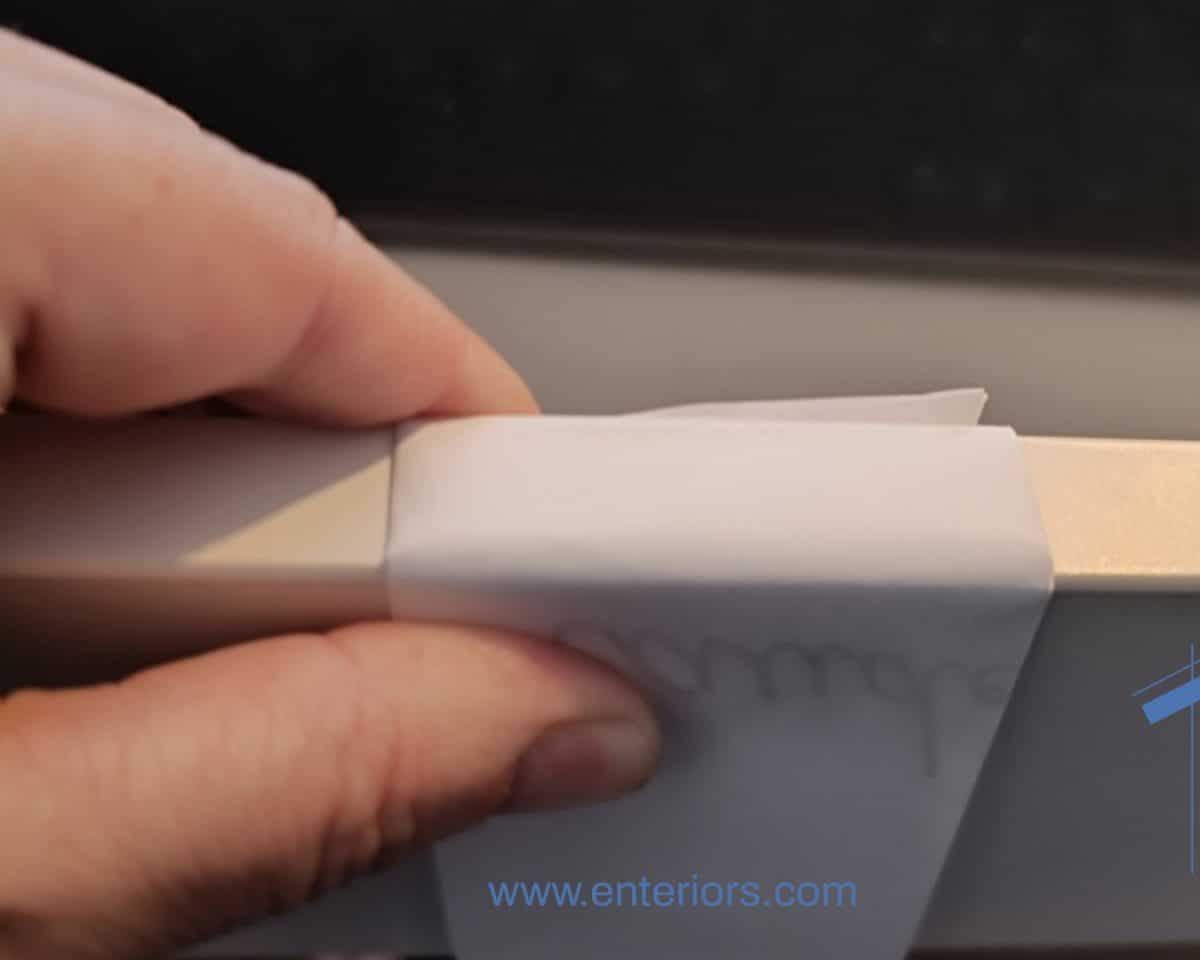
Technically, you could skip this step and be done. However, Evi opted to create paper inserts to keep the discs upright. Therefore, it just depends on how neat and crisp you want the overall look to be.
To make the inserts, Evi used A4 paper folded in two and cut in the middle. She folded the two remaining pieces in half and created an insert that was roughly 2 inches wide.
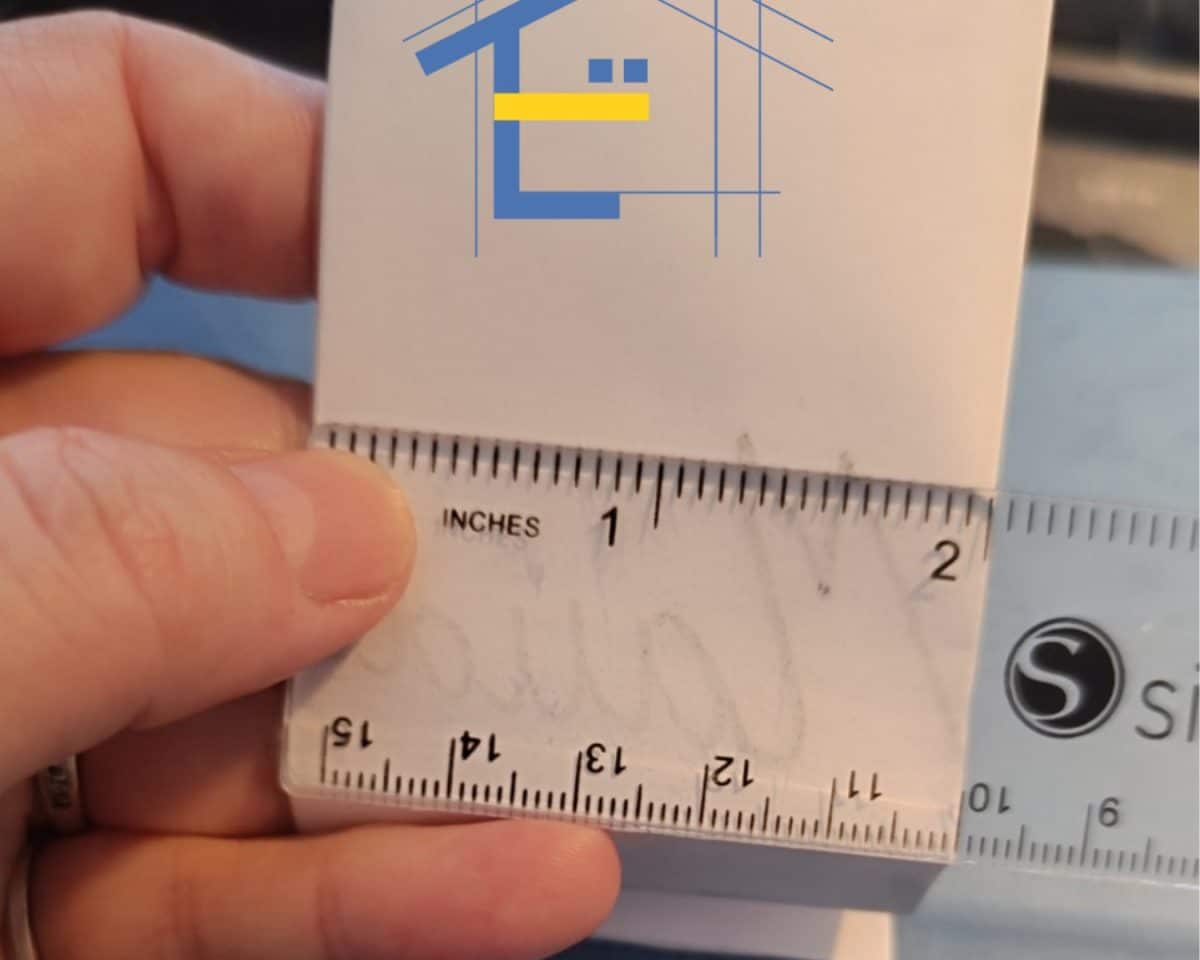
The peaks are 3cm and the valleys are 1.5cm, although Evi says the valleys may also need to be 3 cm, depending on what size discs you use. Evi used a ruler to help make the folds, folding and turning to create her ridges.
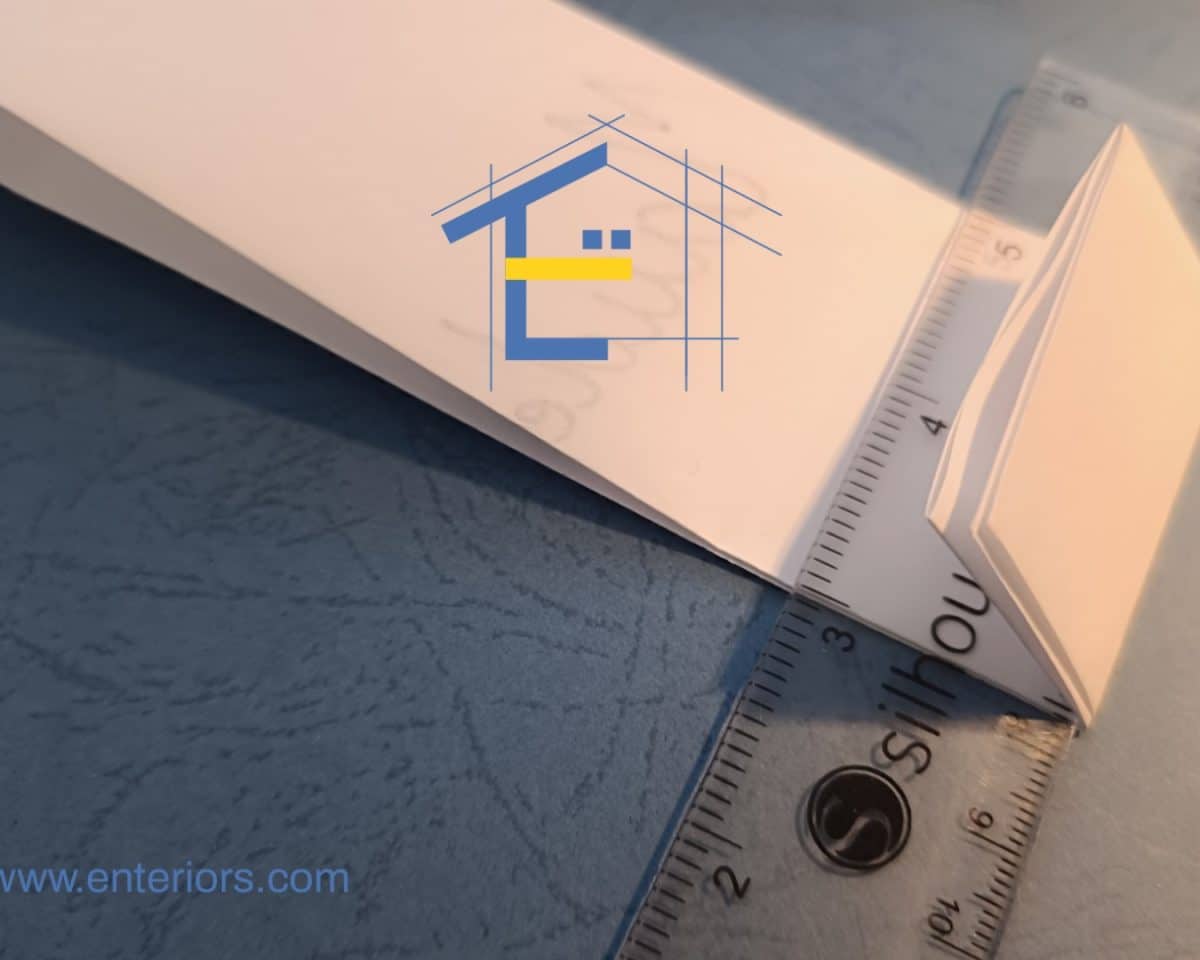
Glue the insides of the peaks together to keep the shape. If you end with a peak, start the next insert with a valley, and glue the ends together to continue making an insert that fits the length of the organizer.
Why This IKEA Coffee Pod Storage Hack Works So Well
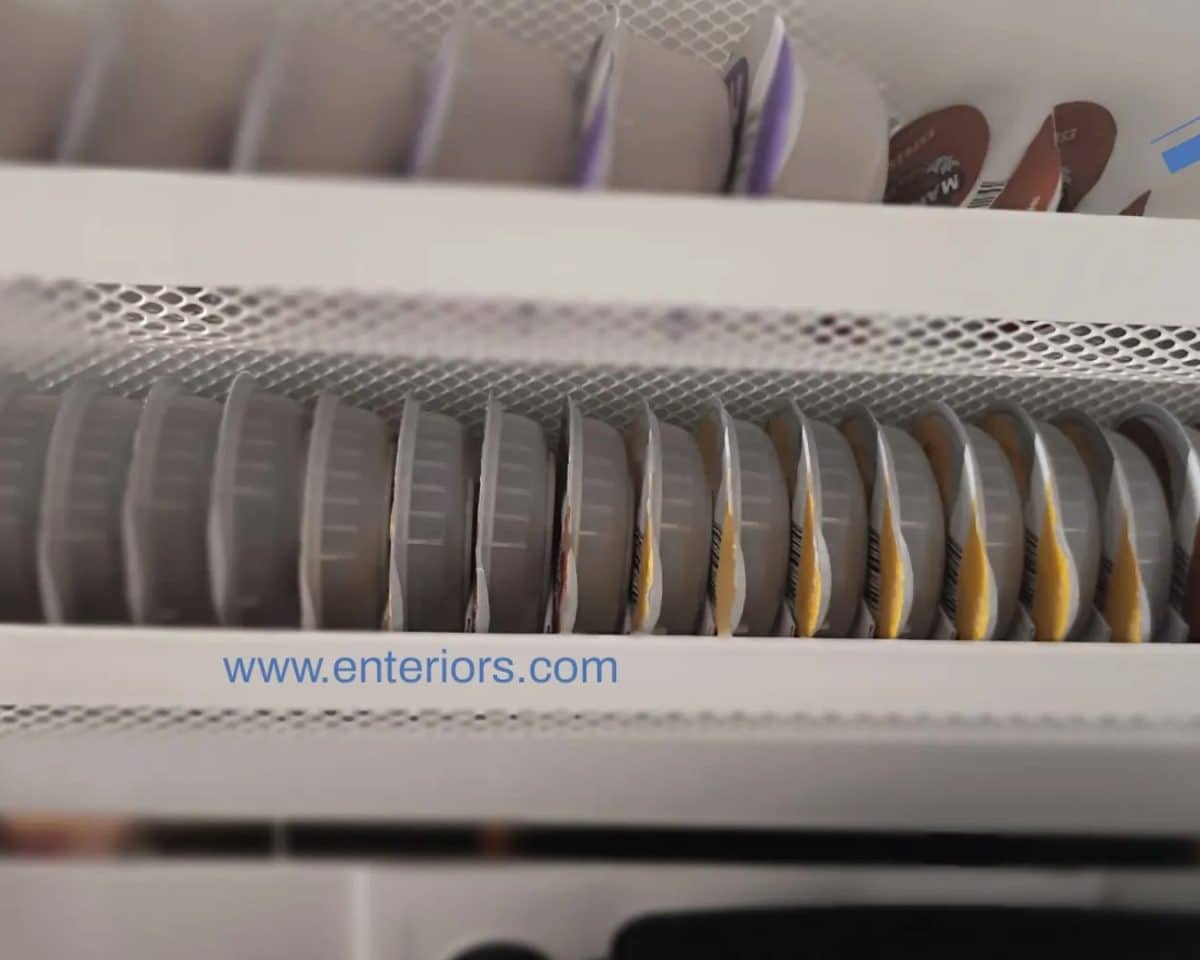
Overall, Evi was pleased with this easy solution to their coffee chaos. Here are some of the benefits they appreciate the most:
- Turned an unusable space into a usable one
- Cleared counter space
- Makes coffee discs more accessible and convenient to reach
- Can adjust it to hold more discs by adding extra organizers
- Affordable to make (about $25 for two organizers and supplies)
And if Evi ever gets rid of the Tassimo coffee machine? No problem. These organizers can hold something else, or serve their original purpose as cable storage.
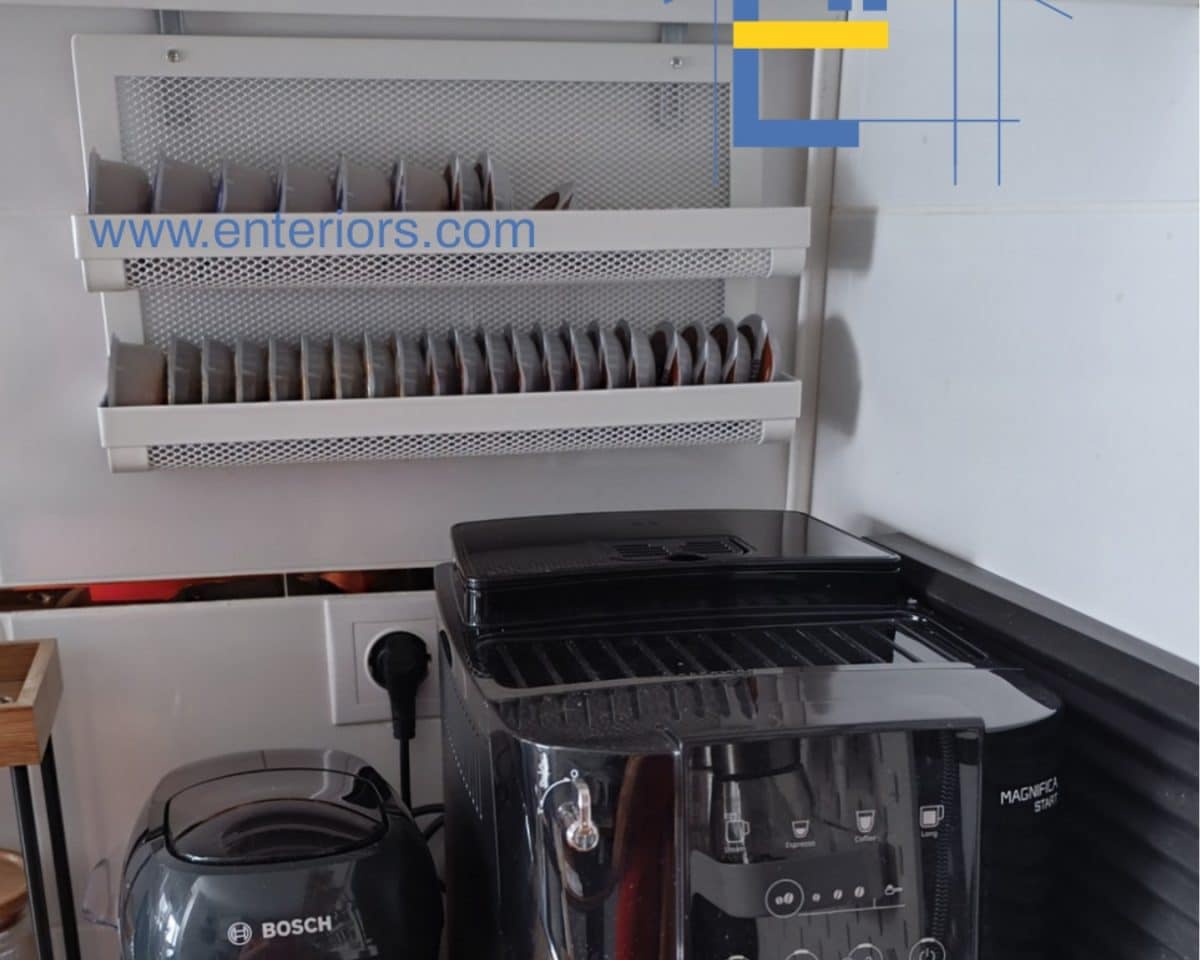
Check out the hack and see if this coffee pod storage system can help you streamline your coffee station.
Use K-cups? Try this coffee pod organizer instead.
Already hacked your coffee routine? Share your project with us, and you could be featured next!
NEXT: More ideas for coffee stations and coffee pod holders
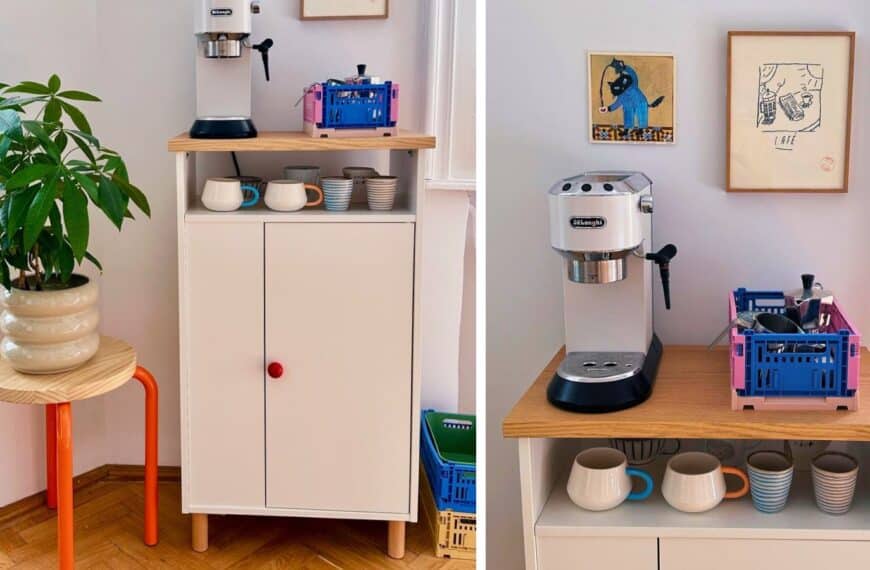
Flip, Sip, Repeat: The Upside Down IKEA Hack That Created the Perfect Coffee Nook
Looking to create a charming coffee bar in a small space? Take inspiration from this clever IKEA hack by Lexie Zhu or more popularly known by her Instagram handle @mengmengliving.…
Coffee capsule holder hack
It was always a problem for us, where to store the coffee capsules. We simply could not choose any holder version from the manufacturer, because they also needed a lot…
Turn “picture holder” RIBBA into coffee capsules holder
What I used: – 1 picture frame (RIBBA) – thick cardboard from IKEA (maybe from paper container) – green wrapping paper from IKEA (FRAMSTÄLLA) What else I needed: – box…
Turn IKEA Frames Into a Stylish Wall-Mounted K-Cup Holder
A great morning starts with a wall-mounted K-Cup holder that lets you see all the capsules you have. I recently bought the Keurig coffee maker, and I love to display…
2 DIY Coffee Station Ideas for a cozy coffee corner
Carve out a space in your kitchen or dining room for your favourite brew. Let’s take a look at two DIY coffee station ideas from two different ends of the…
