
I made this cute bubble chandelier, which is all the rage at the moment, with just a simple lampshade from IKEA. And a few cheap materials. But it looks a million bucks, don’t you think?

Materials:
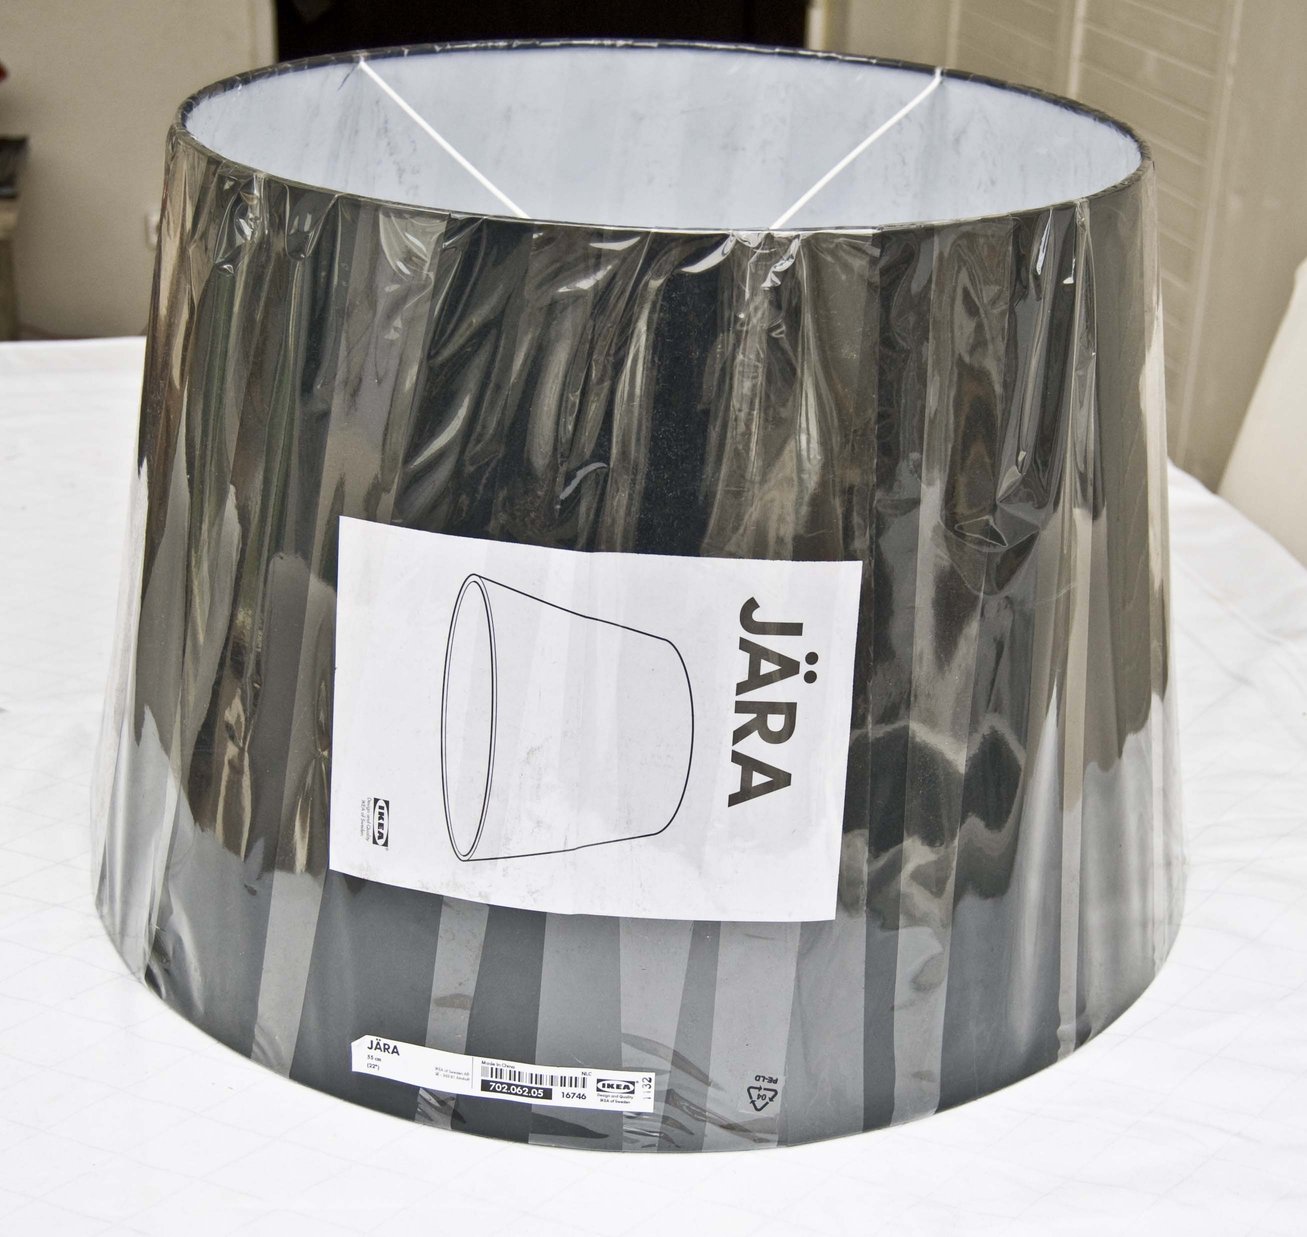
- Lampshade
- Scissors
- Sisal rope
- Acrylic balls
- Gold leaf
- Grey paint
Bubble Chandelier: DIY instructions
At first I painted the lampshade with my favorite grey paint.
Then I coat the inside of the lampshade with gold leaf. I left it a little bit messy and shabby looking.


After installing the bulb holder I wrapped the cable with sisal rope and glued it.
After that I had a little help with hanging it in my bedroom 😉
That how it looked without the bubbles.

And here are they stepping in the game 😉

And tadah, here’s the bubble chandelier in my room, in my reading nook;)

See the full tutorial for my bubble chandelier here.
~ Pudel – design, Deutschland
You may also like these IKEA chandelier hacks
#1 Sweet flower chandelier for kids playroom

I hacked the IKEA KRISTALLER into a flower chandelier for my oldest daughter, Kim, 8 years ago. I decided to make a similar one for my daughter Romy.
The whole hack doesn’t take long. I spent an afternoon and evening getting it done. The chandelier, paint and decorations cost around 80€. Read more of the flower chandelier.
#2 Classy chandelier with shade


I used the Nymö lamp shade and added the IKEA Kristaller crystal chandelier. You’ll get a very unique chandelier with shade. See more of the chandelier with shade.
#3 Easy affordable Sputnik Chandelier

Now the beauty of my version is that there are so many ways you can customize it. Want a full globey one? Check. Want a more tradish Sput? No problem. Want an offbeat, one-of-a-kind, lil-bit-nutty, different-lengths-of-arms, bulb-sticking-out-its-butt light? The choice is up to you. See more of the easy and affordable IKEA Sputnik Chandelier.
#4 Small table lamp, Big LAMPAN chandelier

Cut the cords of all LAMPAN lamps about 20 cm short. Melt 4 holes in each lamp base evenly. Connect each of the first five lamp bases to three others using the tyraps. Connect all lamp cords and the HEMMA cordset using wire connectors. Read more of the LAMPAN chandelier.